At first glance, the exposure module might seem quite basic. However, this module combined with darktable's powerful masking features can be used for a wide variety of purposes; let's explore these below.
Exposing The Midtones
The basic usage of exposure, as outlined in The Darktable Scene-Referred Workflow, is to properly expose the midtones of the photo. Once this is done, you can use a tone mapping module (like filmic rgb or sigmoid) to adjust the shadows and highlights.
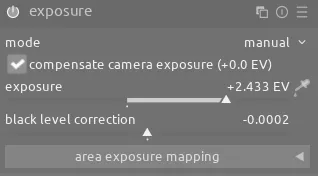
When you first activate the exposure module, you may notice that it starts off at a non-zero value (e.g. +0.700 EV). As described in this thread, this is done to brighten the RAW file to be closer to what the out-of-camera JPEG looked like (since your camera is applying a base curve automatically when creating the JPEG).
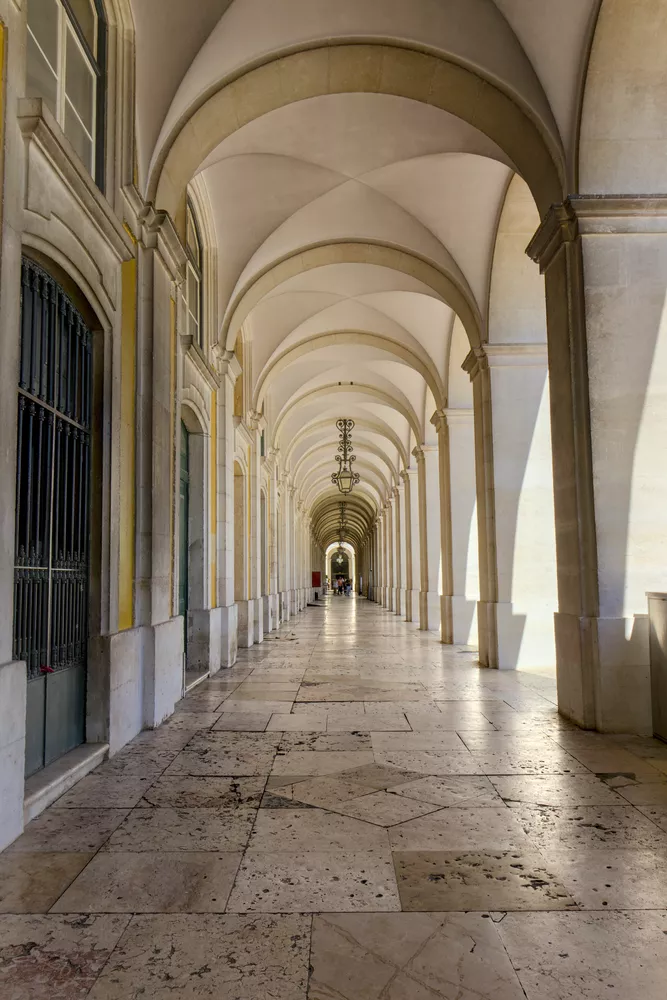
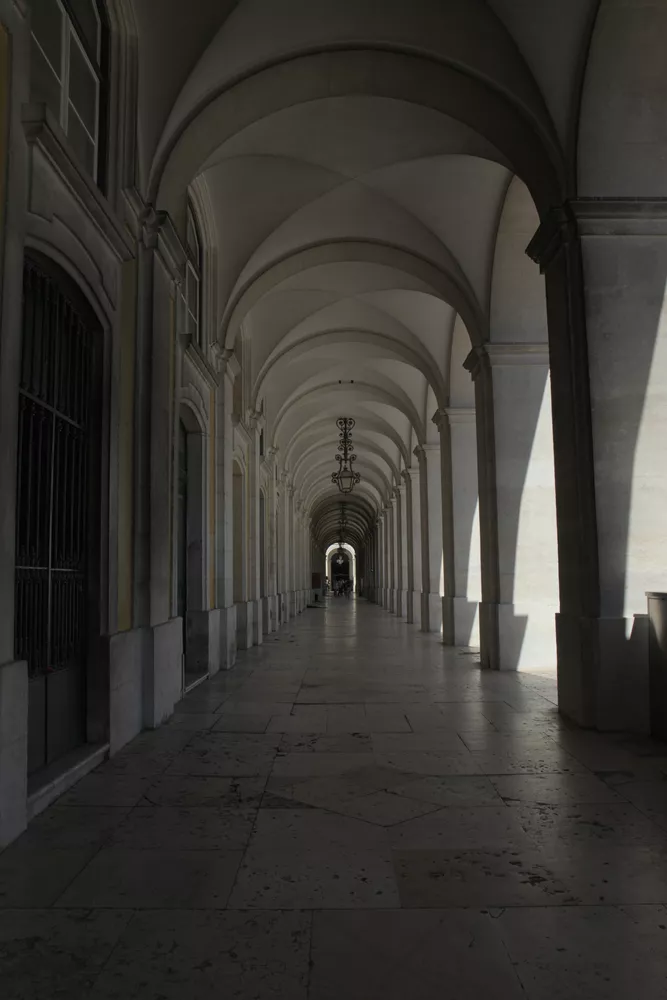
The RAW file for the above photo is pretty dark due to the direct sunlight on parts of the stone pillars (we need to avoid clipping these when capturing the image). Therefore, use exposure to raise the exposure of the image so that the hallway looks good:
Next, pull down the white relative exposure slider in filmic rgb to avoid overexposing the parts in direct sunlight:

Often times this is sufficient, but if you have a very high dynamic range, such as in this photo, an instance of tone equalizer with just the highlights pulled down can also help:

Dodge and Burn


One of my favorite uses for exposure is to make targeted adjustments, such as brightening up a face that is shaded. The key is to use the feathering radius slider along with the mask contrast slider when creating the mask to ensure the effect clings just to the face and doesn't result in a circular bright spot (which would look like an obvious distortion):
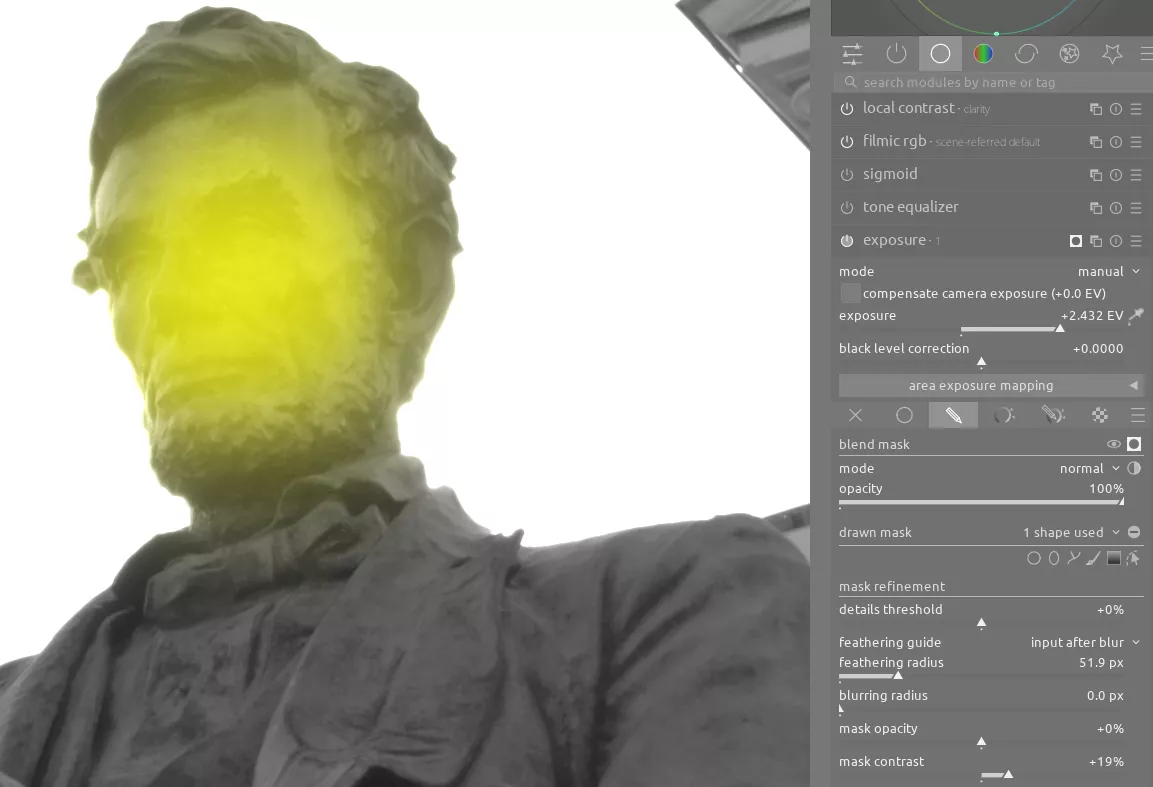
Because of the power of darktable's masks, this is fast, easy, and highly effective. This effect is more subtle than some of the others, but it can really help bright up an underexposed face or area of focus.
Vignettes

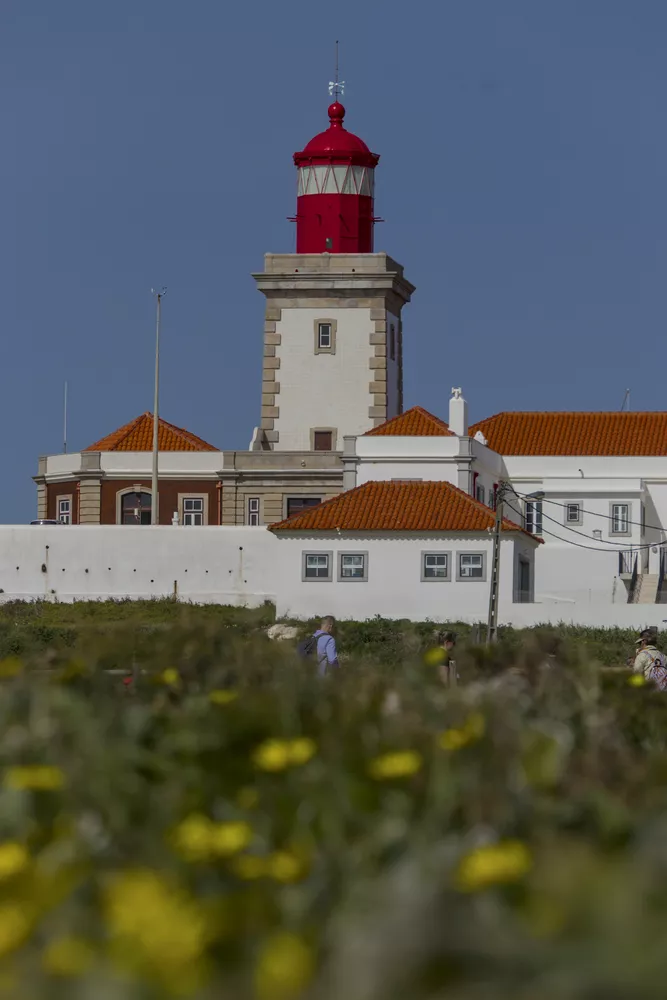
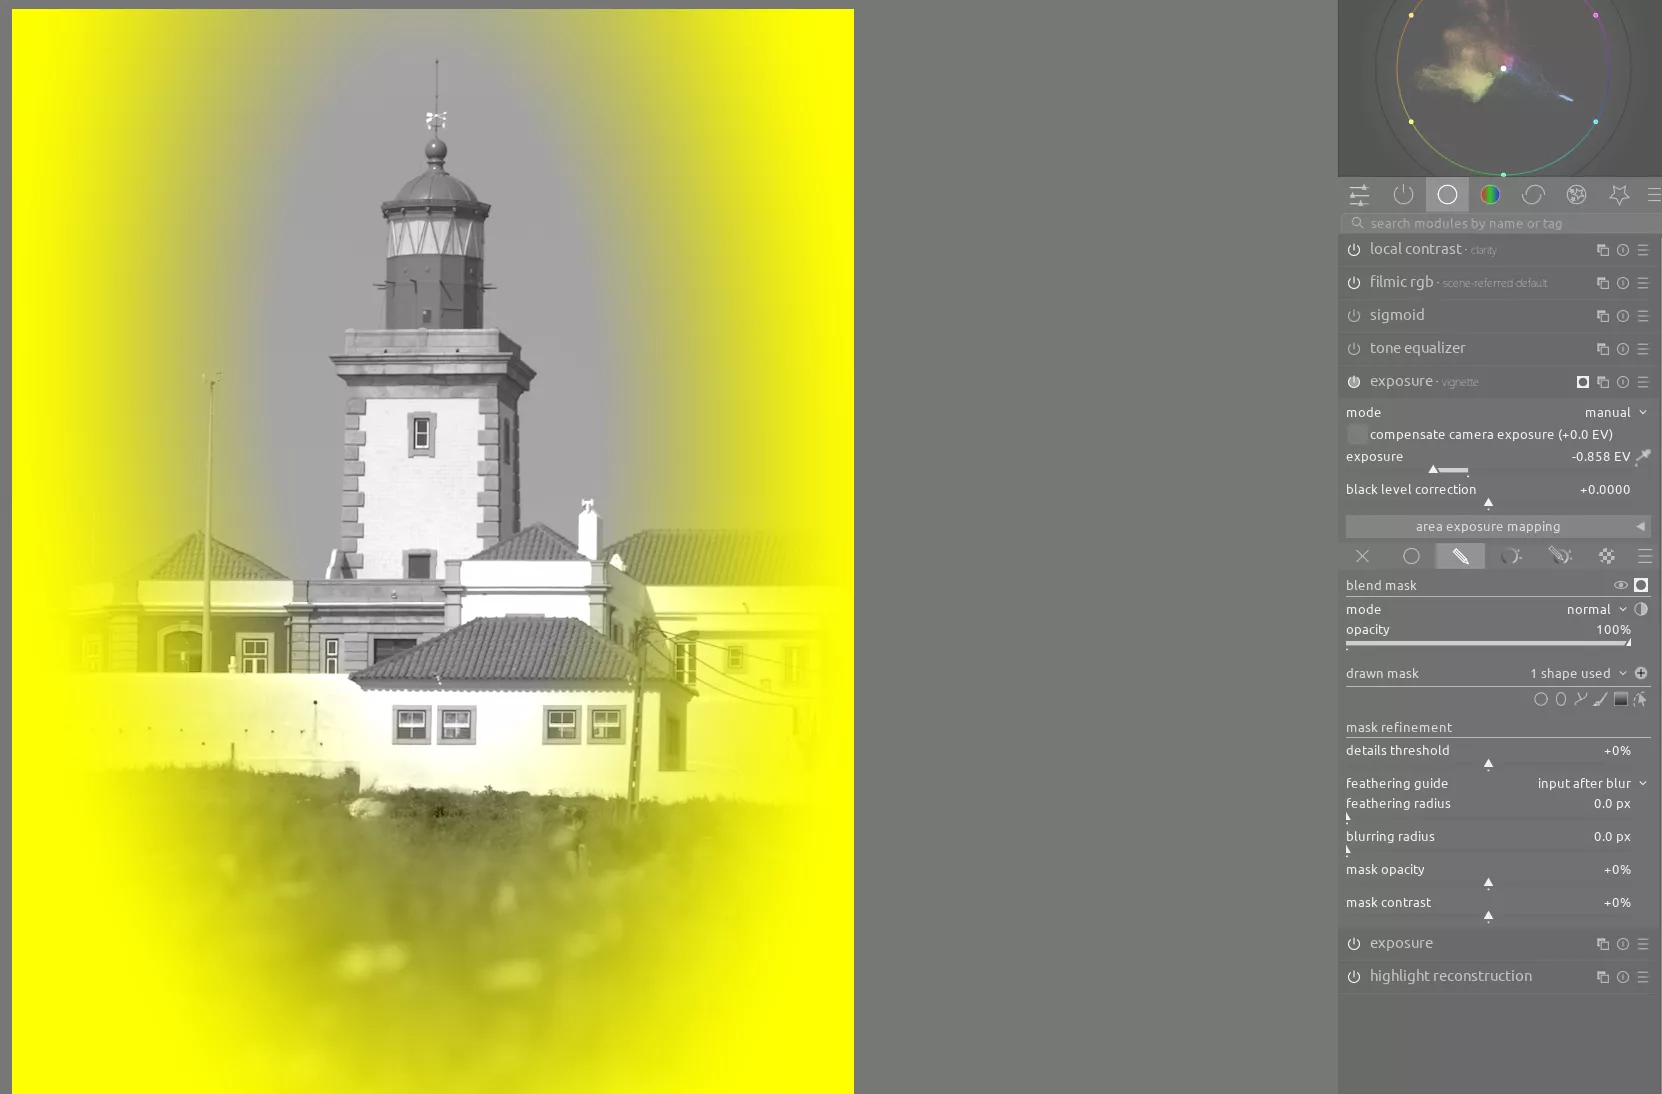
While darktable has a vignette module, I often find that it's easier to use a drawn mask on an instance of the exposure module, invert the mask, and create a vignette. This allows me to easily and precisely control the size and shape of the vignette and where it is placed. In this example, the vignette helps darken the background and highlight the lighthouse:
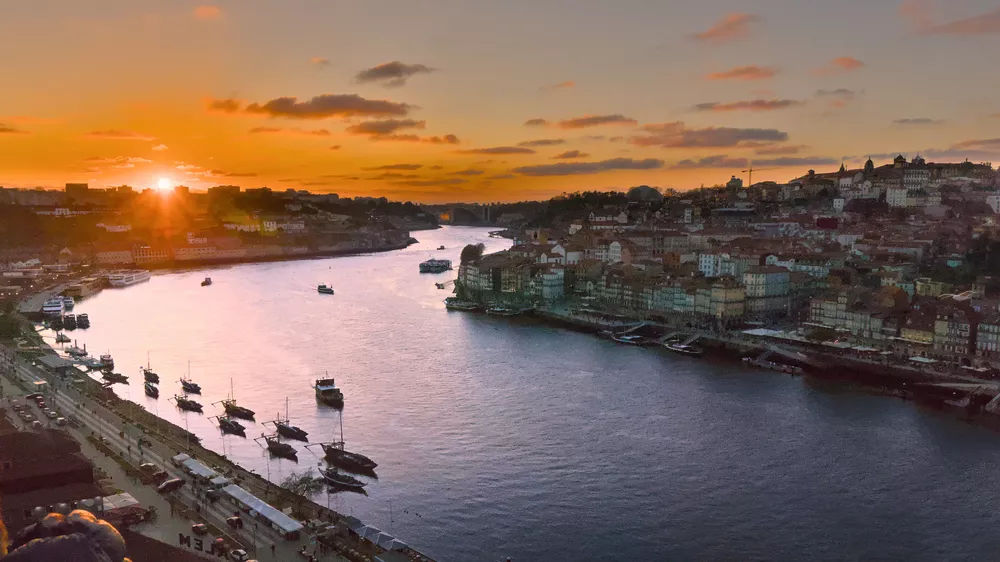
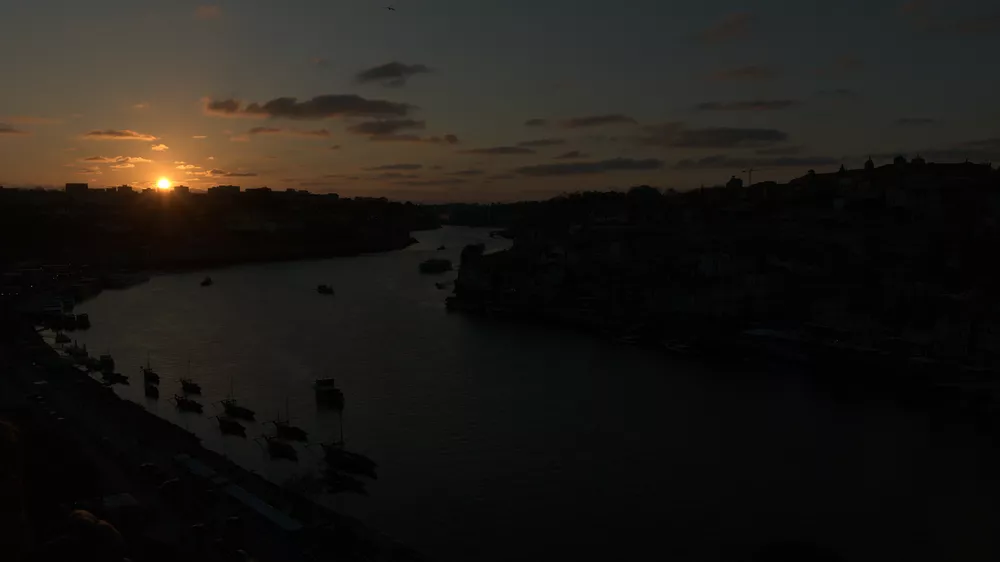
Simulating a GND or Changing Dynamic Range
As described in the post on GNDs, you can compress the dynamic range of a scene using a Graduated Neutral Density filter in front of your lens. However, if you don't have a GND with you, and you can avoid clipping with the dynamic range of your camera, you can simulate a GND in post using an instance of the exposure module and a gradient mask:
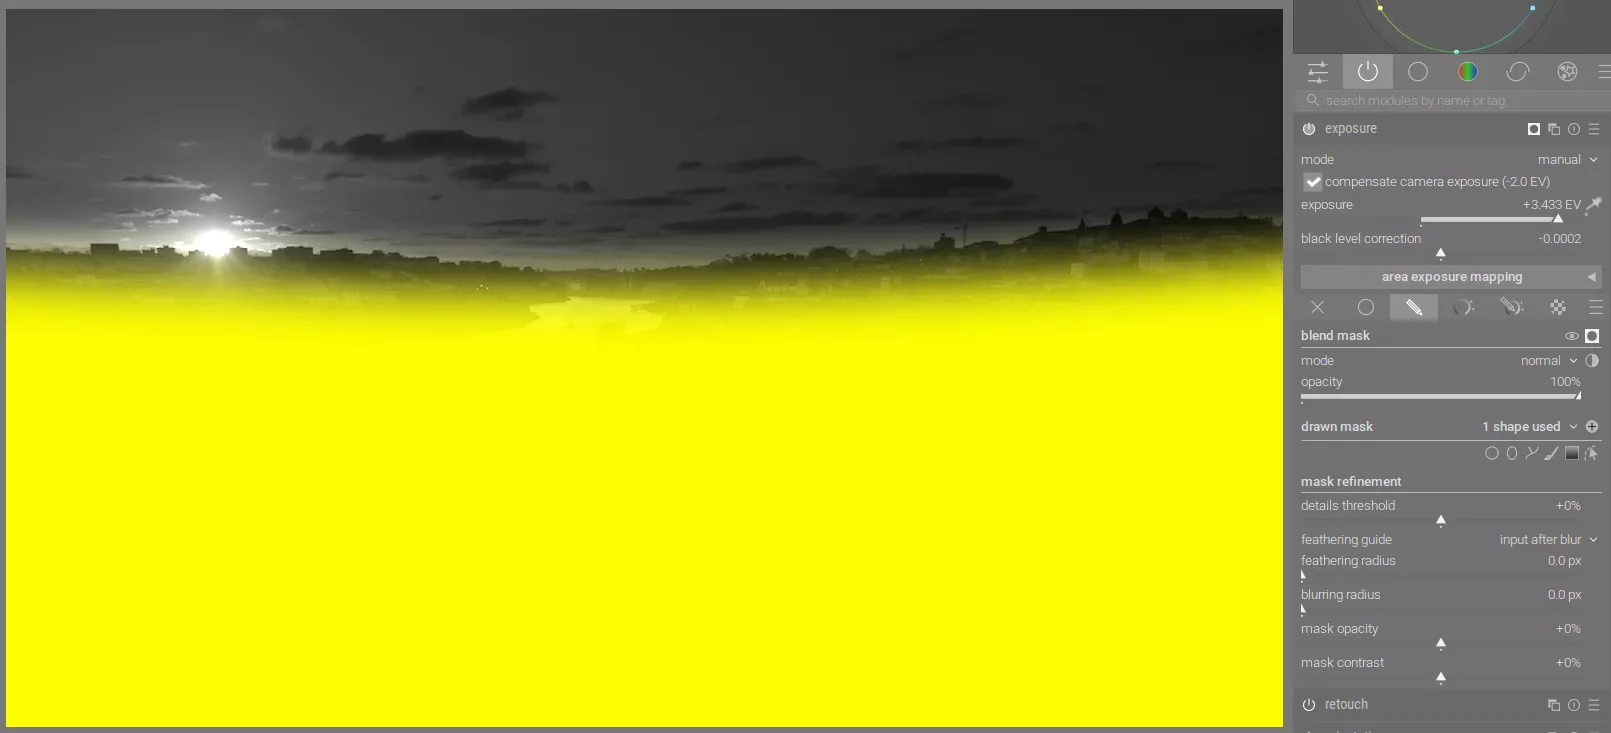
As with a physical GND, this works best where the transition between the two dynamic ranges is straight, such as a horizon.
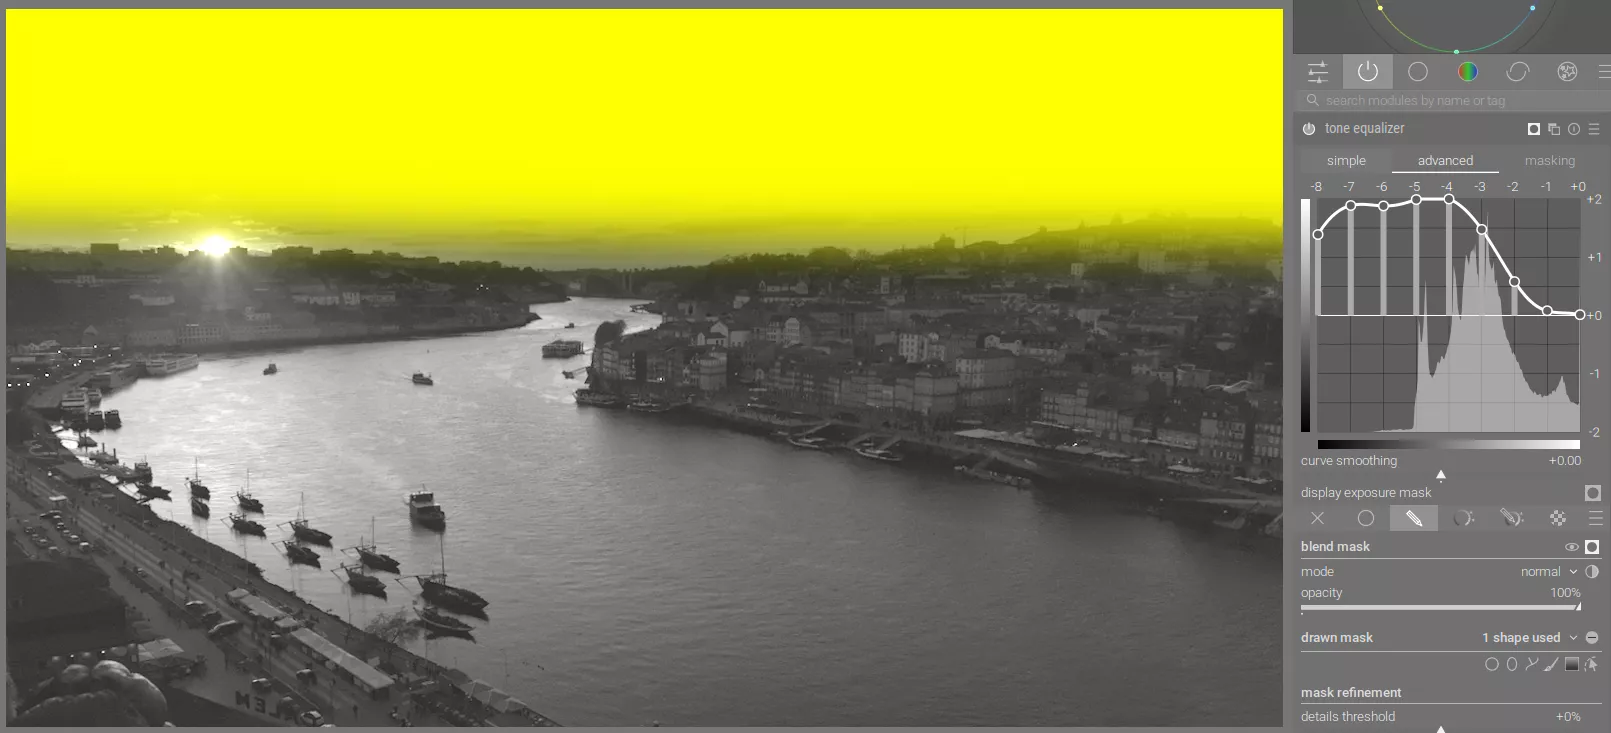
An alternative way to reduce the dynamic range on a scene like this is to use tone equalizer. This has the advantage of being able to handle edges which aren't straight, but also may introduce an unnatural look if pushed too far. In this scene, tone equalizer is better for adjusting the sky and preserving the relative contrast between the clouds and sky itself:
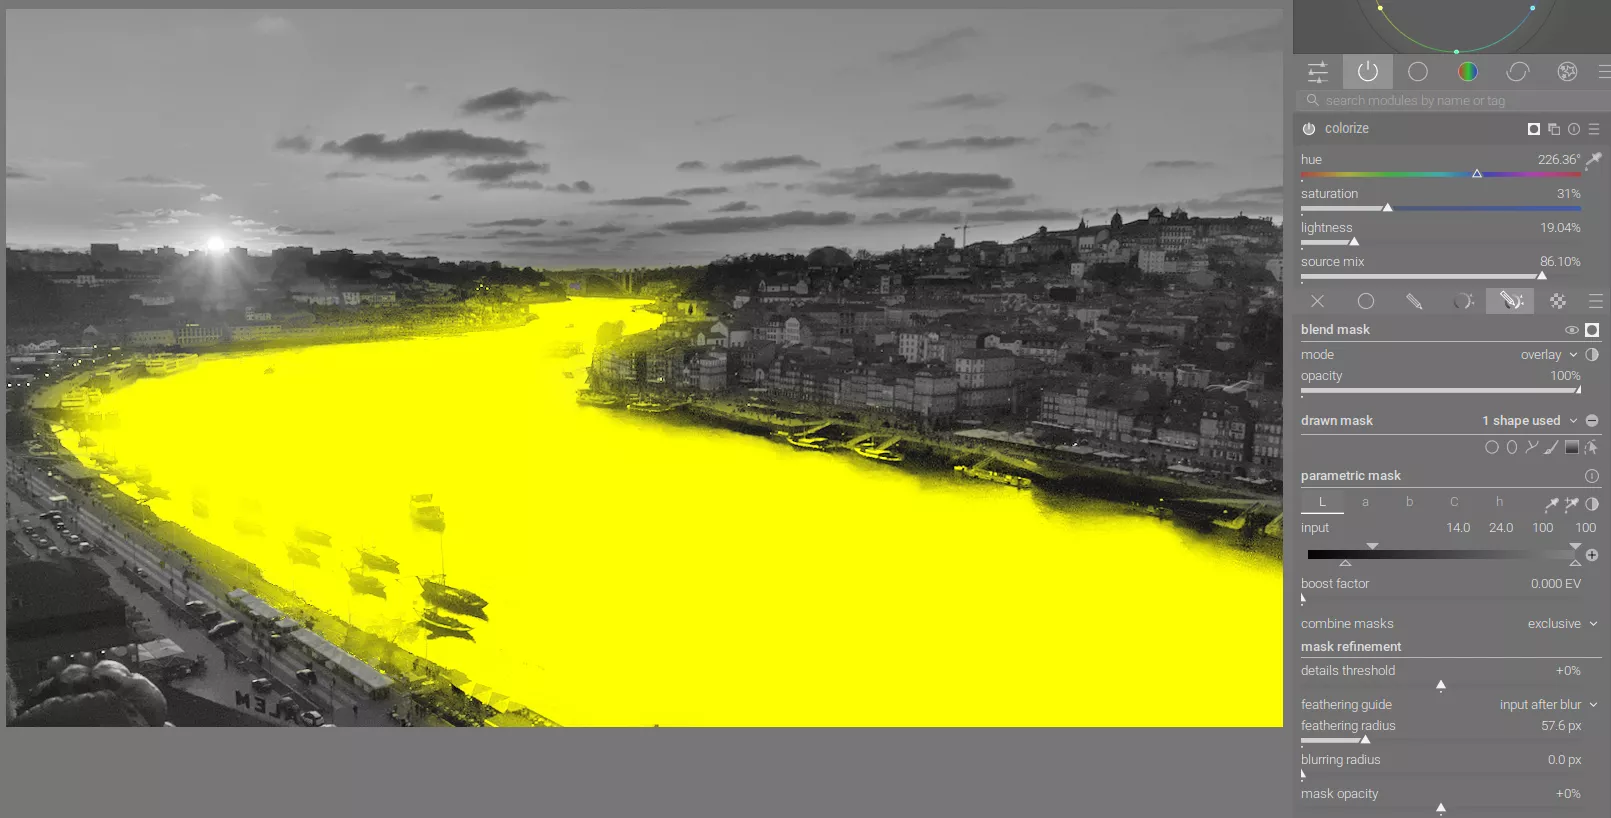
Finally, use the colorize module with a drawn mask and the overlay blend mode to add some blue to the river to give it more depth:
Adding a Light Source
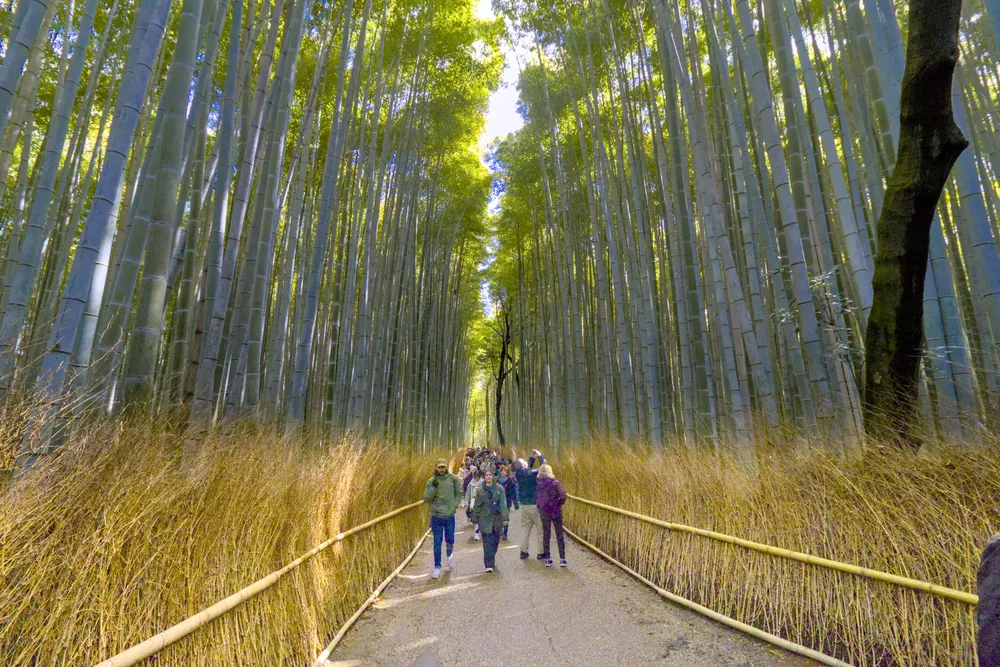
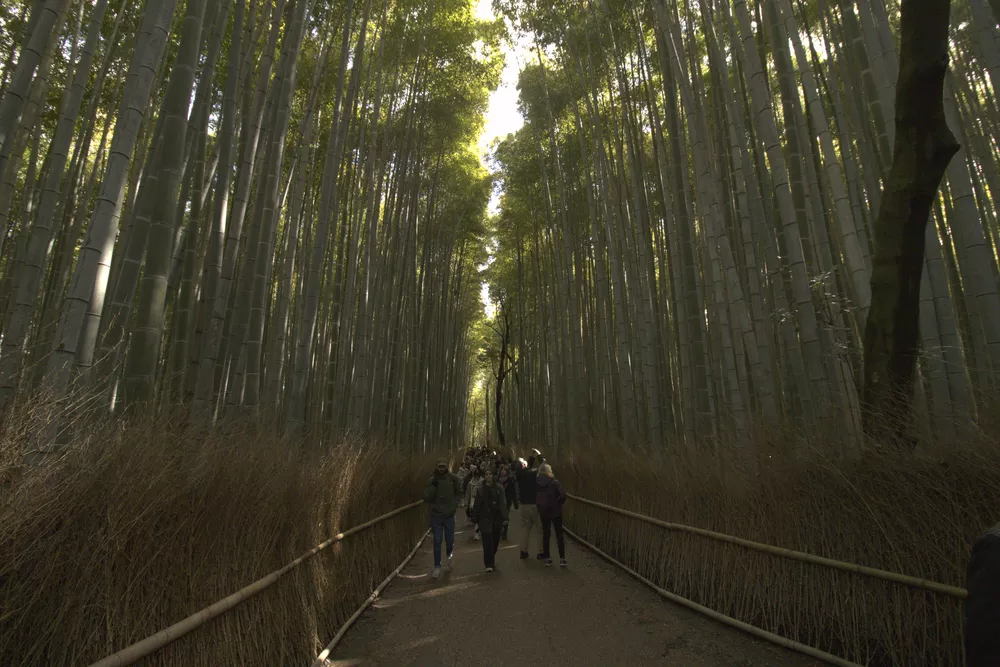
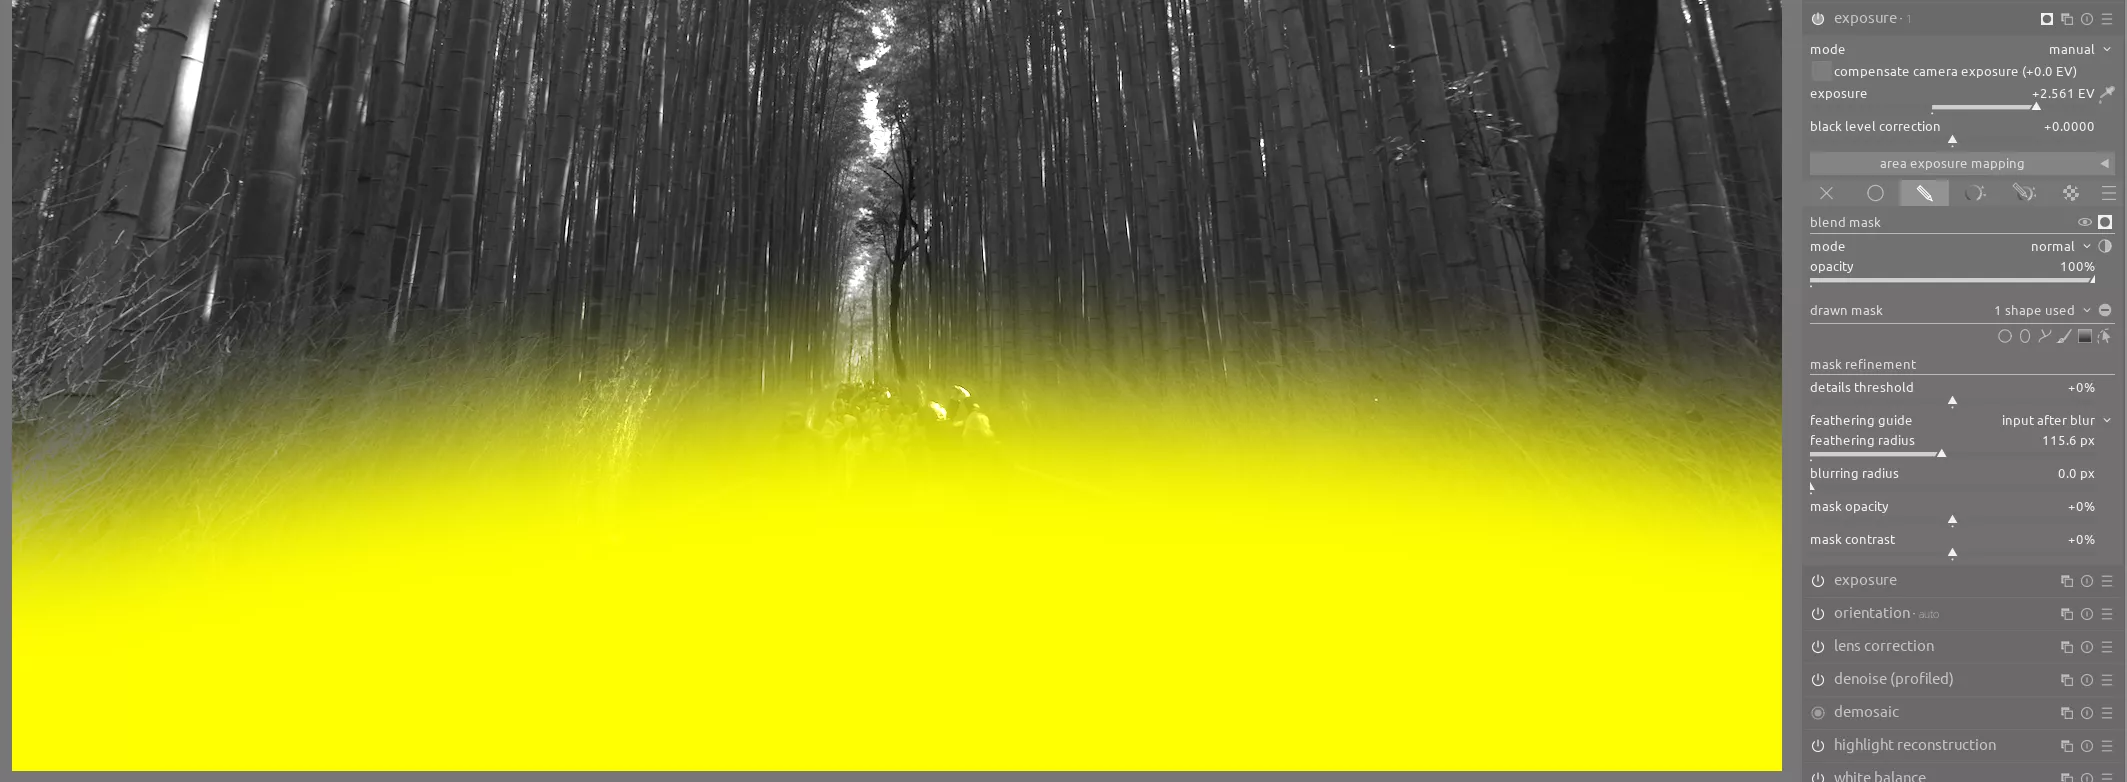
You can also use the exposure module to add a light source that was missing in the original image. There are limitations to this technique, but it can still be a powerful way to alter the look of a photo. In this example, we have bright light filtering through the bamboo, but also want to highlight the path through the grove. Therefore, use a drawn mask and an instance of the exposure module to brighten the path, as if we were shining a bright light down upon it:
Conclusion
The humble exposure module is one of the most essential modules in darktable. Combining multiple instances of this module with masks allowed you to selectively dodge and burn parts of the image, add a vignette, adjust the exposure of the global midtones, and so much more.