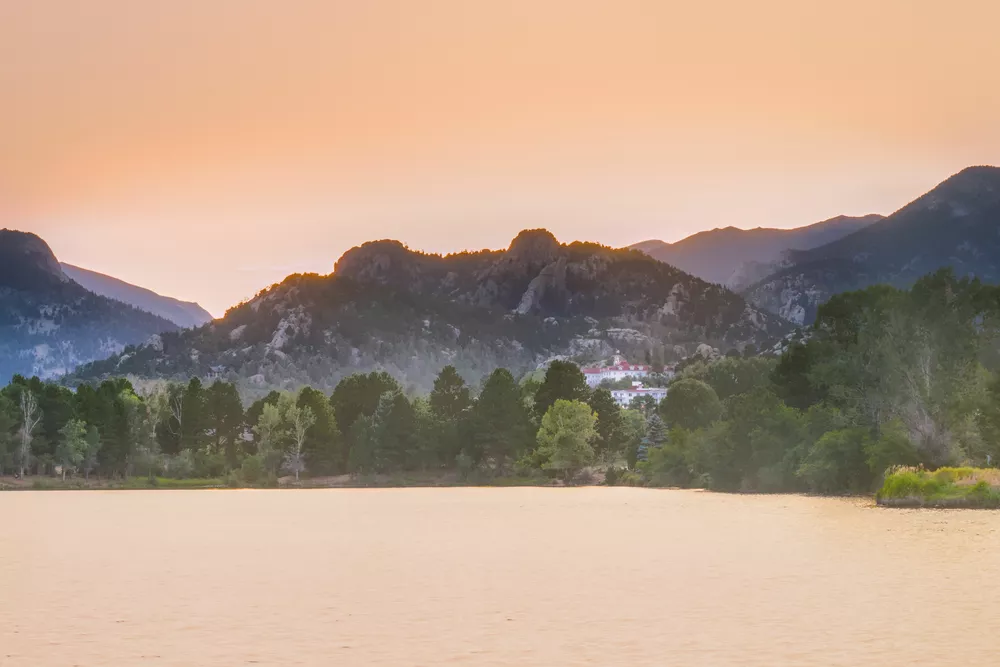
A graduated neutral density filter (or GND) goes over your lens and reduces the brightness (typically for about half of the image) without changing the color temperature. This is useful in scenes with high dynamic range where you can't correctly expose all parts of the scene (because it contains more EVs than your camera can capture). Let's learn about physical GNDs as well as creating software GNDs in darktable.
There are several types of GNDs:

The above GND is a "soft" GND because the transition from light to dark is spread over a large area. This is useful when the transition between parts of the scene isn't very distinct, such as with mountains or a curving horizon.

This GND is a "hard" GND because the transition from light to dark occurs over a small area. This is useful where there's a very sharp transition between the parts of the scene, such as a straight horizon.

For sunsets or sunrises, a reverse GND, where the direction of the gradient is reversed, is useful because when the sun is near the horizon, the brightest part of the sky (and therefore the part that needs to be darkened the most) is also near the horizon. This is the type of GND we'll use in the first photo below.
High Dynamic Range Scenes
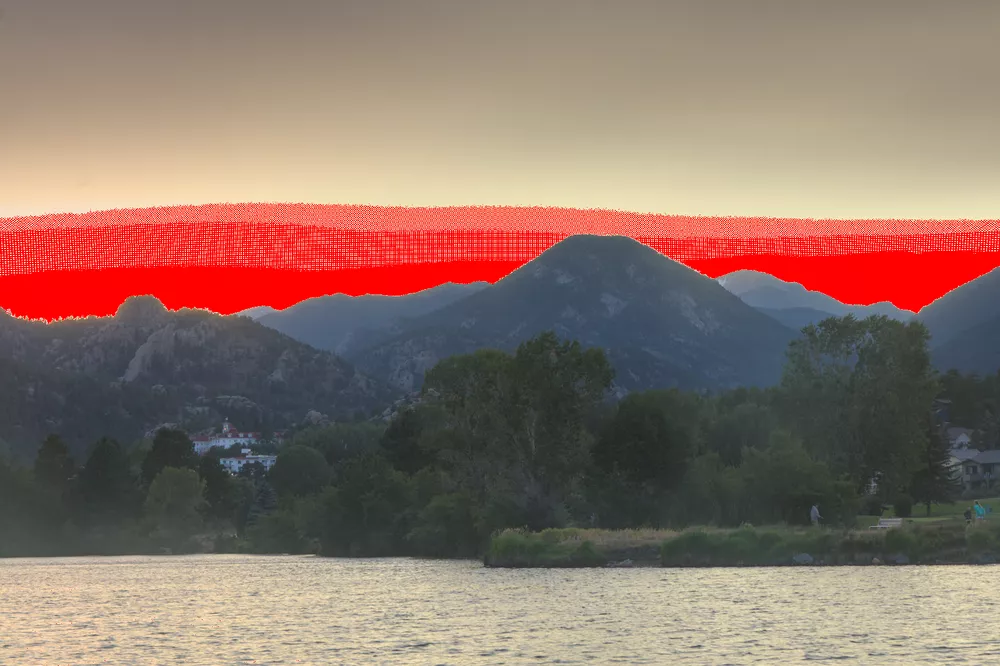
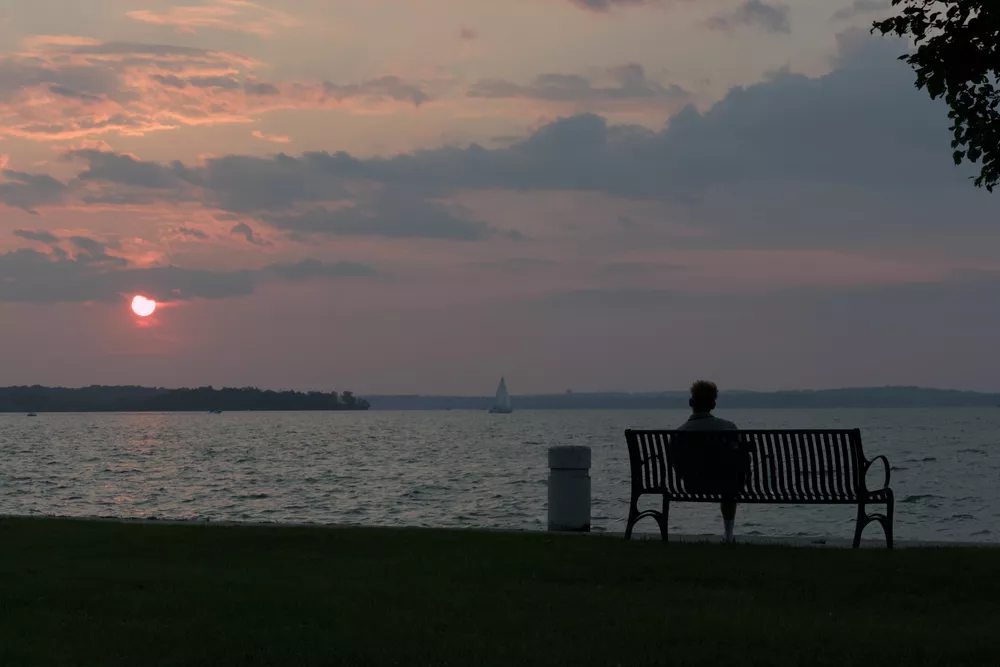
It's well-known that clipping the highlights often leads to a bad photo because there is no way to recover this clipped data. Using a GND can avoid clipping the highlights while also allowing more light in the shadows, which reduces noise. This photo is ruined because so much of the highlights are clipped:
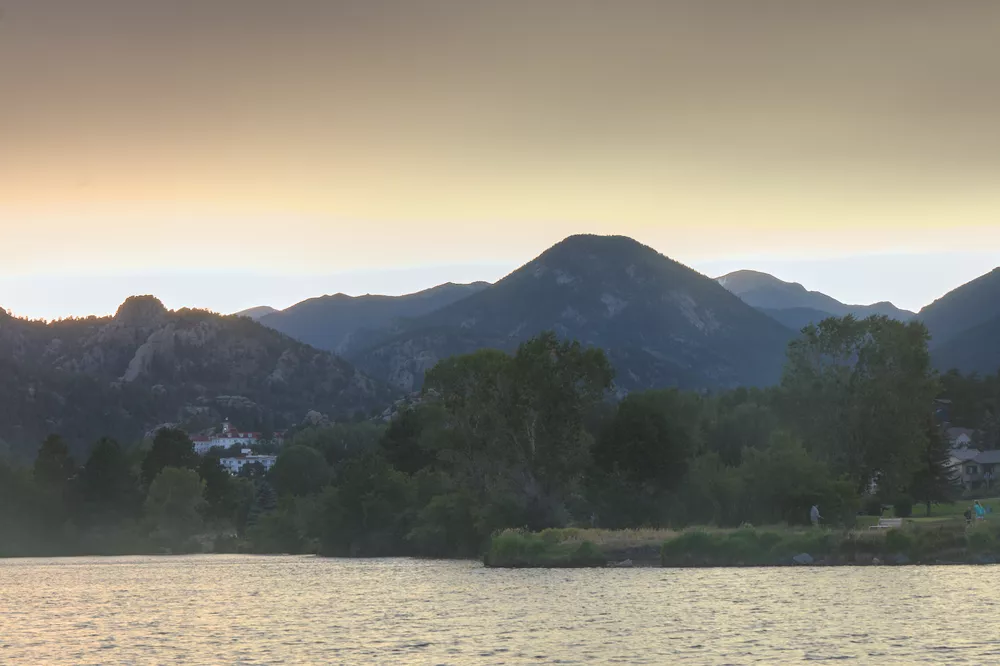
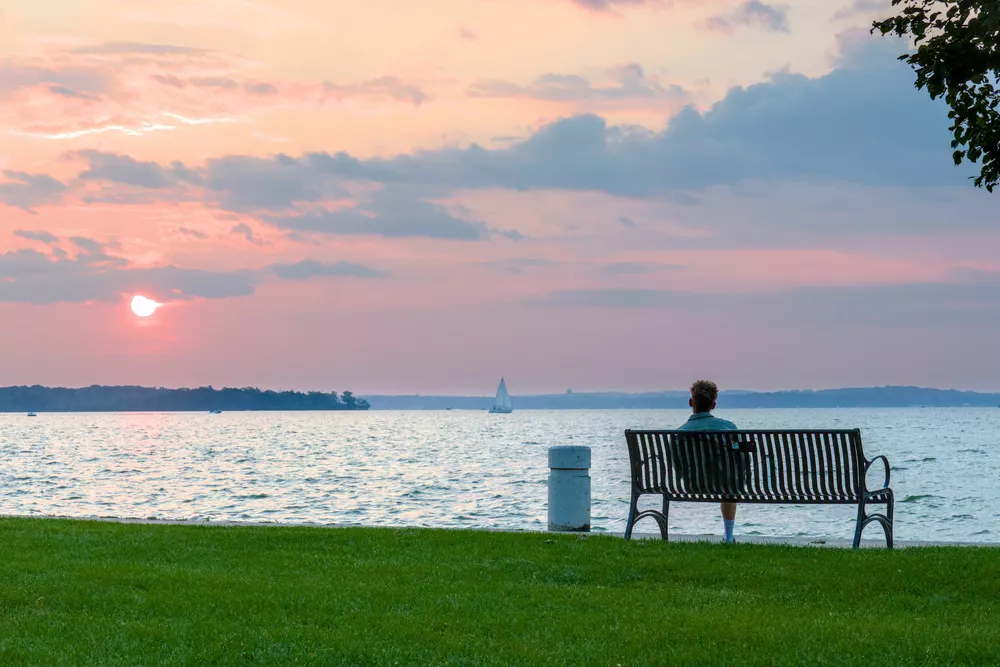
However, using a reverse GND on the scene allows you to both preserve the colorful highlights while also brighten the shadows without too much noise. You still need to process the RAW file in darktable, but the difference here is more data from the highlights is preserved (rather than clipped as in the previous example):
GNDs In Darktable
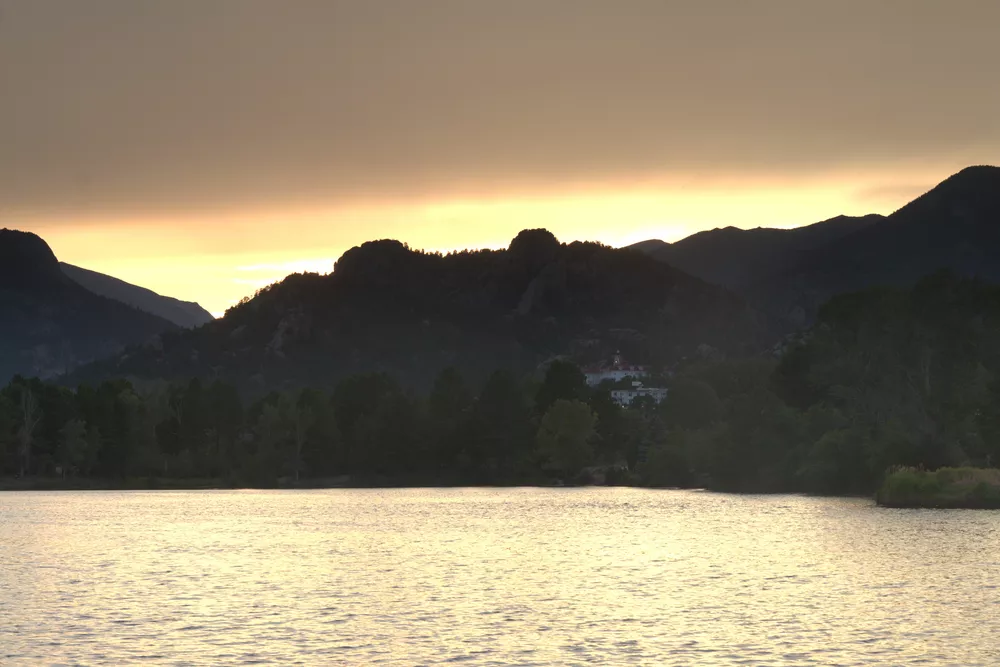
If you didn't use a physical GND on a scene and it isn't clipped, you can create a software GND in darktable. For example, the foreground in this scene is much too dark, but when we brighten it up using the exposure module, the sky gets washed out:
Instead, let's making one instance of exposure to adjust the whole image (setting the foreground to where it should be) and then a second instance of exposure with a gradient mask on the sky that emulates a hard GND:
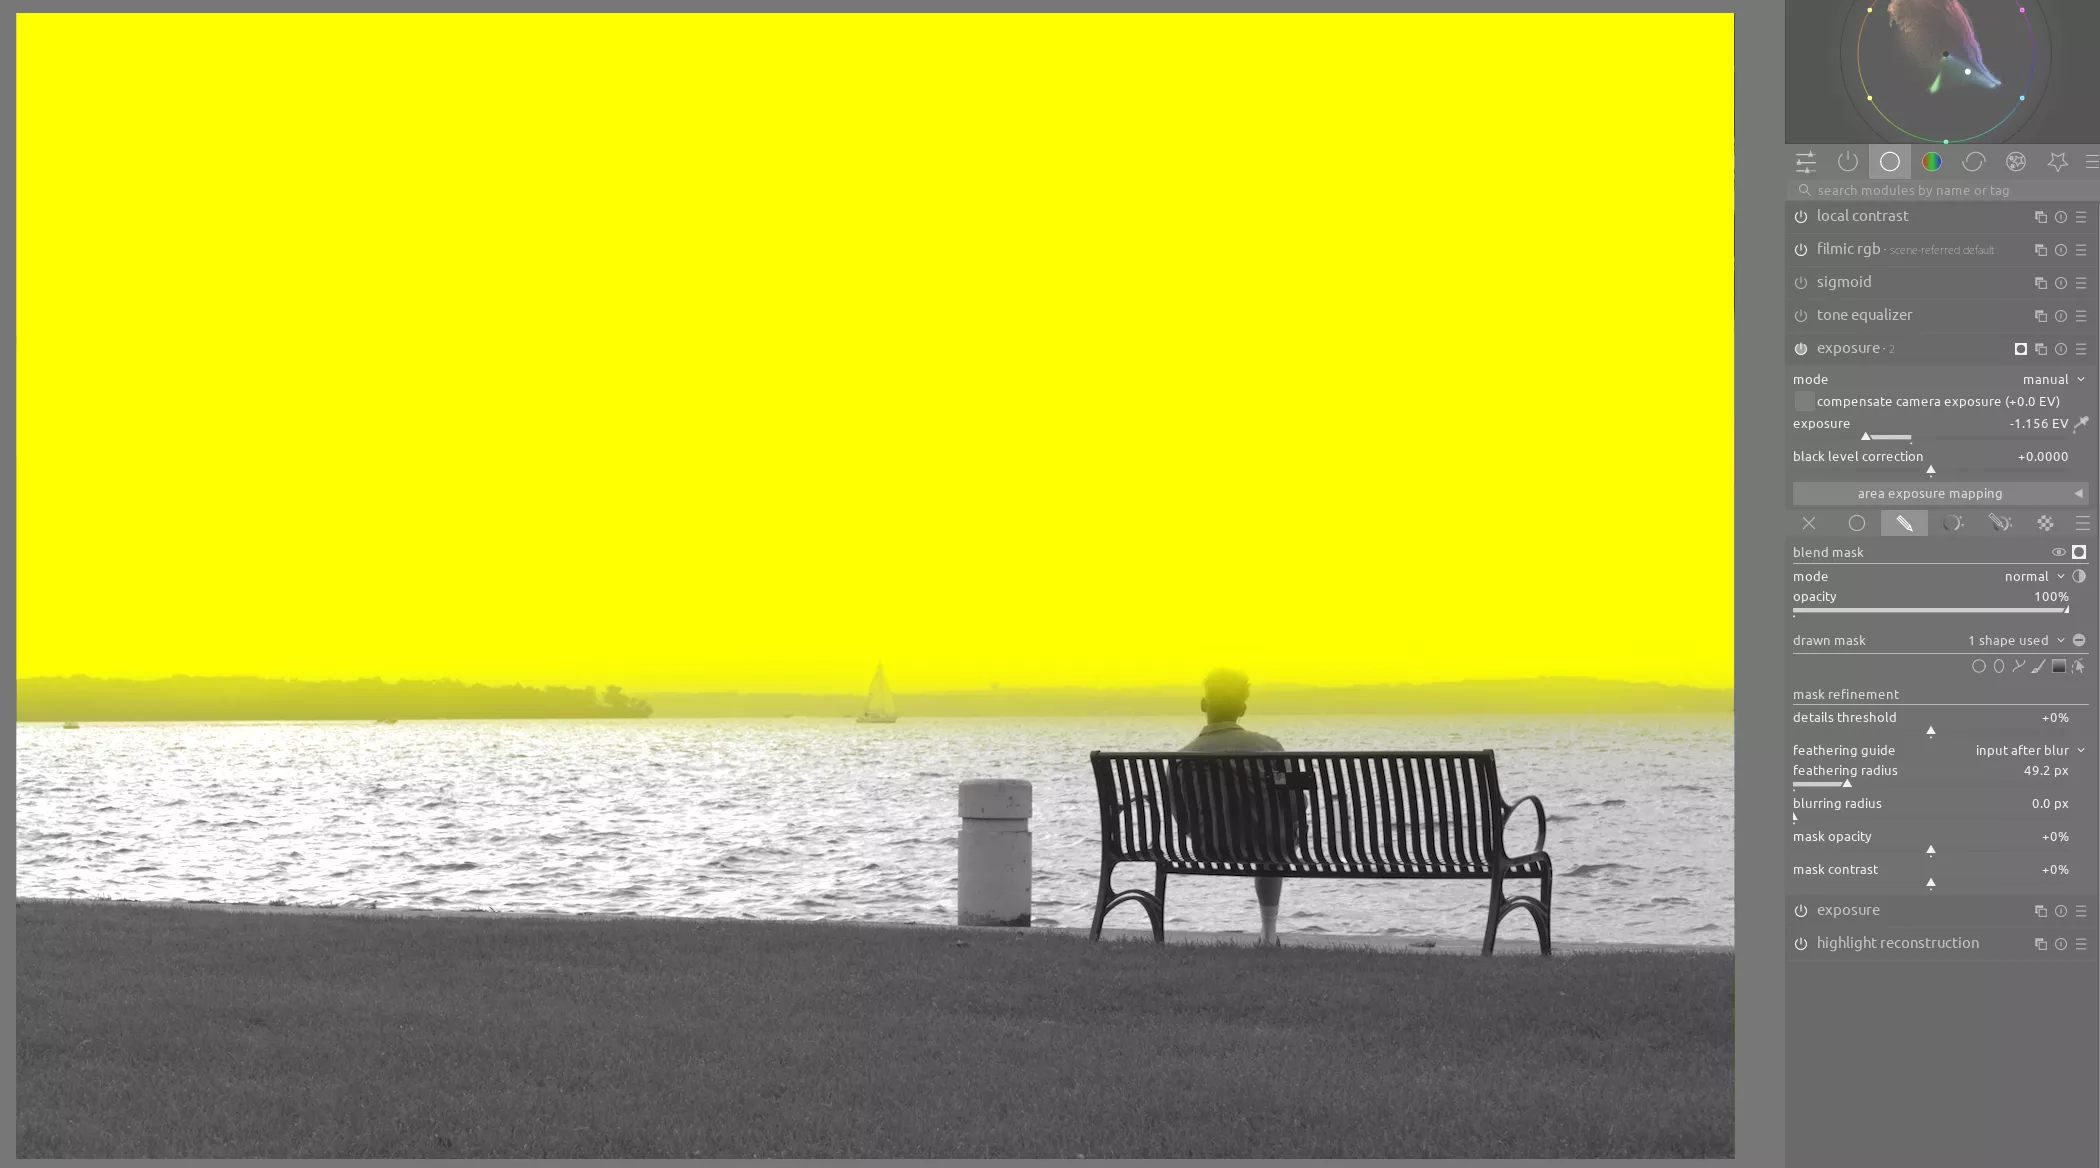
This allows us to reduce the exposure on the sky again, just like a physical GND would do, yielding a more compressed dynamic range in the final image:
Conclusion
Graduated neutral density filters are a powerful and relatively inexpensive tool to add to your photography toolbox. While it is possible to achieve the same effect in post-processing, it's better to reduce a scene's high dynamic range in-camera to avoid clipping. As with any filter, make sure you choose a high-quality model to avoid color casts or inconsistencies in the filter.

