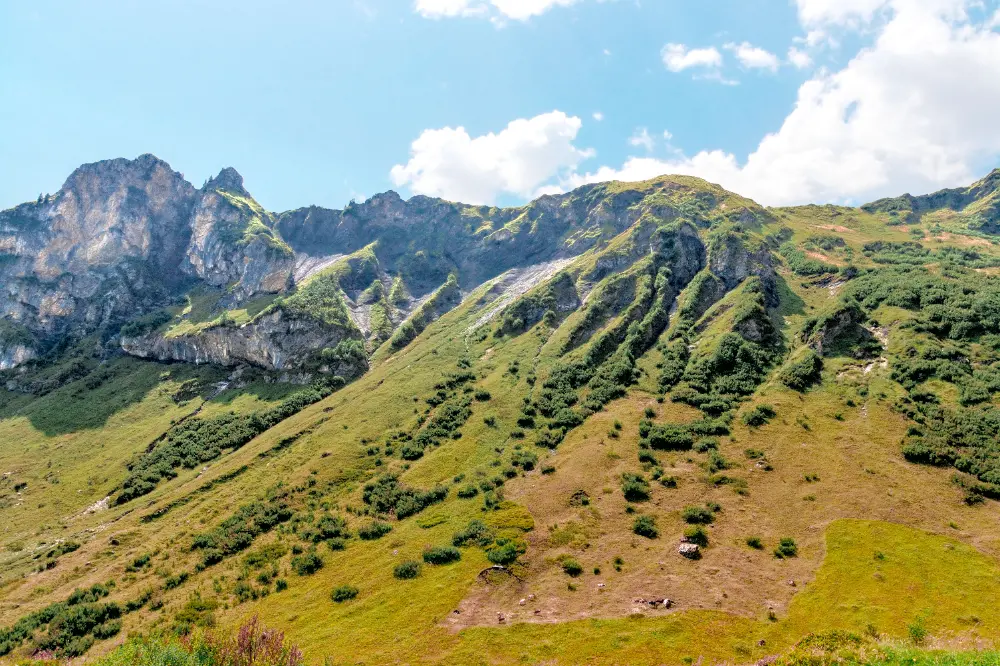

Shooting into the sun can result in underexposure and a loss of detail, especially in the shadows. If the situation forces you to shoot into the sun, learn how to compensate for these effects in darktable.
Contrast
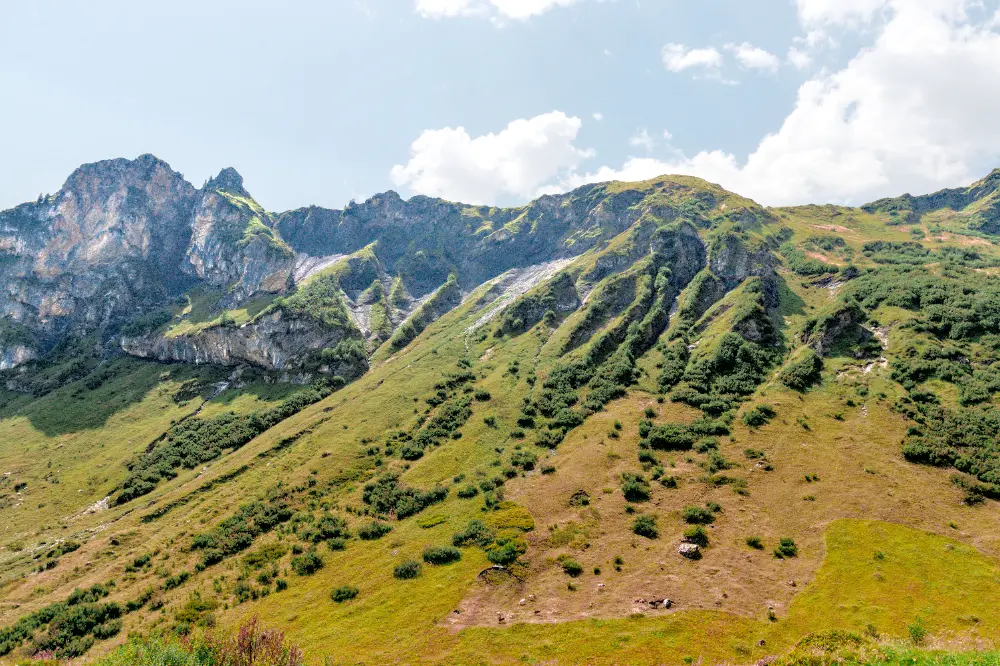
The sun was above and to the left of these mountains:
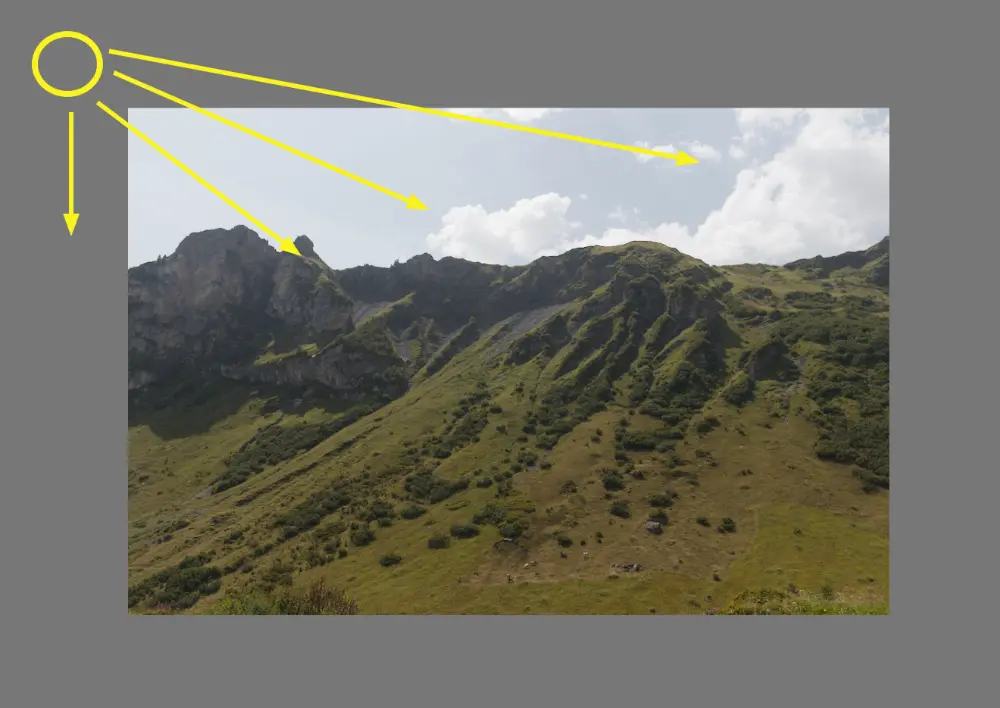
This unfortunate location ensured that the mountains, especially the larger peak to the left, were in shadow with low contrast. Perhaps the easiest way to see what is going on is to look at the waveform before and after:
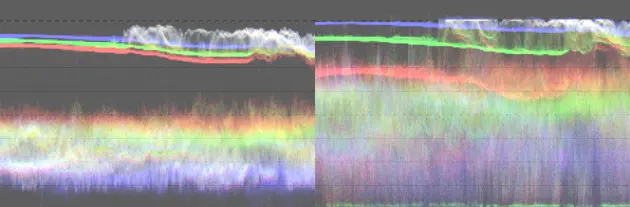
On the "before" waveform (left), the mountains are compressed into the bottom half with a lot of unused space above and below them; we want to fill this space to increase contrast, as seen on the "after" waveform (right). Unlike images with haze, techniques like the haze removal module or diffuse or sharpen with the dehaze preset won't help here.
Let's start with brightening the shadows using tone equalizer:
The module settings are as follows:
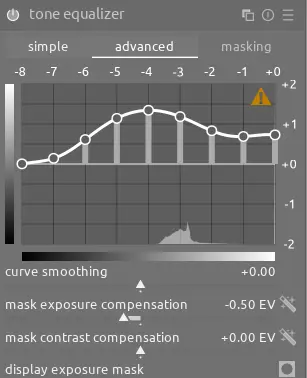
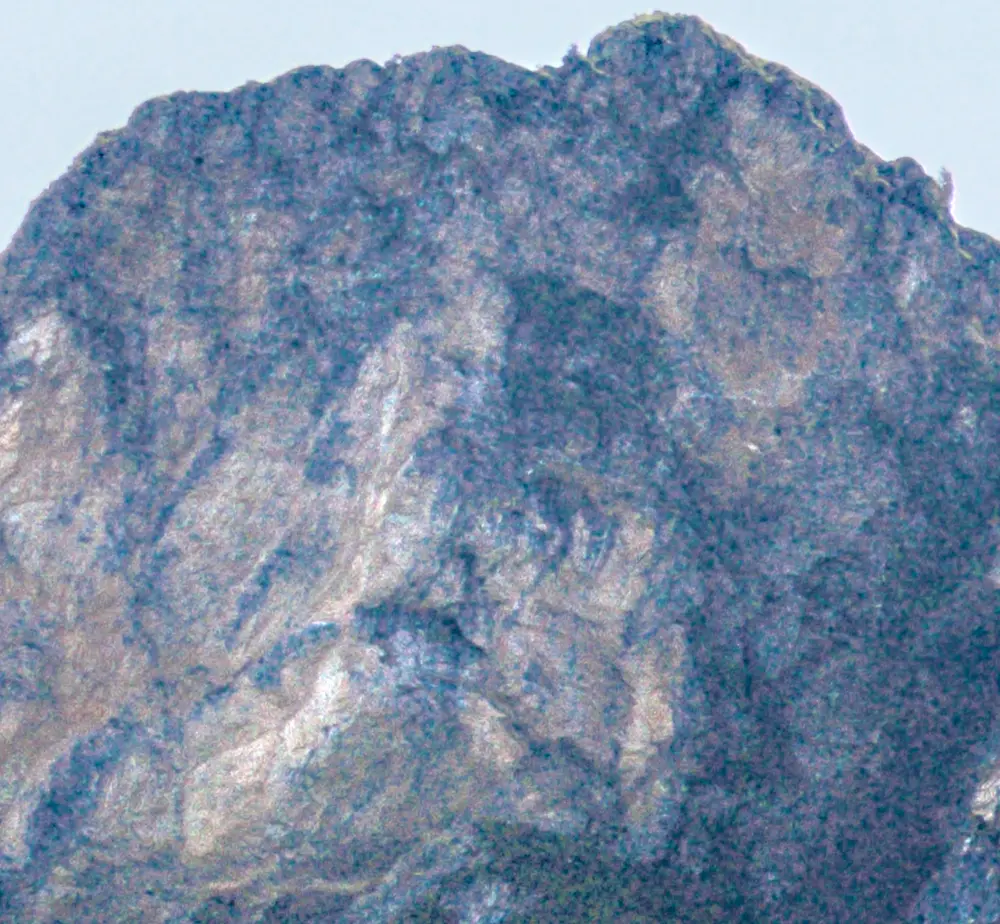
Note that the mask settings above push the sky off of the right side of the graph, so the above curve affects the mountains much more than the sky. This helps brighten up the mountains overall, but doesn't increase the local contrast of the rock in the mountains. To do this, we need a stronger and more targeted approach - create an instance of local contrast and select the vividlight blend mode. You should try the other contrast enhancing blend modes too, but in this case vividlight is the one that provides the contrast needed on the lightest parts of the rock:

To refine the effect, use a drawn mask to exclude the sky and a parametric mask with the L and C channels to select just the rock and not the rest of the mountains. Finally, as suggested in the documentation for the blend mode, you'll want to decrease the opacity slider to reduce the intensity of the effect. This is a dramatic difference:
Denoise

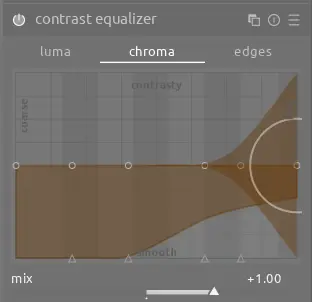
This improvement comes at a cost - chroma noise. Fortunately, it is easily corrected with contrast equalizer:
Color
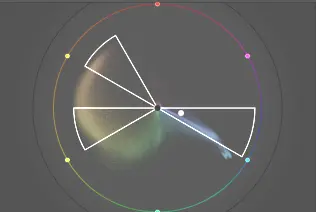
Finally, let's use a split complementary color harmony and the color equalizer module to highlight the difference between the red dirt and branches and the green plants:
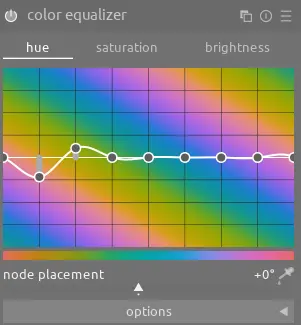
We also can use color equalizer to darken the sky and increase the saturation of the blue.
Conclusion
The final image is quite an improvement from the original:
Therefore, even if you are shooting under less-than-ideal circumstances, there's still quite a bit you can do in post-processing to restore the beauty of the original scene.