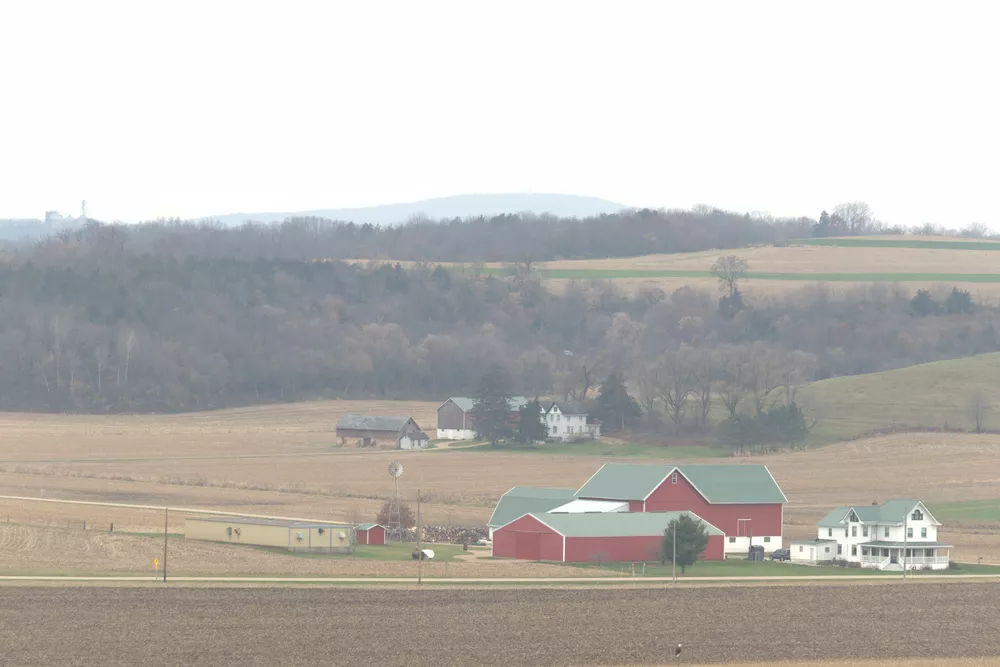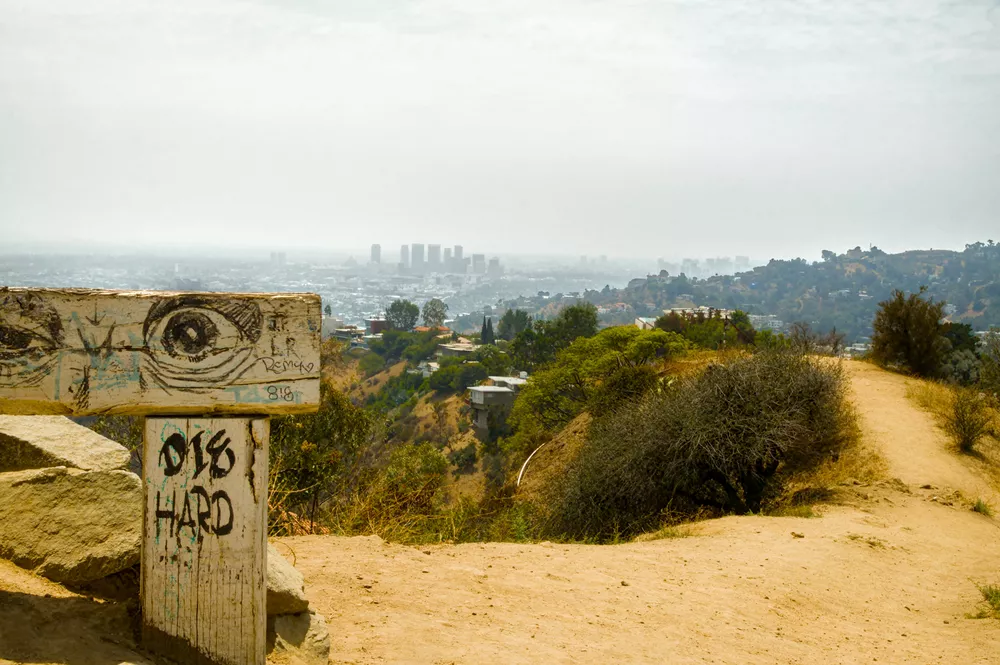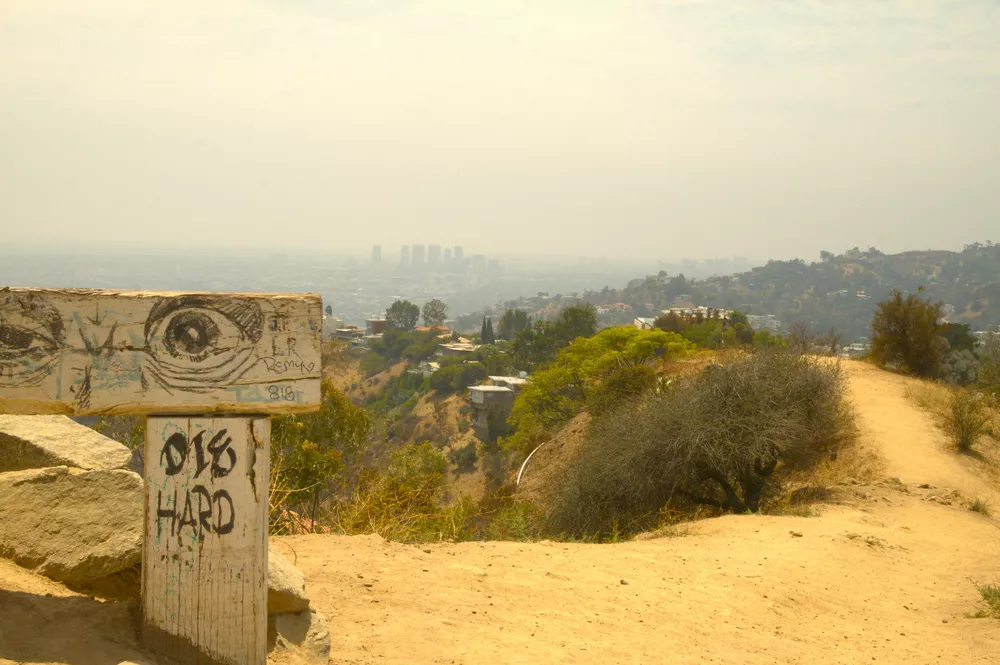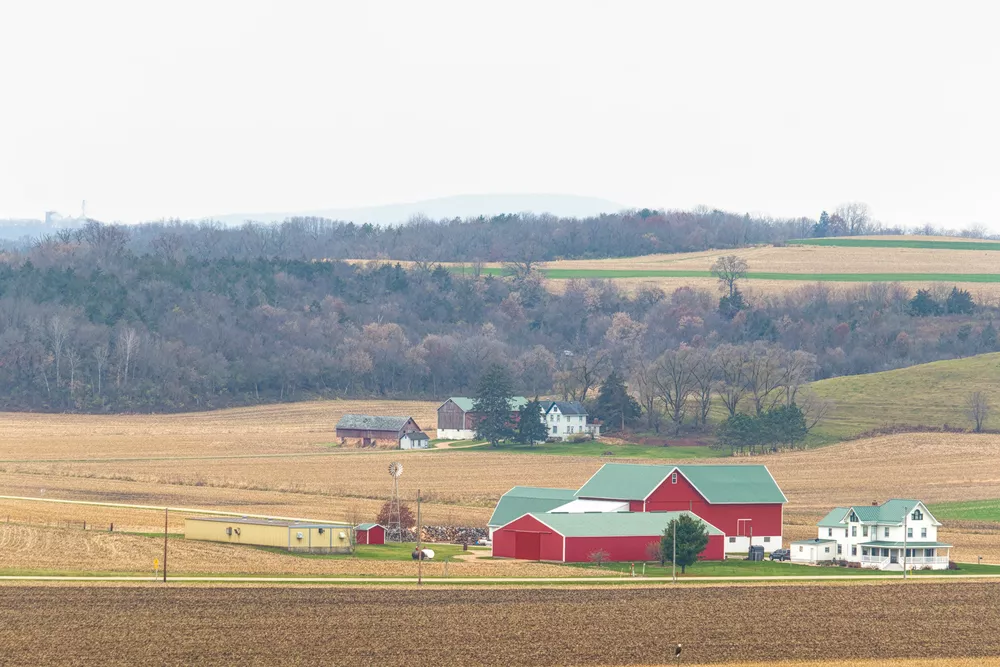
Shooting far-away subjects often results in haze, characterized by a loss of contrast and a loss of detail. Fortunately, sigmoid is well-suited to recover this contrast and pairs well with the haze removal, local contrast, or diffuse or sharpen modules to reverse the haze. Let's dive in and see how this works.
A Country Farm
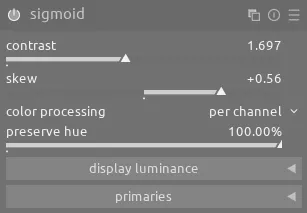
The first thing we want to do is enable sigmoid (and ensure filmic rgb is disabled) and increase the contrast slider significantly; this removes the flat, dull look often associated with long-distance shots. You can also use the skew slider to add more contrast to the shadows or highlights:
Next, Try using the haze removal module to see how much it improves the scene:
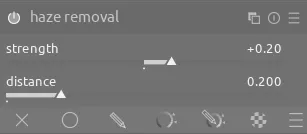
We need to compensate for a lack of sharp detail due to all of the atmosphere between the camera and the subject. Try the dehaze or dehaze: extra contrast presets of diffuse or sharpen and see which gives a good result. Note that with diffuse or sharpen you might need to adjust the iterations slider. For this image, just using the dehaze preset with the default settings is sufficient.
Finally, use local contrast for an additional boost to contrast:
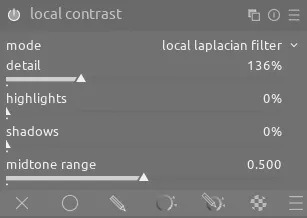
Out In LA
In a city well-known for its smog, the first challenge with this scene is restoring the contrast that was lost. Once again, make sure filmic rgb is disabled, enable sigmoid, and increase the contrast slider:
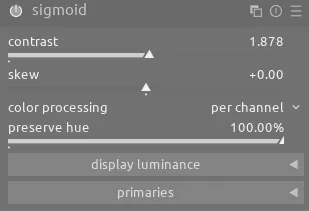
In this case, we will use the local contrast module with a drawn mask to cut through the haze and improve the contrast on the cityscape. Note that we increase the mask contrast slider quite a bit in order to prevent the mask from affecting the trees on the nearby hill:
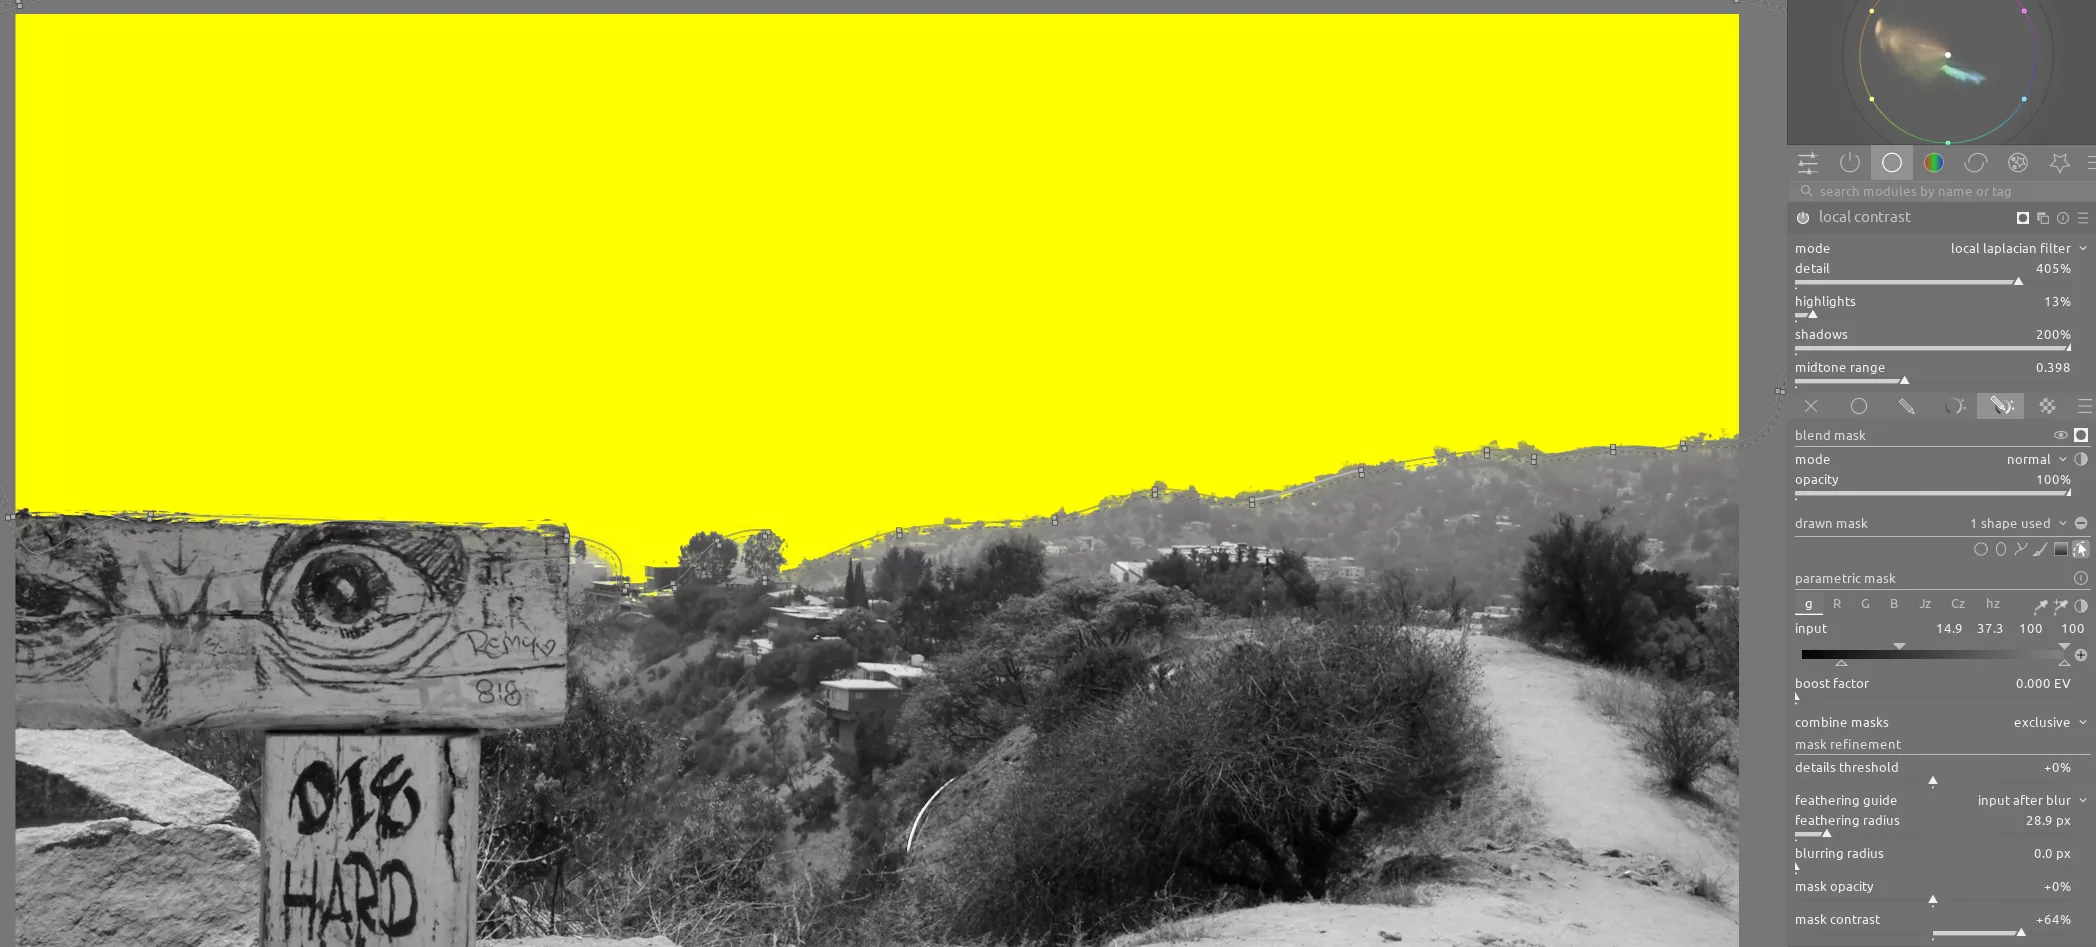
This works well to counteract the haze, but also introduces noise in the sky, so use an instance of diffuse or sharpen with the denoise: fine preset to smooth out the sky.
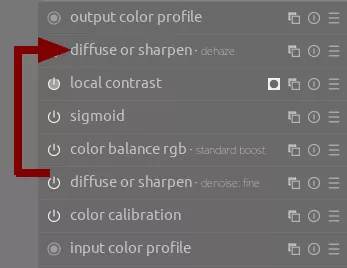
Finally, add an instance of diffuse or sharpen with the dehaze preset. This sharpens the cityscape, counteracting the blurriness introduced by the haze. Use CTRL+drag to drag this module after local contrast so it has a better foundation upon which to work:
Conclusion
Don't discard a long-distance image just because it looks flat; it is quite possible to correct for haze and create a much more compelling photo.

