
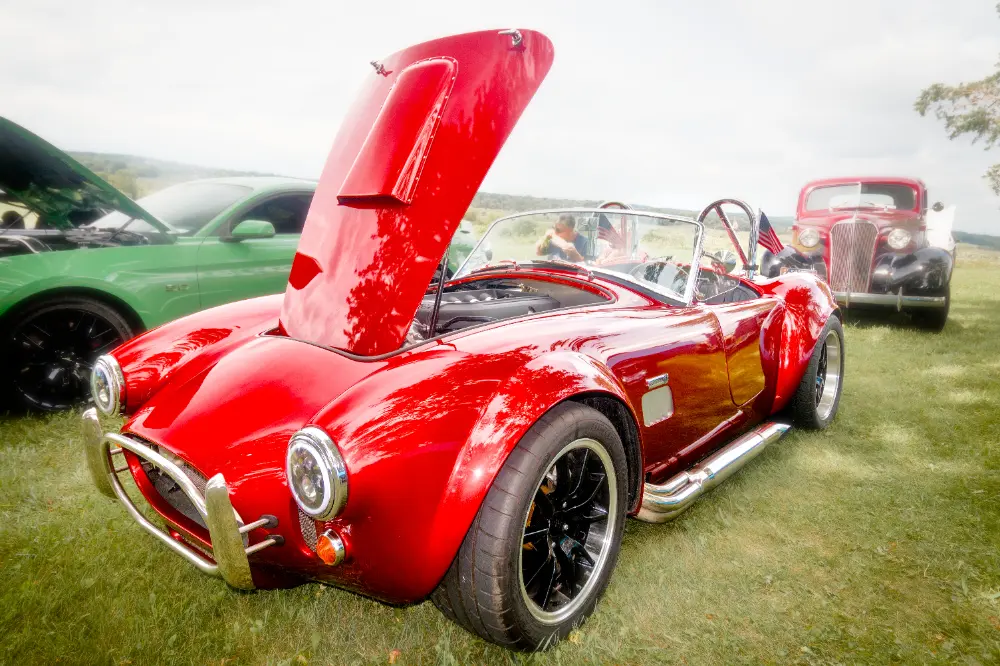
Not only can you create powerful masks quickly in darktable, you can also reuse them in multiple modules, saving time and allowing you to apply different types of changes (e.g. exposure, color, or detail) to the same masked area. Let's look at some examples of how to reuse masks below.
Drawn Masks
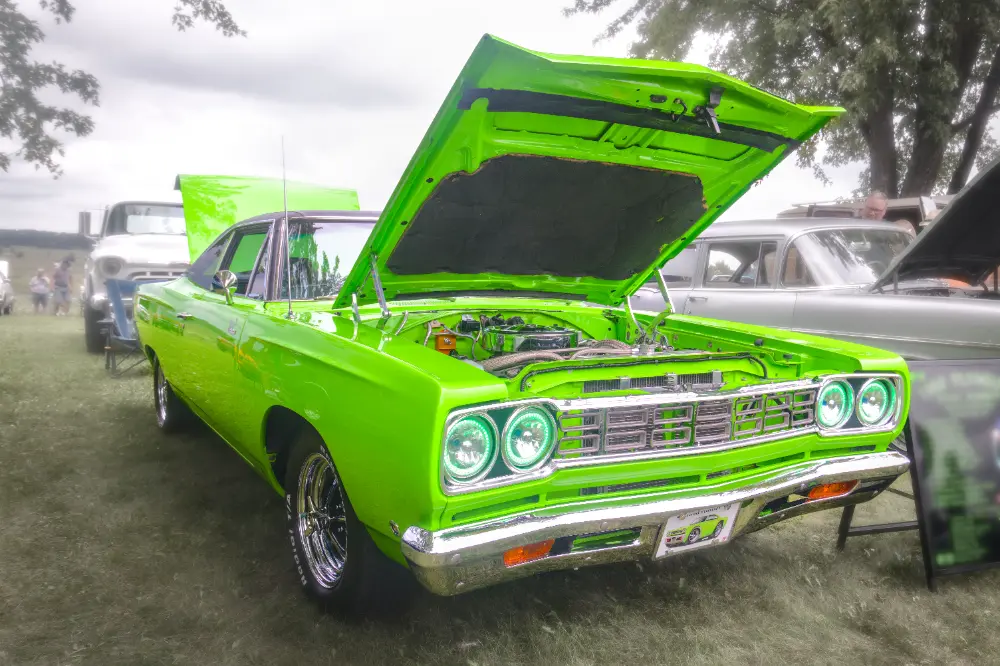
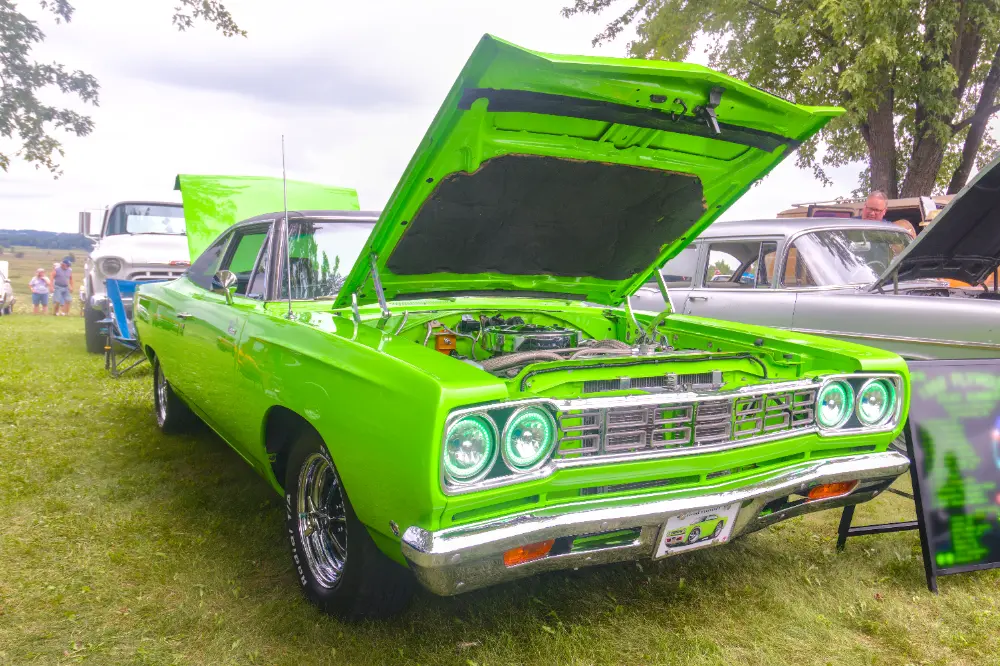
The simplest case of reusing a mask is when you create a drawn mask on one module, you can select that same shape on a second module. In this example, we've created a drawn mask on an instance of diffuse or sharpen that blurs the background:
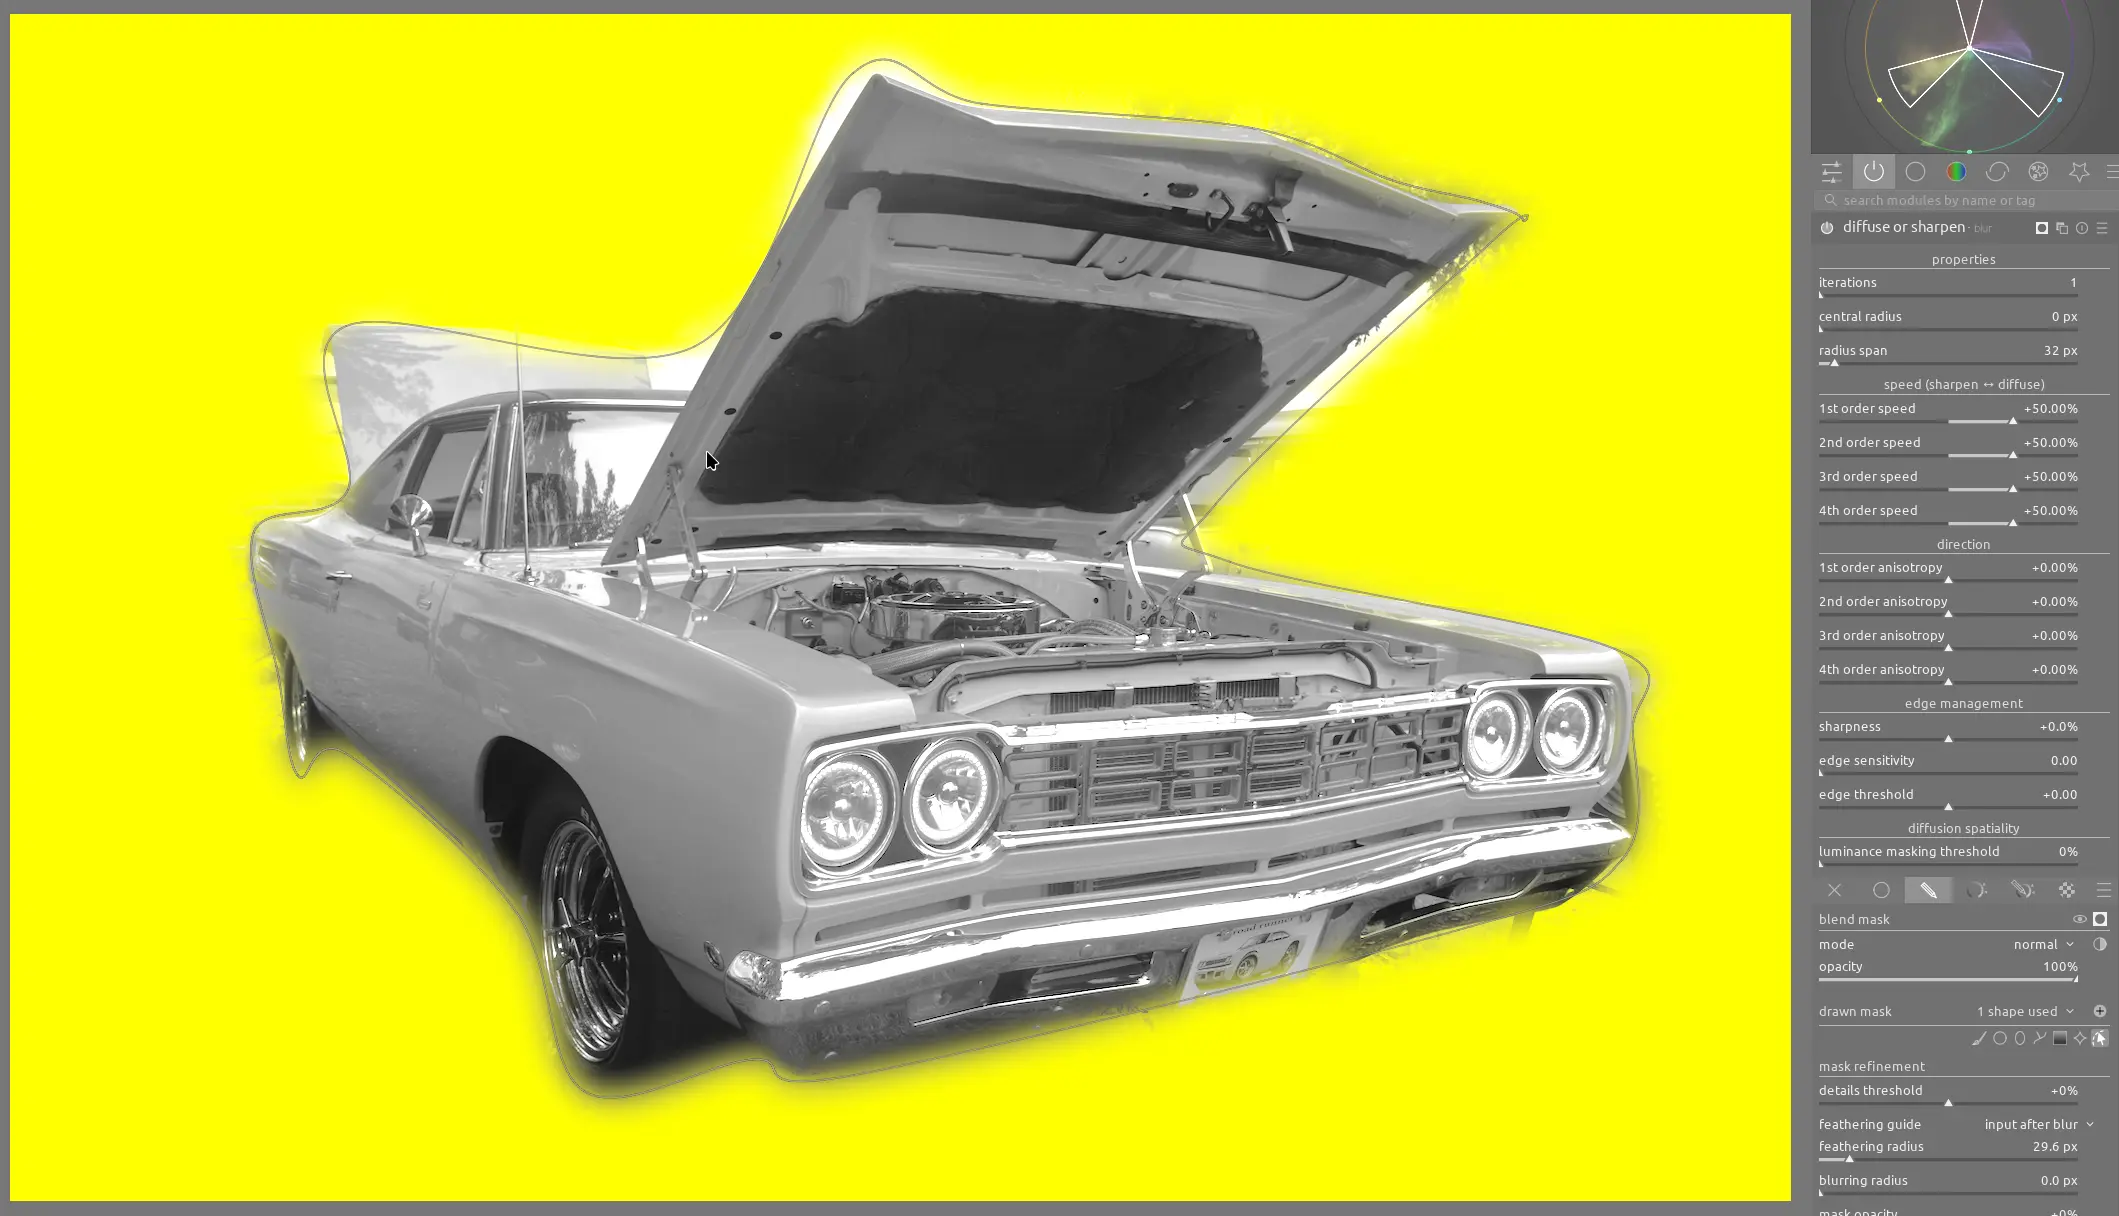
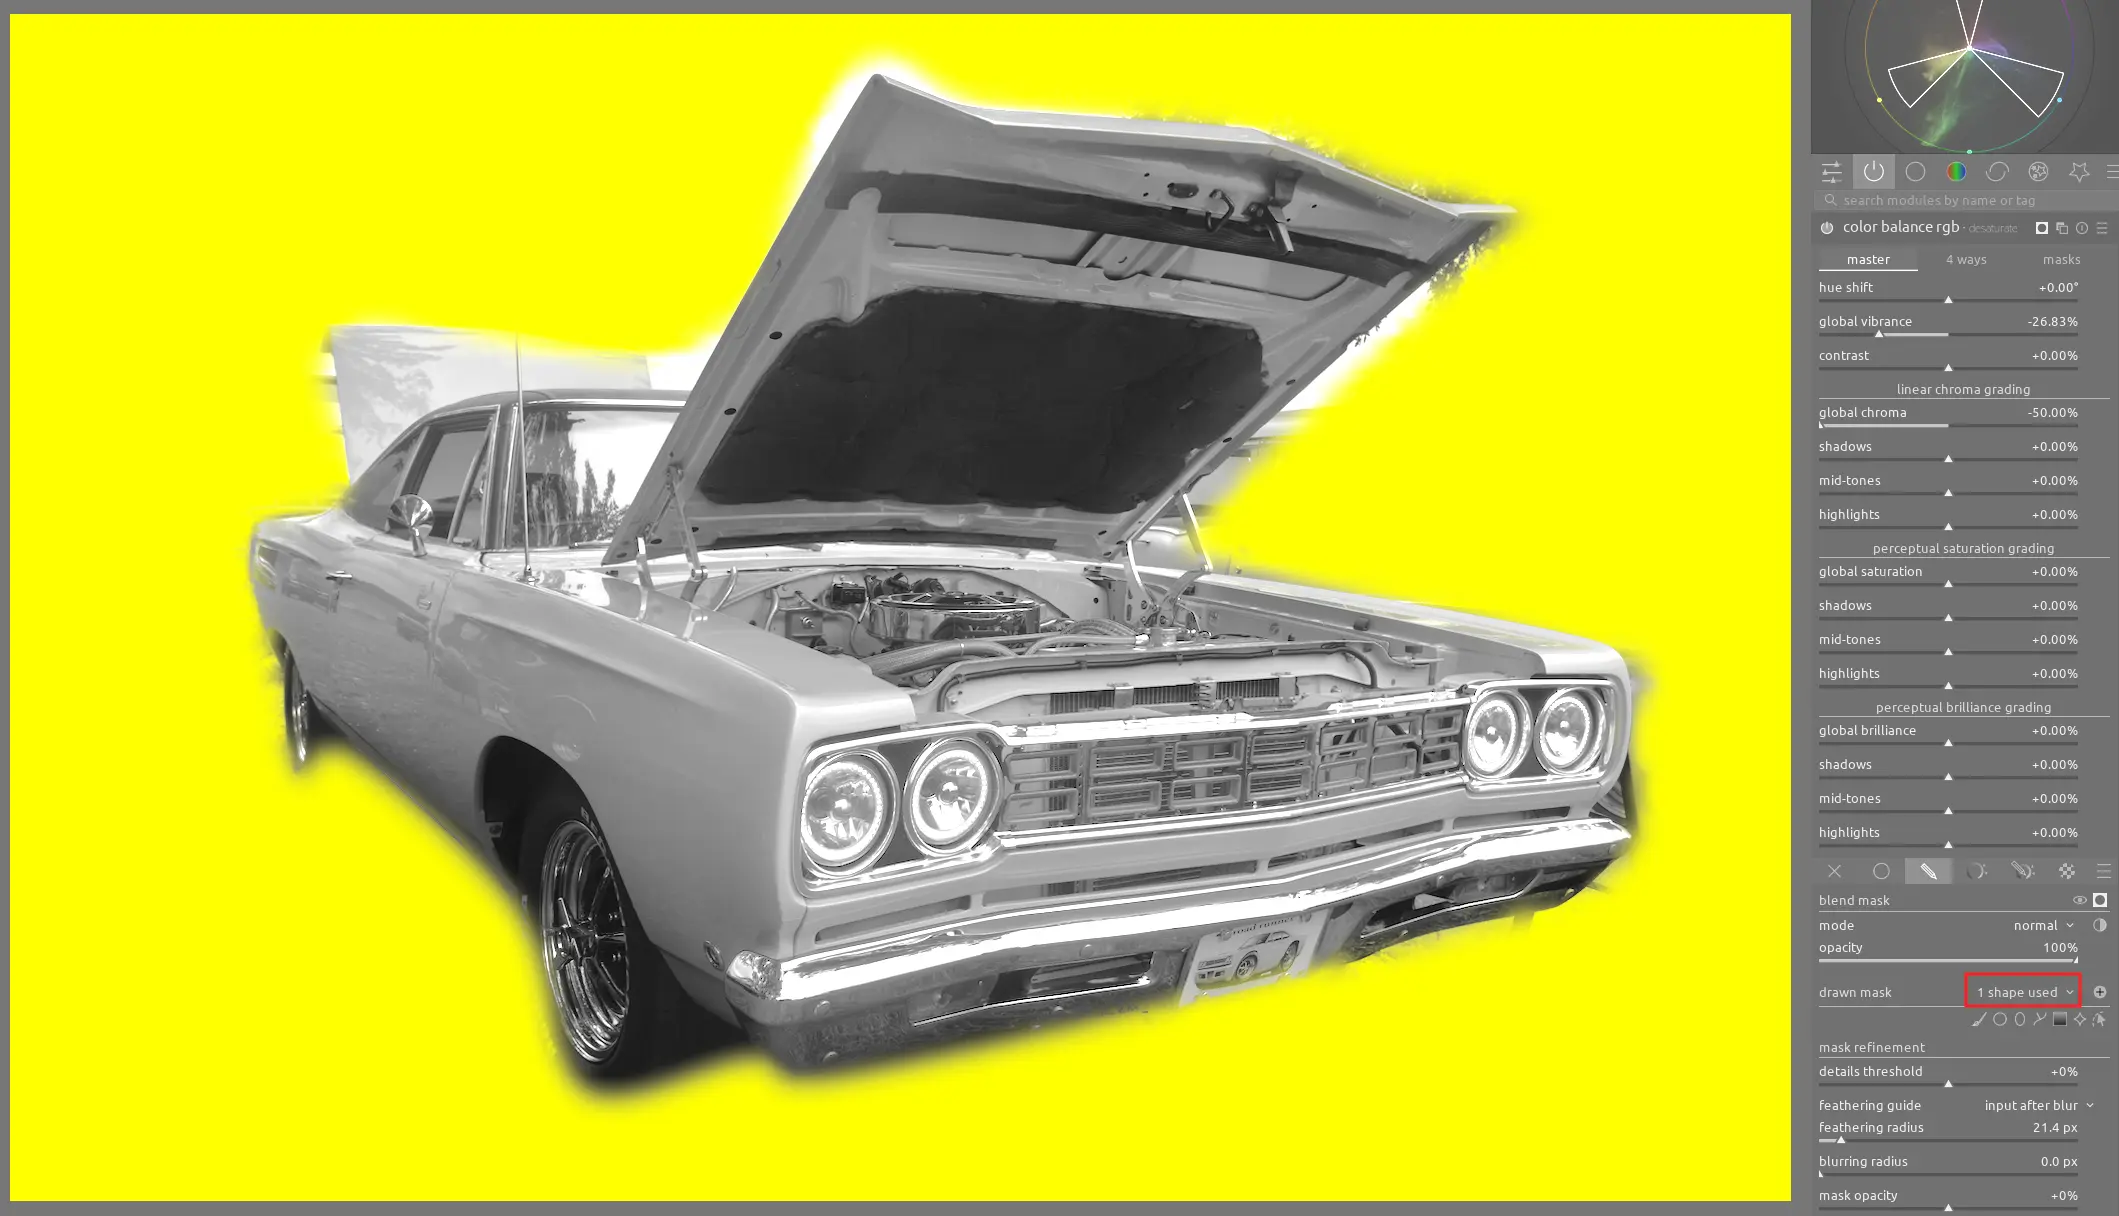
We can then easily reuse this shape on an instance of color balance rgb where we desaturate the background to make it less distracting:
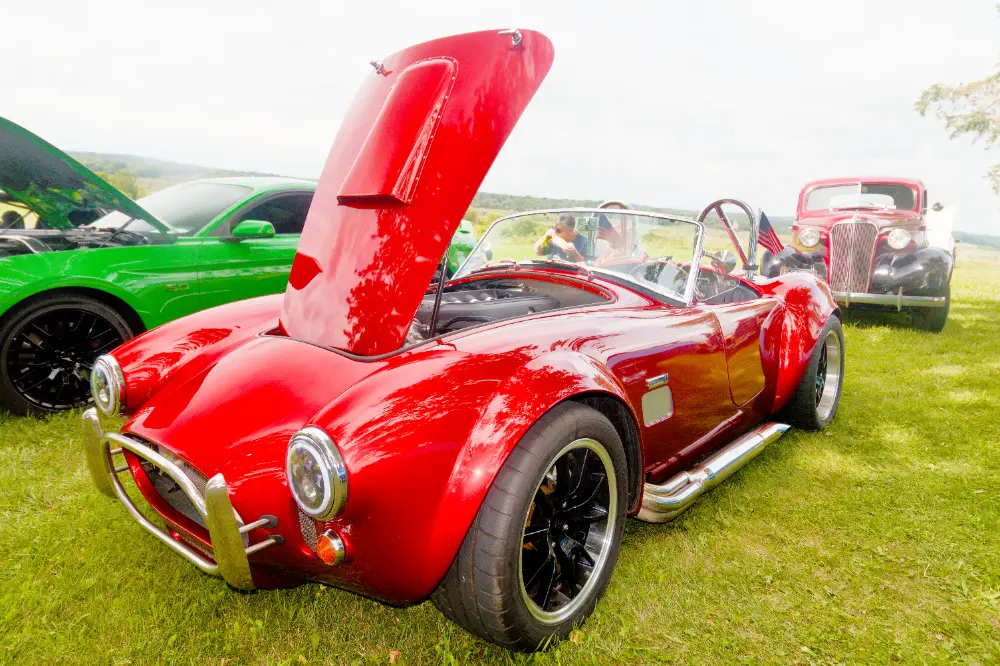
Note that Mopars, this type of classic muscle car, really did have these vibrant paint colors. This image is not an exaggeration - it actually is this bright, intense green color!
Complex Masks as Raster Masks
Not only can you reuse a single mask, you can create a combination of drawn, parametric, and (in newer releases) AI masks and then reuse this combination in other modules using a raster mask. First, make sure you understand how the pixelpipe works and that modules are applied in a specific order. Note these important caveats:
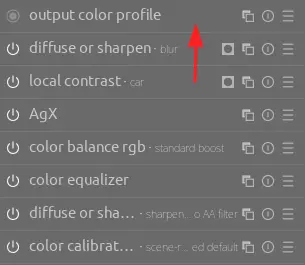
- you can only apply a raster mask after the module that originally created it (or above in the list of active modules). A commonly-recommended trick to make a raster mask available to most of the modules is to create a second instance of exposure, leave all sliders alone, and create your mask on this instance of exposure. Since this module comes early in the pixelpipe, the raster mask will be available to all modules after it. You can also CTRL+drag a module to change the order. In this example, the mask was originally created on local contrast, so it can only be used as a raster mask on modules above it:
- if the attribute selected in the original mask has been altered by a module between the original and where you reuse the mask, the raster mask may no longer reflect what you want. For example, if you made a parametric mask to select red, but then in a subsequent module invert all the colors, the raster mask will still select all pixels that were red when the original mask was created, even though they are no longer red
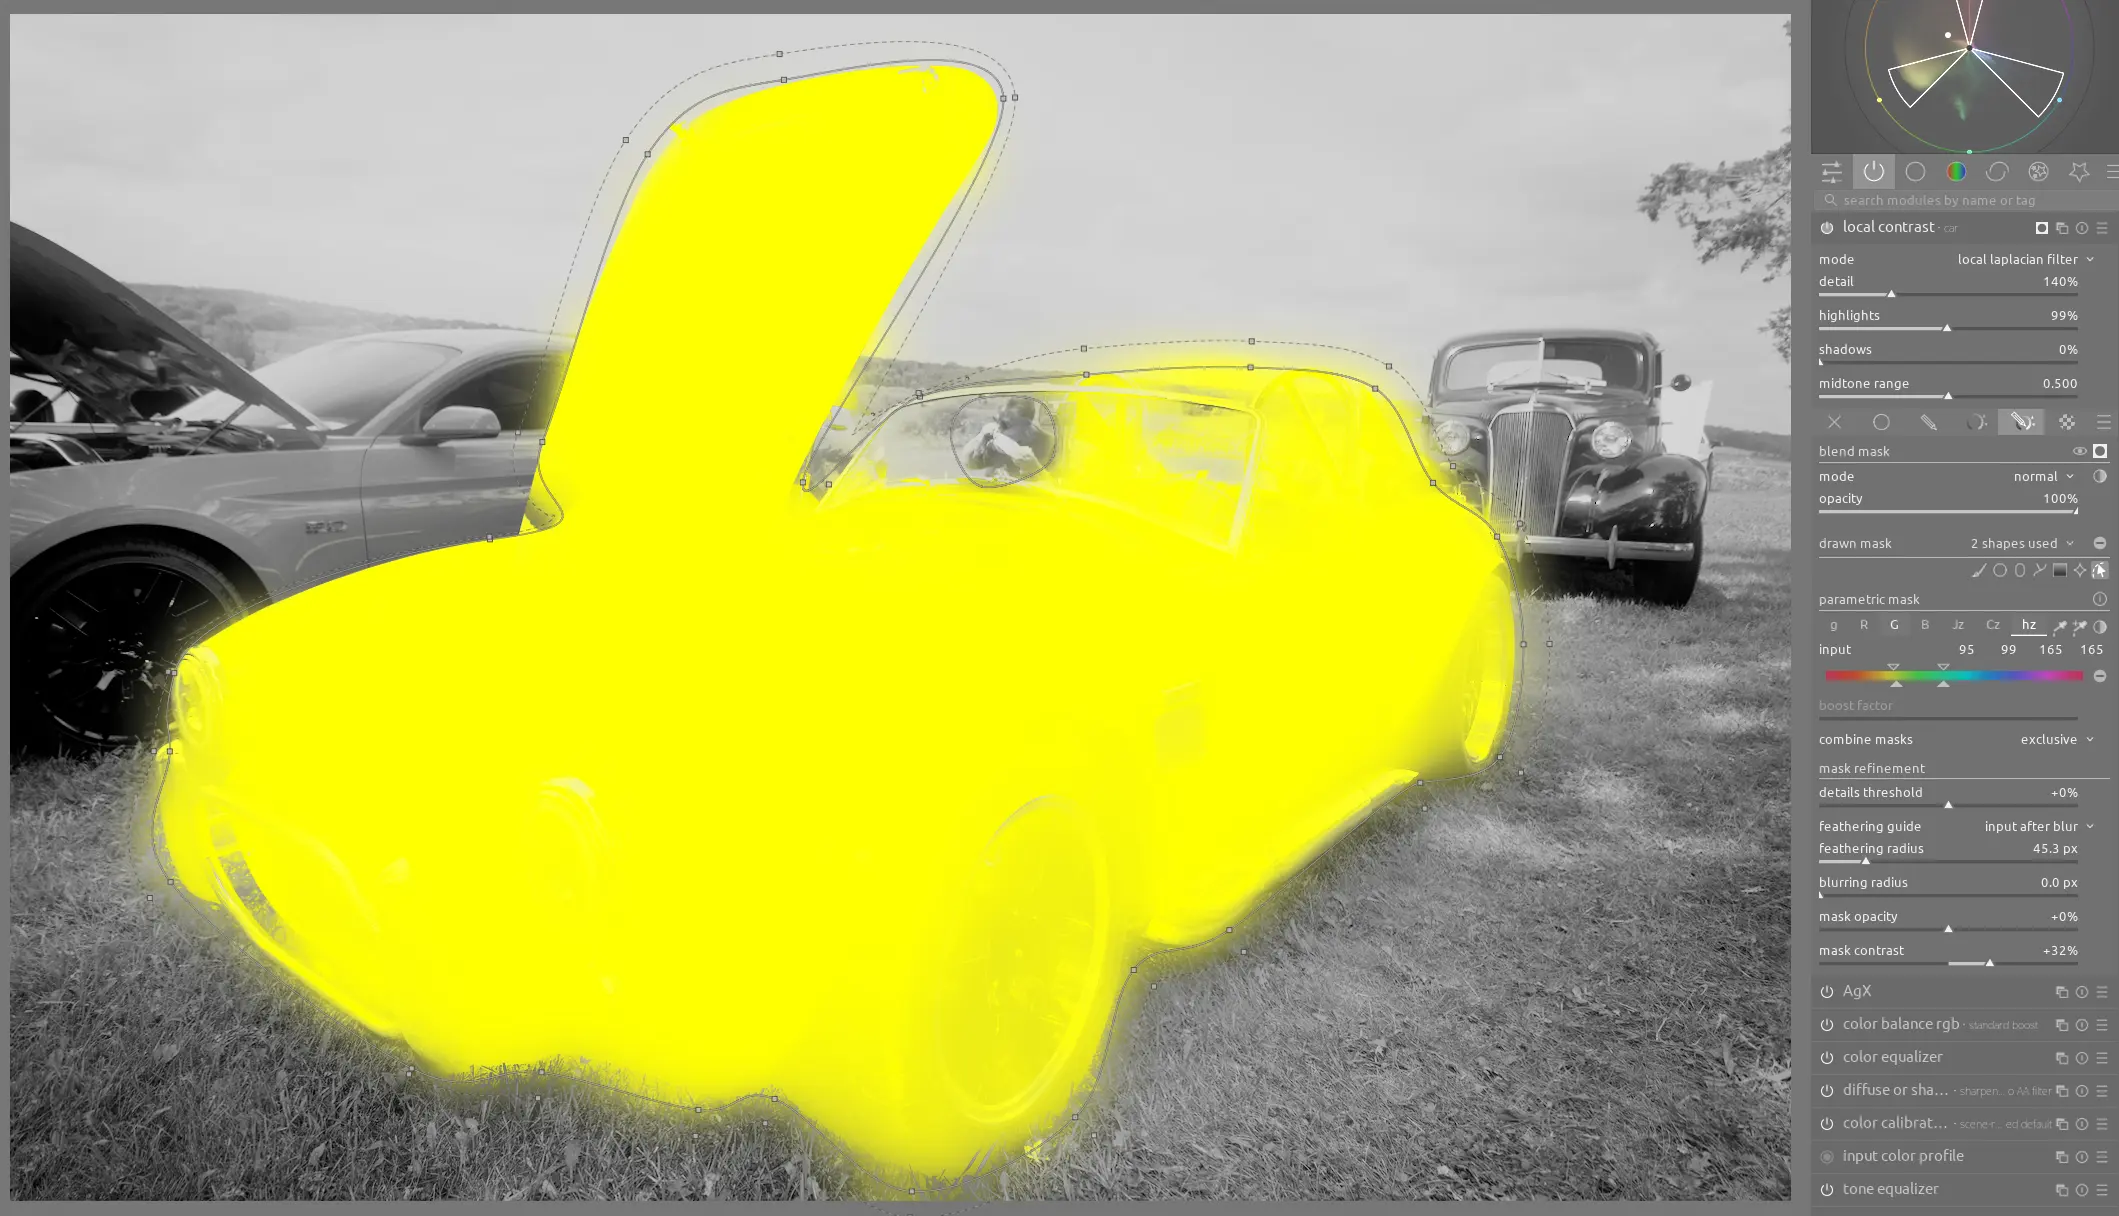
Understanding these limitations, let's create a complex mask on an instance of local contrast. This mask uses 2 drawn masks to select the car but exclude the scene through the windshield and then a parametric mask to exclude any grass or leaves:
After making the desired adjustments in this module, create another instance of diffuse or sharpen. As we said before, this instance must come after local contrast so the raster mask will be available in it. Select the raster mask from local contrast, invert it with the -/+ signs, and apply a blur (e.g. the artistic effects - bloom preset) to the background:
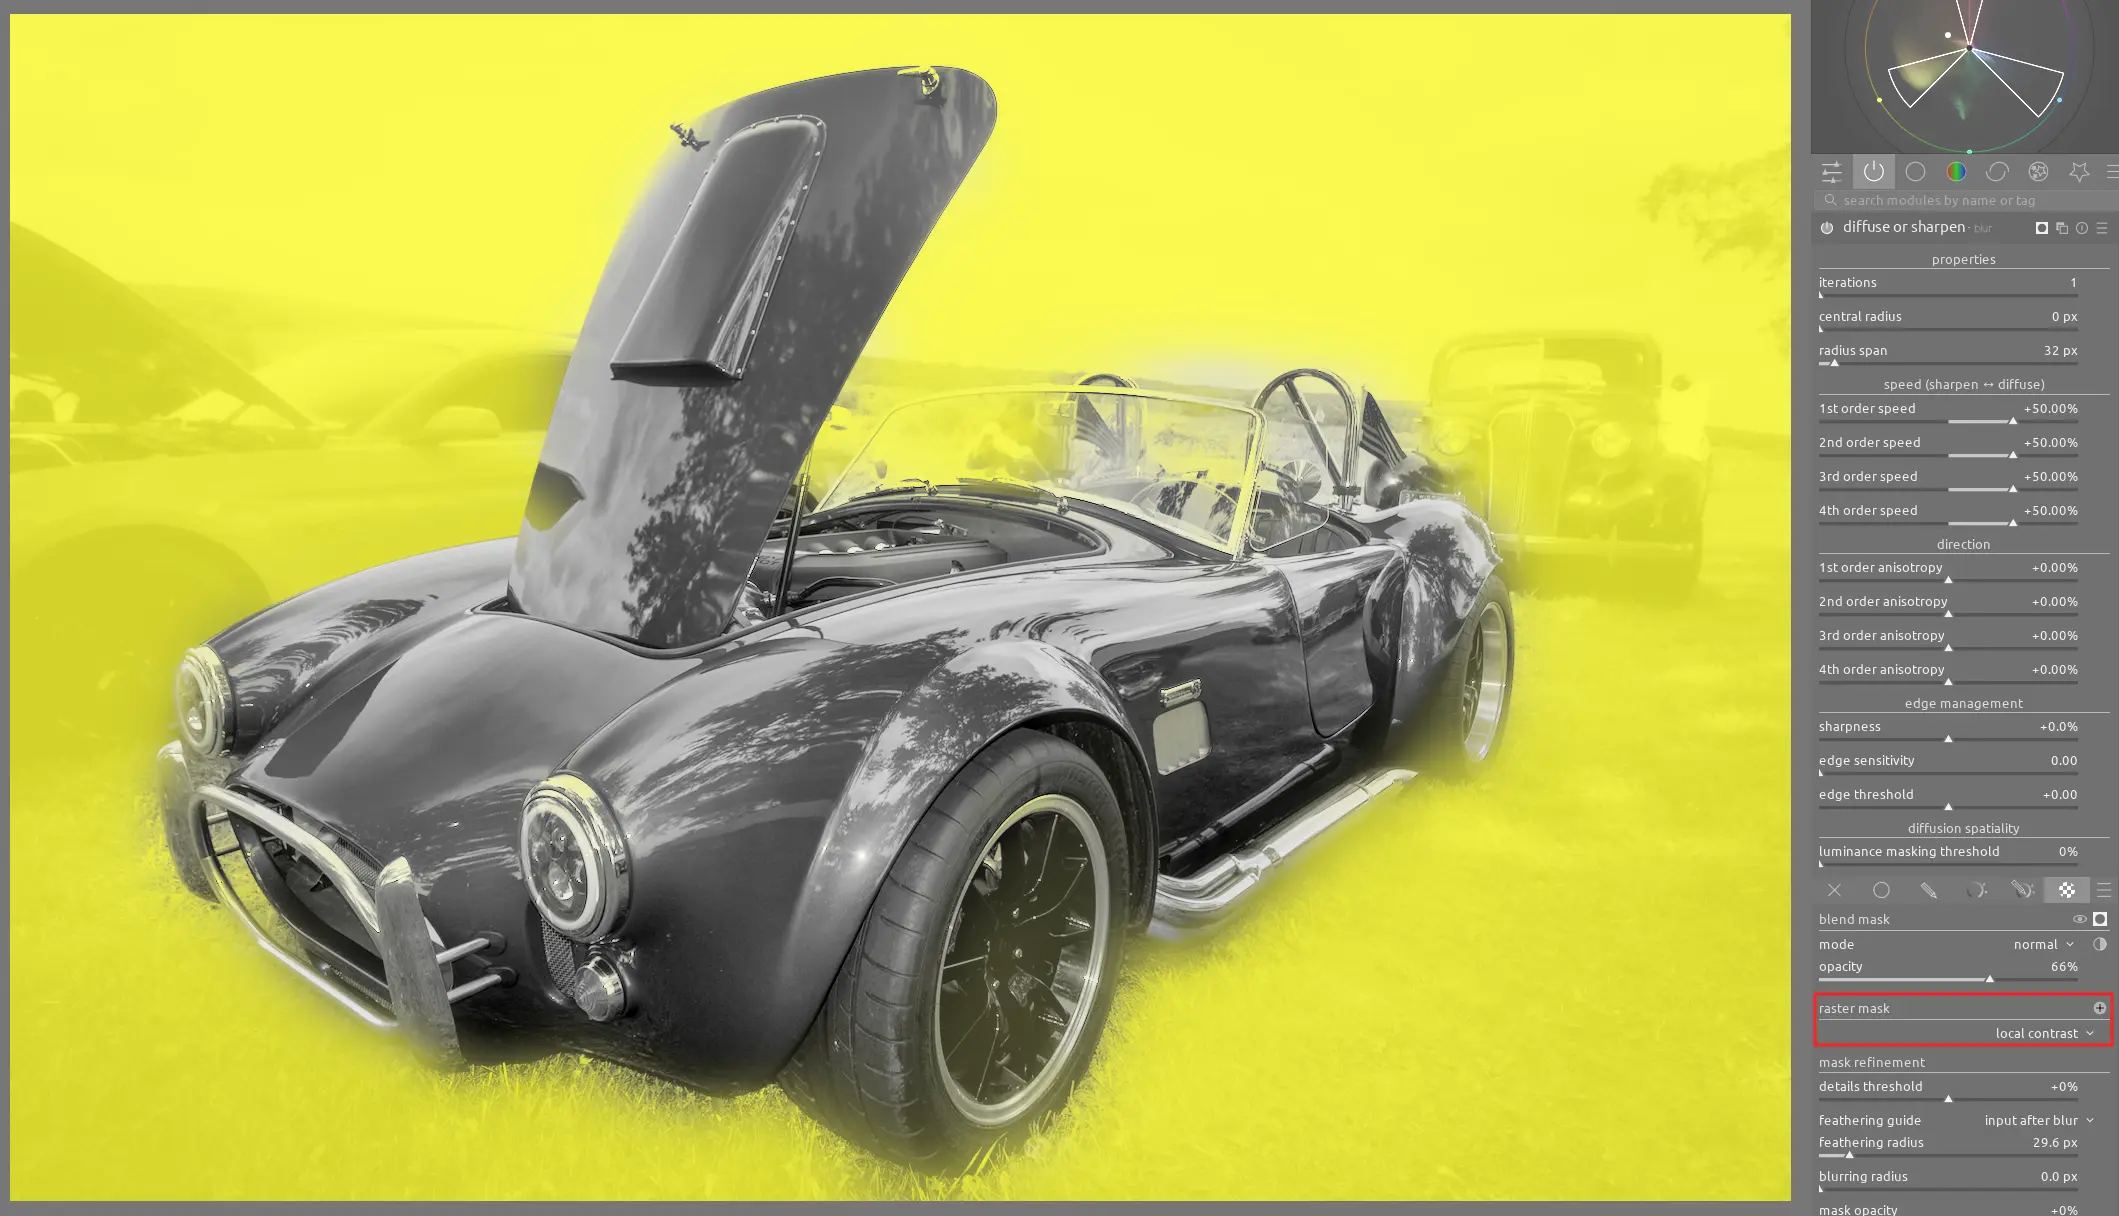
Using a raster mask, we only have to do the work of selecting the car once but can apply changes to this part of the image in multiple modules easily.
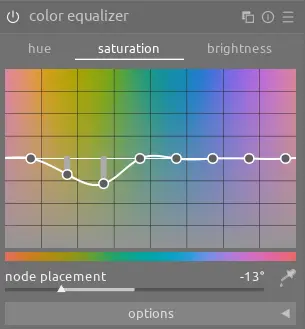
Finally, use an instance of color equalizer to desaturate the greens to make them less distracting:
Conclusion
Darktable's powerful masking not only lets you easily select the desired part of the scene, but you can also apply multiple different types of adjustments by reusing masks in more than one module.