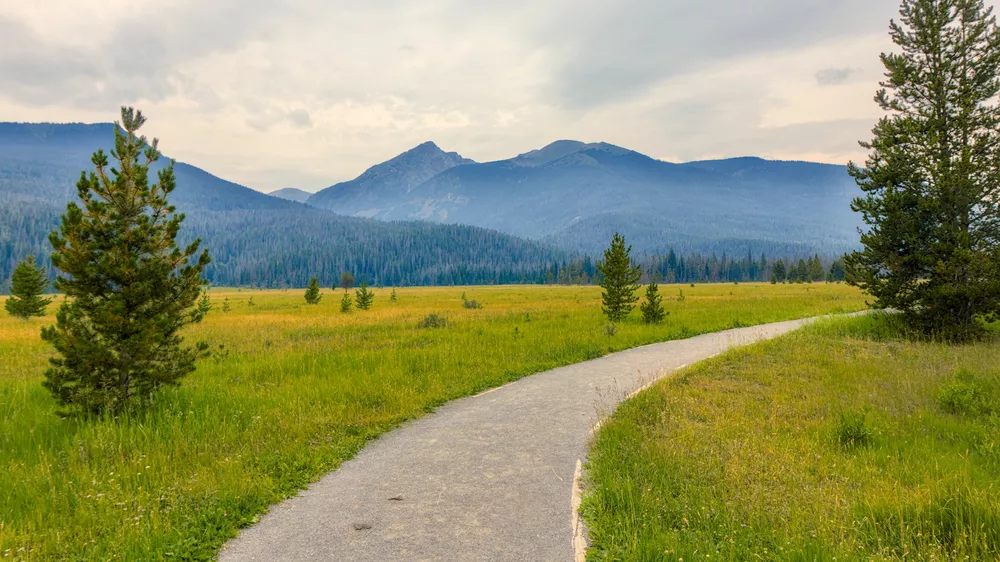
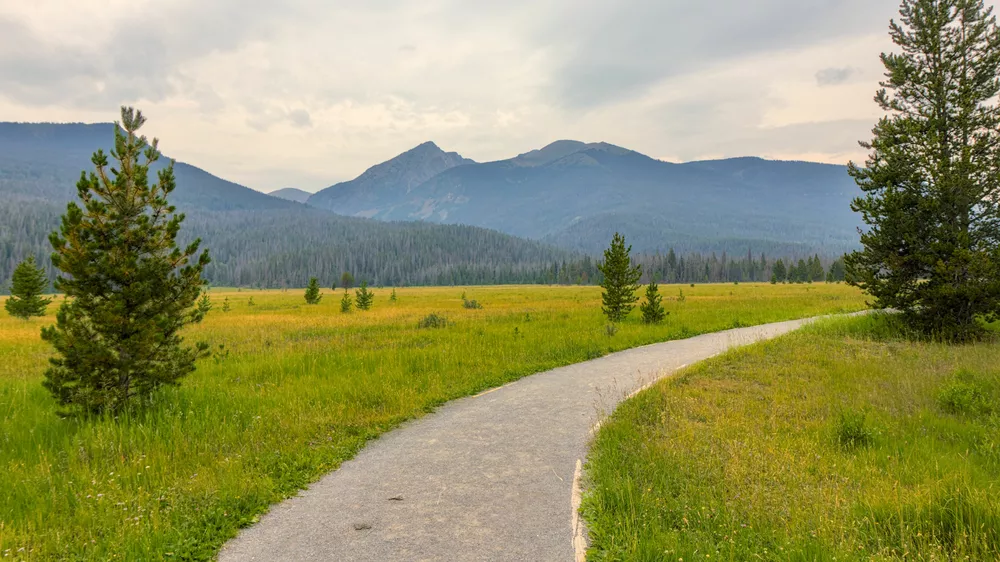
Darktable's powerful drawn masks and parametric masks let you quickly and easily make targeted edits to only part of an image. Let's learn how to use both types of masks and then make several example adjustments.
Drawn Masks
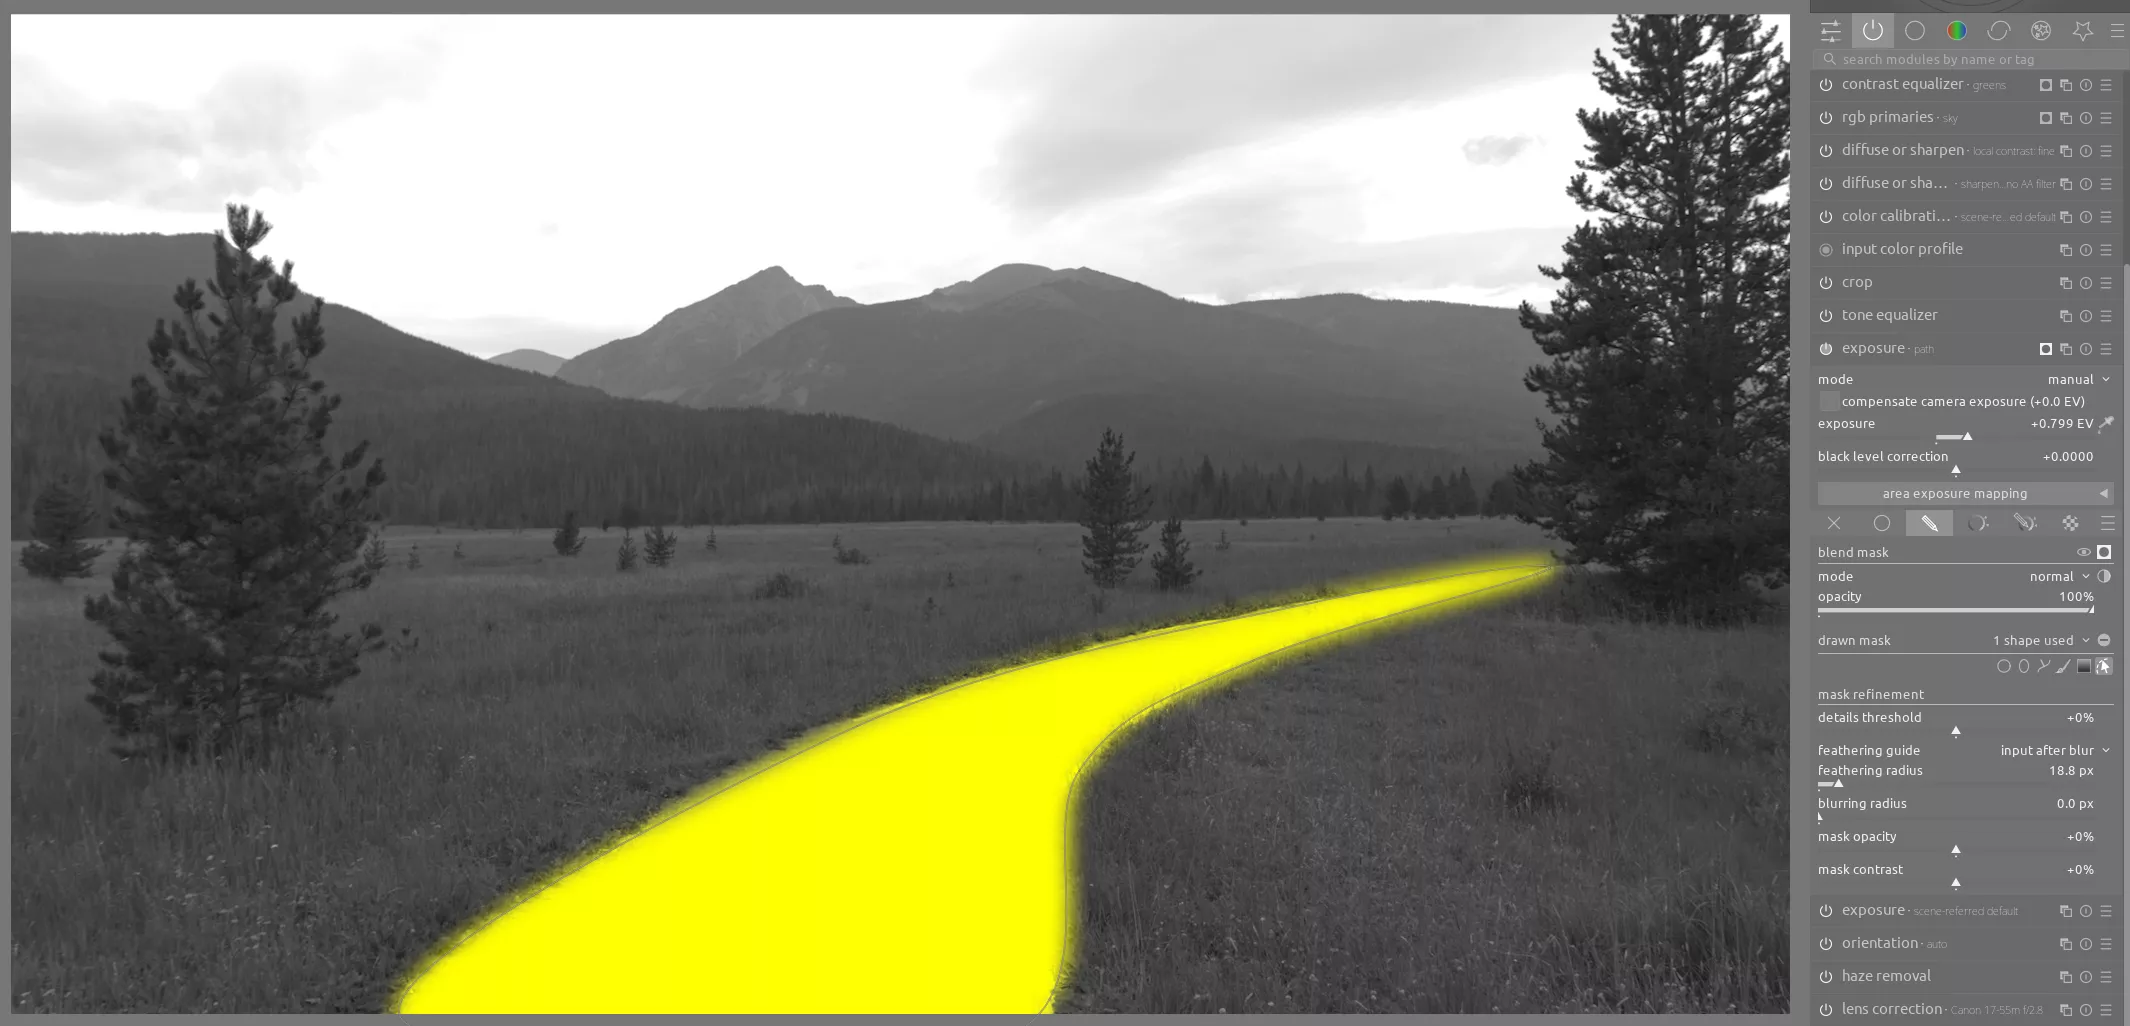
As described in the manual, drawn masks allow you to draw a shape around an area of the image and only apply the effects of the module to the area. In the past, software might have required you be very precise when creating the mask to avoid affecting surrounding regions. However, with darktable's drawn masks, you can utilize the details threshold, fethering radius, blurring radius, mask opacity, and mask contrast sliders (more info) to make the mask fill the desired area with just a rough outline. This mask covers the walking path and allows us to make it lighter to draw more attention to it. Simply using the feathering radius slider allows a quickly-created drawn mask to fill in the entire area of the path:
Note that you can also invert the polarity of a drawn mask to select everything except for the mask if masking the area you wish to exclude is the easier way to achieve the desired adjustment.
Parametric Masks

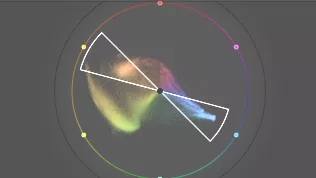
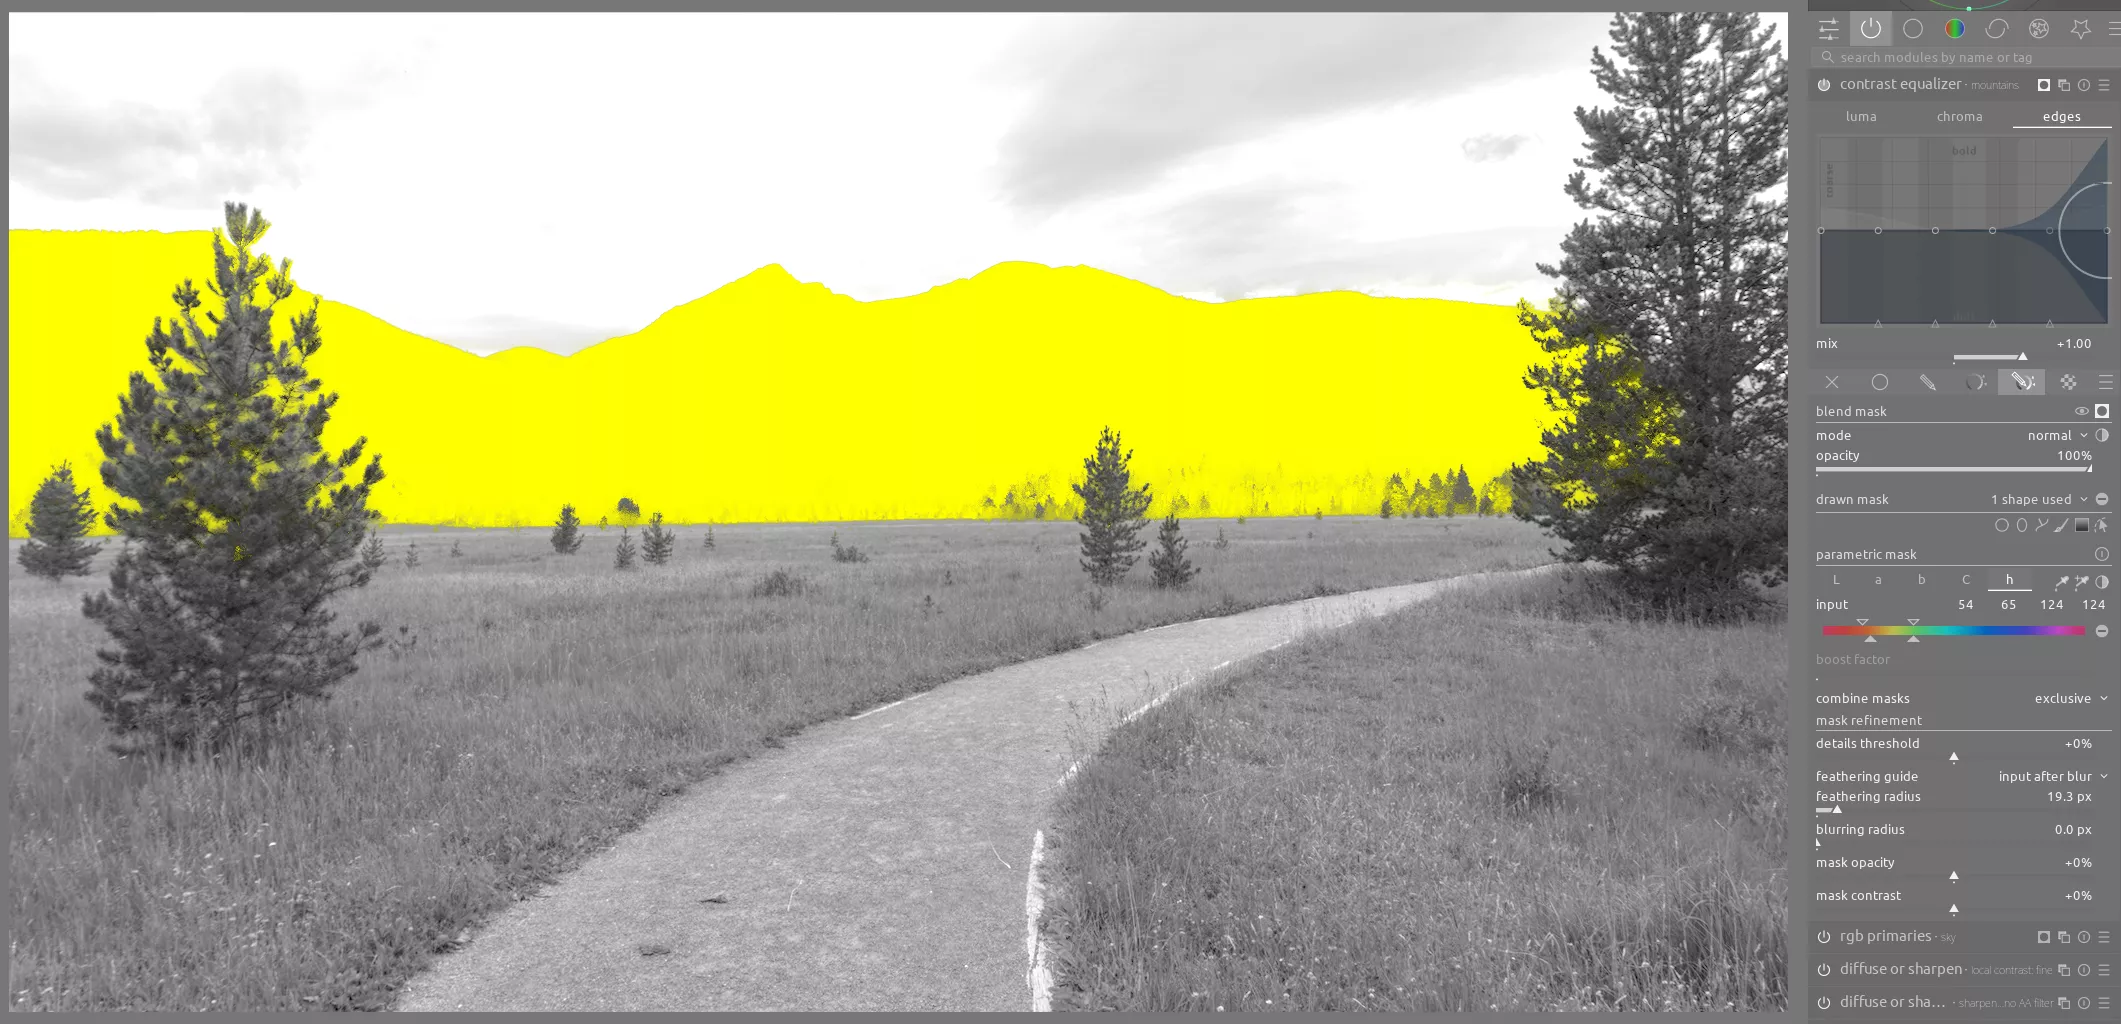
A parametric mask lets you quickly select part of an area based on its luminance, chromacity, or hue. For example, the sky is much brighter than the rest of the scene, so it's easy to make a parametric mask that selects only the sky. In this case, we want to add some color contrast to the scene by contrasting the sky color (a light yellow) with the mountains (blue). We also want to make this change to any reflective surfaces, like the path. See the before and after color wheels for a visualization of this change:
Before:
After:
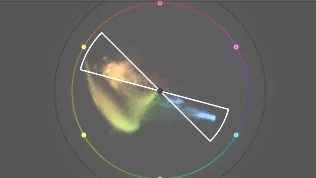
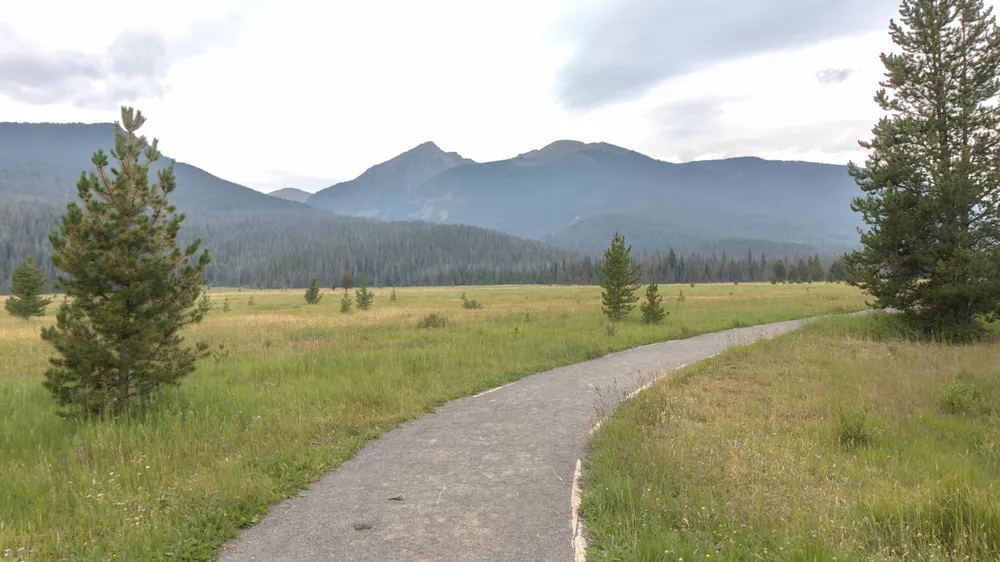
This results in the following subtle change to the scene:
Similar to drawn masks, parametric masks can be inverted which is useful for certain adjustments. For example, if you wanted to select everything except the sky, you could invert the slider in the above parametric mask.
Combining Masks
Adjusting the color of the mountains is tricky - we can easily exclude the tree in the foreground with a parametric mask but then also need a drawn mask to only select blues in the mountains and not elsewhere in the image. Fortunately, combining drawn masks and parametric masks makes this a breeze and you can easily adjust the area you want, even behind a detailed foreground object like a tree. We actually use this same combination of mask on an instance of color balance rgb (to adjust the blue in the mountains) and again with contrast equalizer to adjust the contrast:
Set Operators
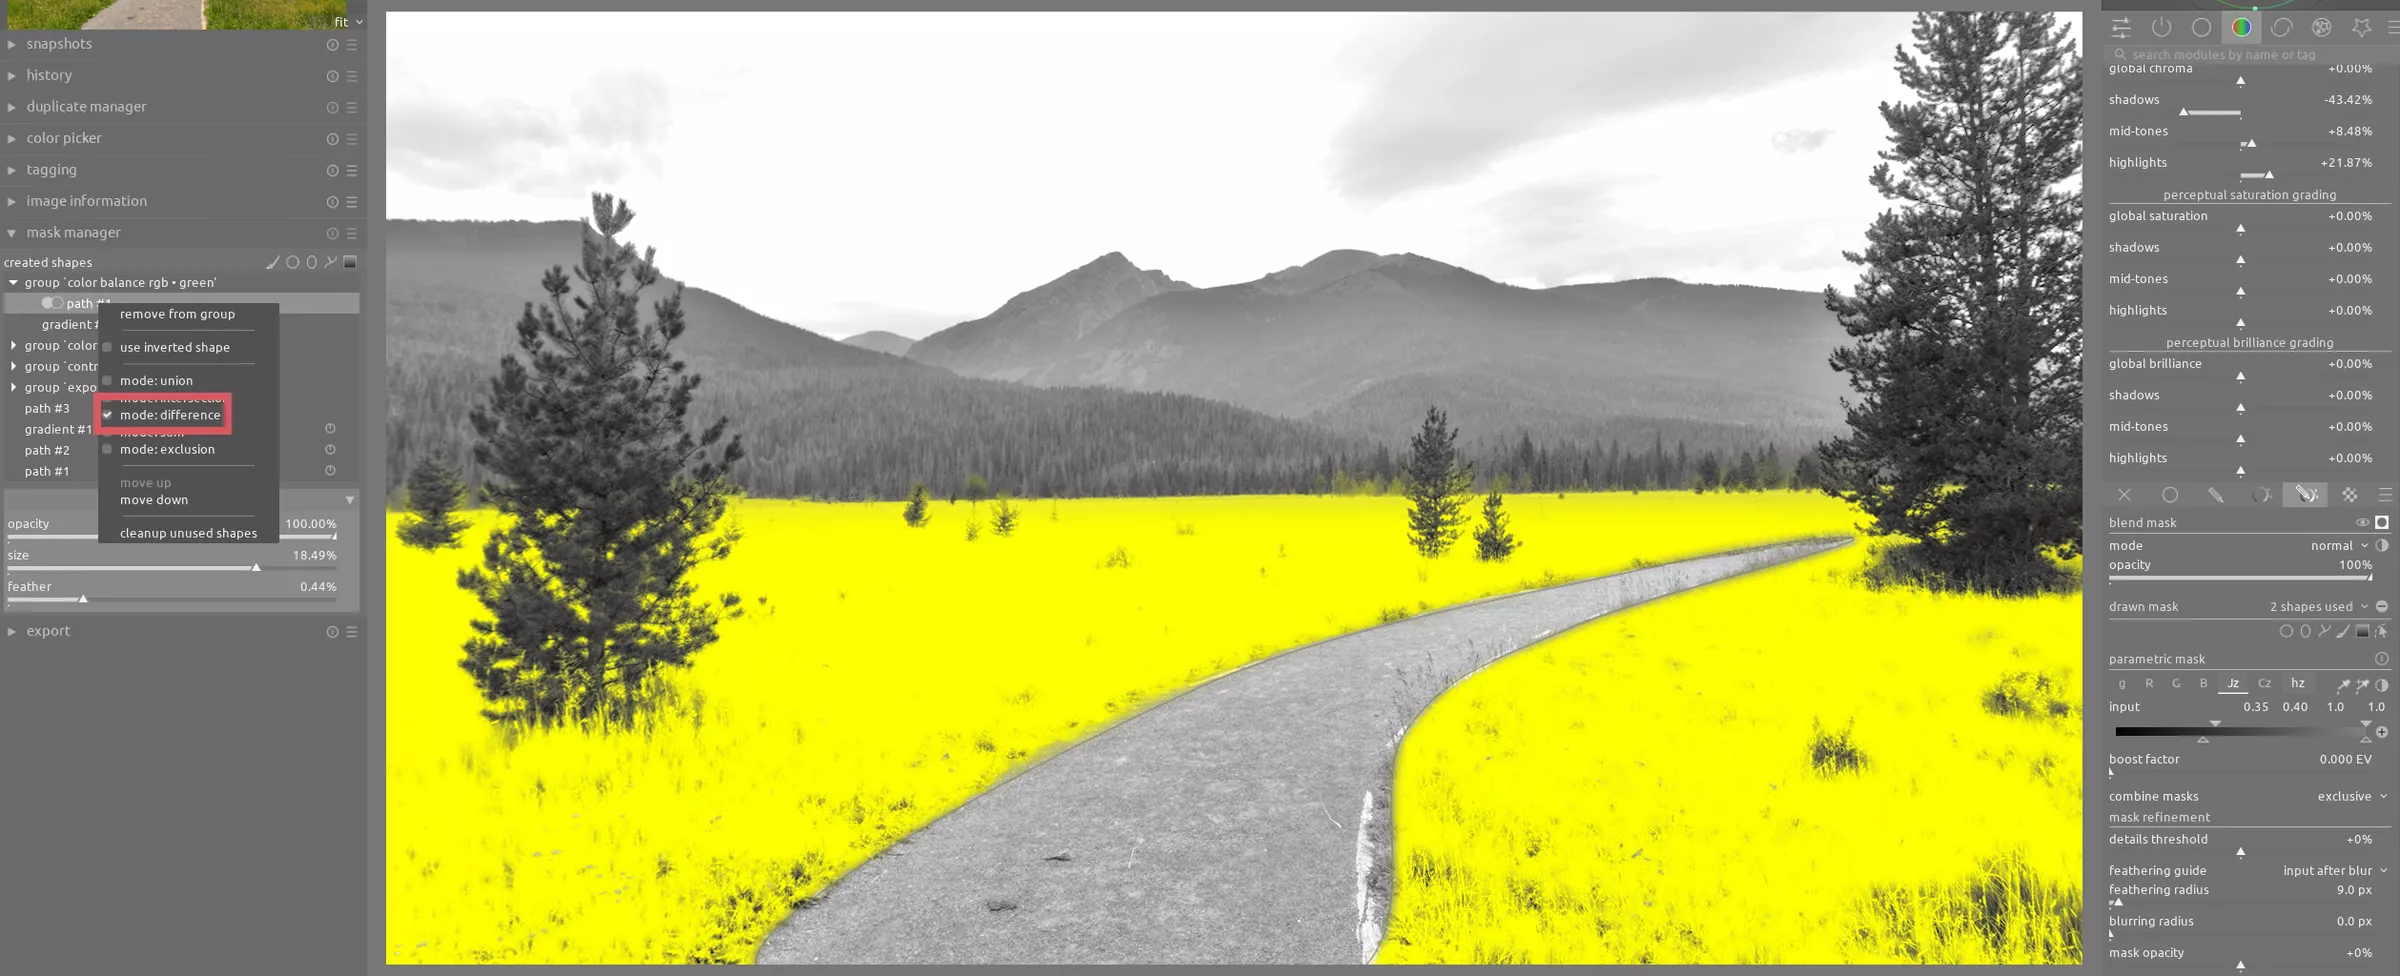
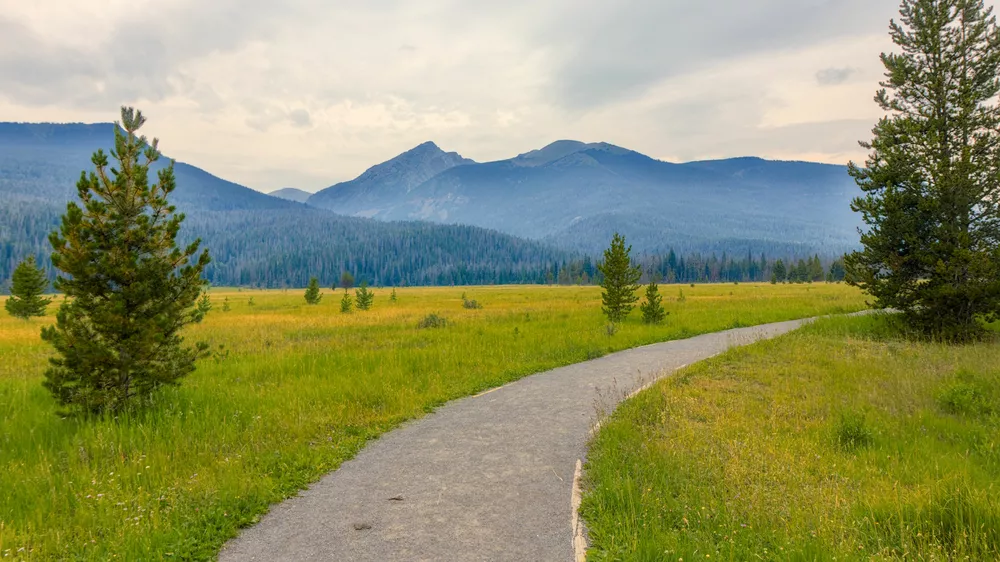
Sometimes you need a more complex mask - in this case we want to select all greens in the bottom half of the image (below the mountains) but only the grass and not the trees. To do this, we use a parametric mask select only the greens (not shown on the hz tab but it looks similar to the h tab in the last mask) and then excluding the darkest luminosity on the Jz tab, which is where the trees are located. Moreover, the drawn masks covering the sky and path use the set operators adjustments in the mask manager module to make the mask the difference of the drawn masks, thus excluding the sky and the path. This adjustment is subtle, but boosts the contrast of the greens and adds yellow to the green highlights and we have our final image:

Conclusion
While they may appear intimidating at first, masks in darktable are a powerful and fast way to isolate exactly the part of an image you want to adjust. Moreover, the mask controls allow you to often create the desired mask quickly, without a lot of detailed work to draw precisely the correct shape pixel-by-pixel. This combination of power and speed makes sepective edits in darktable indispesable.