On the surface, taking photos of cars seems easy enough. However, you can really take your automotive photography to the next level with a few simple capture techniques and some creative post-processing in darktable.
Capture Settings
Before you even import the photos into darktable, use these capture techniques to really enhance your RAW files.
Circular Polarizer
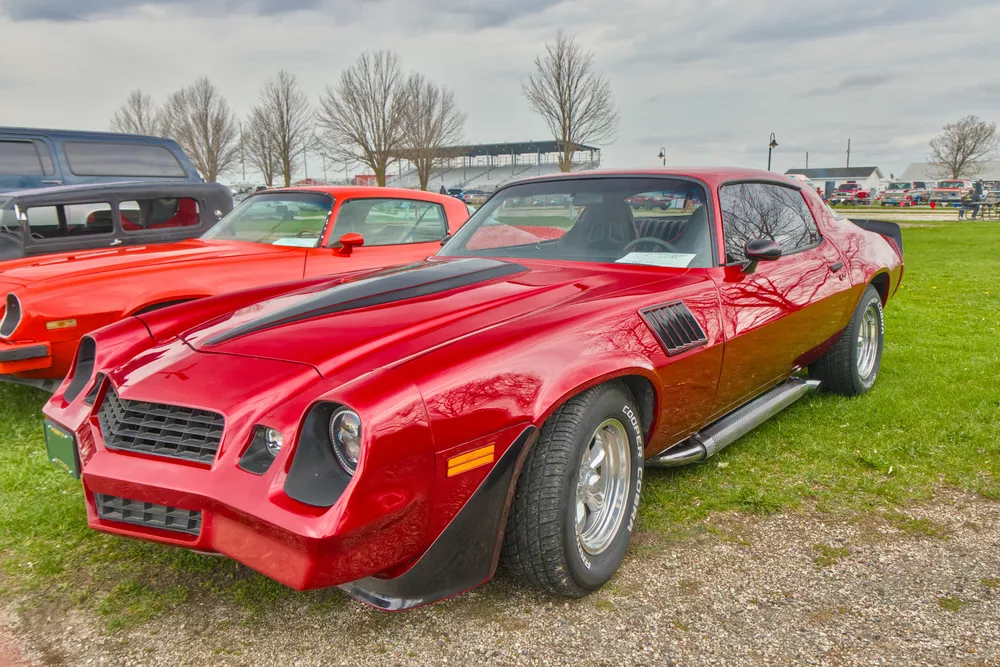
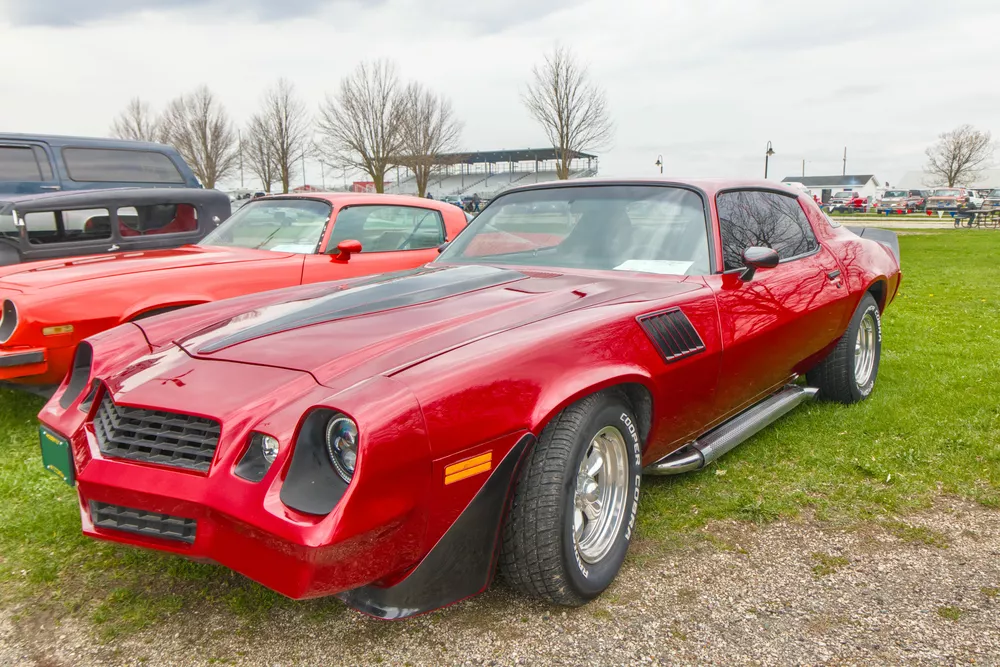
As I've discussed previously, a circular polarizer can make a huge difference in photos where the sky or reflective surfaces are prominent. Compare the two above photos of a red Camaro, which only differ in the orientation of the circular polarizer mounted on the lens, and you'll clearly see how much of a difference this simple tool can make when photographing cars.
Perspective
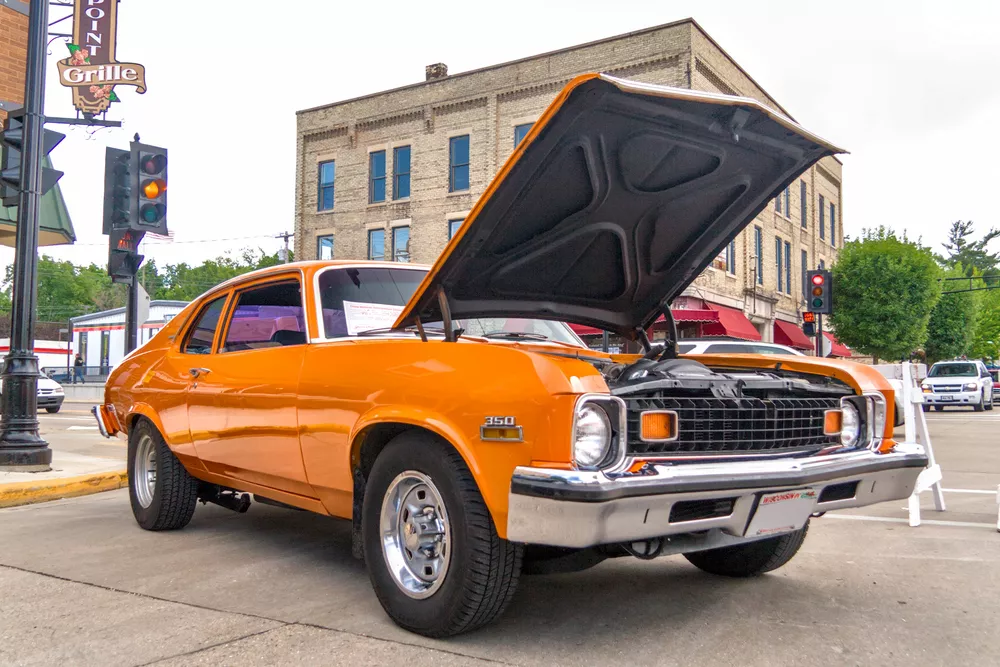
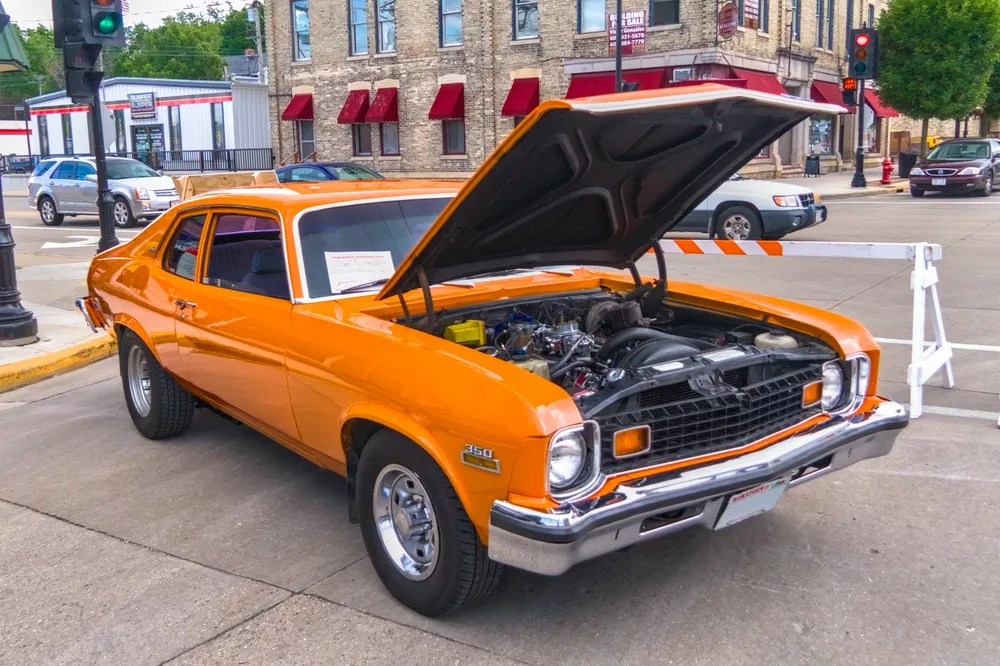
When approaching a car, move around the space and find an interesting angle that captures something intruiging about this vehicle. In the above example, I was low to the ground in the right image, which makes the car appear larger and more imposing. The reflections can also change significantly by shifting your perspective.
In the following examples, I isolated a single part of the car by getting close and using a shallow DoF:
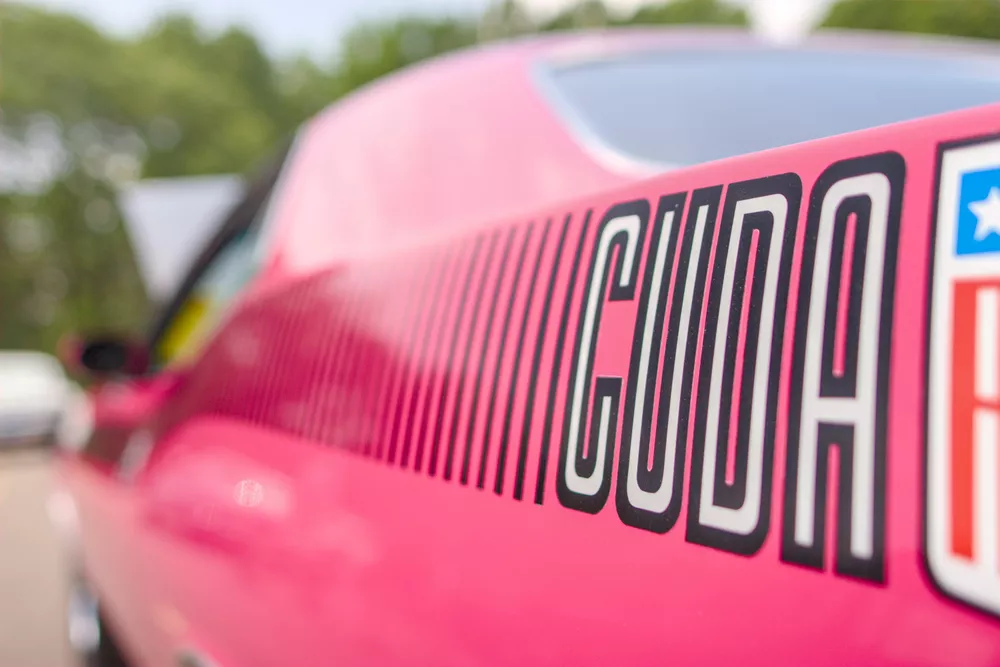
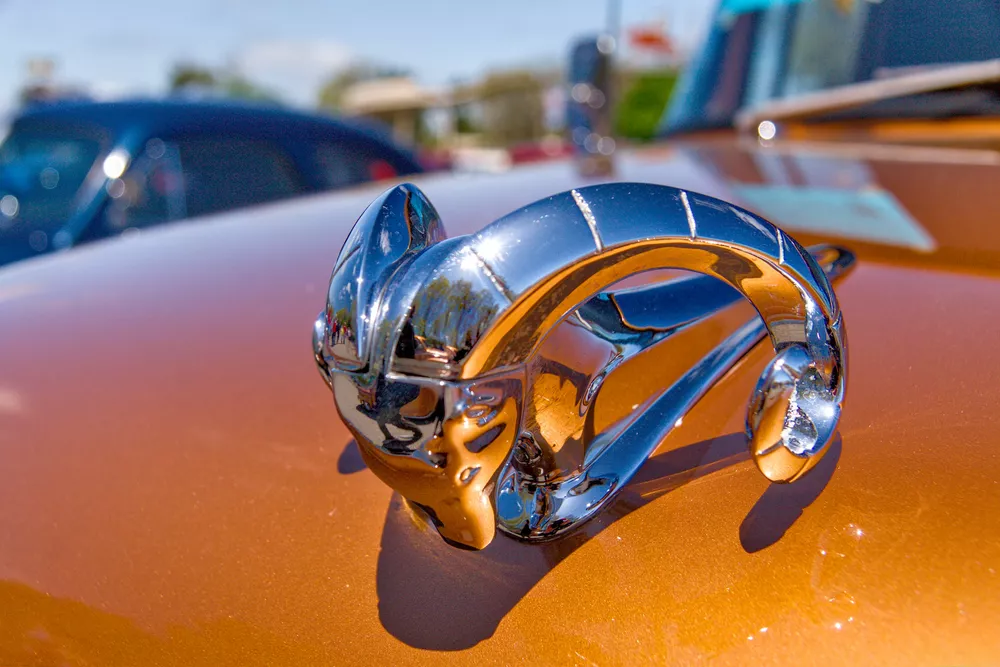
These are more interesting shots because of the unusual perspective. Try a few different angles and effects and see what works for you.
Developing
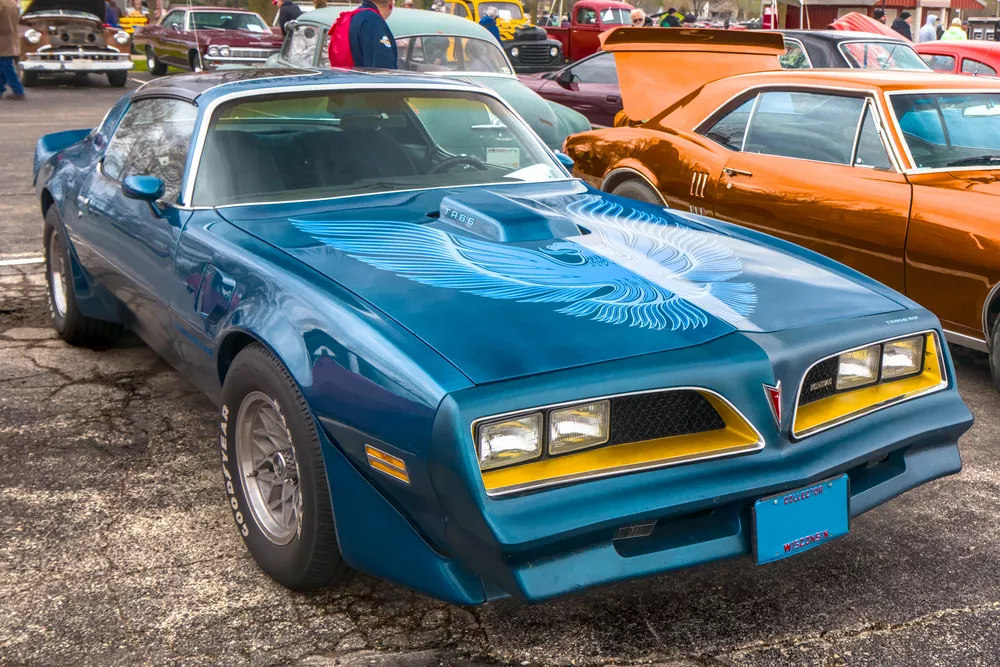
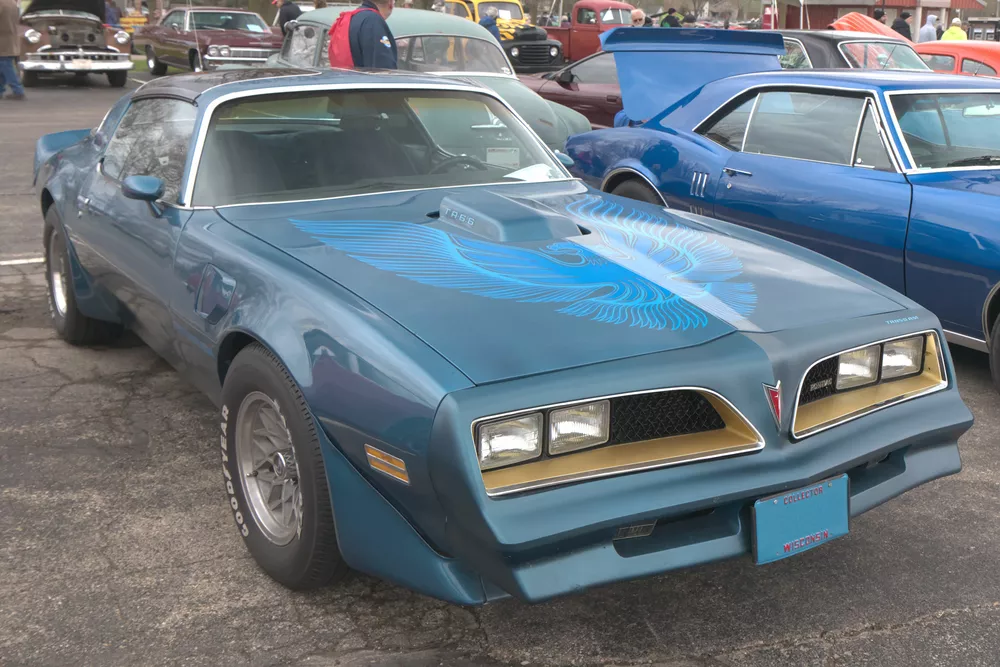
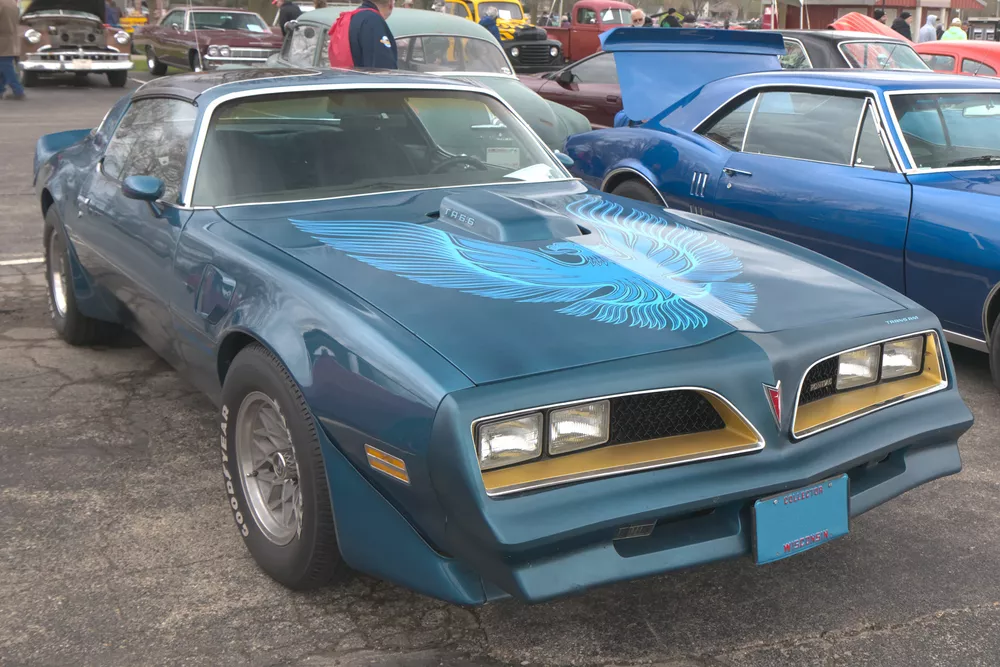
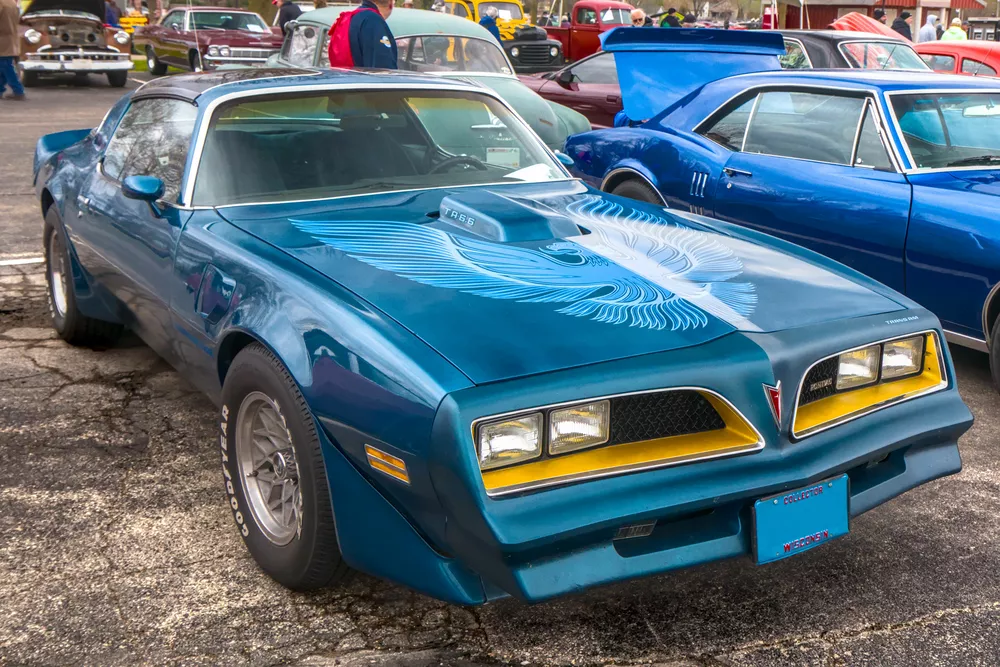
Now that you have an above average capture, let's see how to take it to the next level when developing it in darktable. We'll use the blue Trans Am from the top of the page.
Luminance Contrast
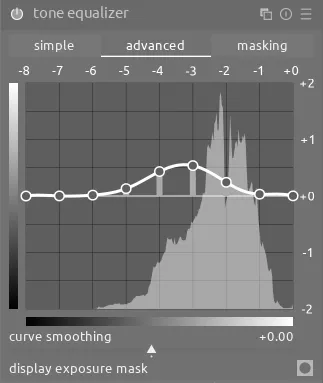
First, let's brighten up some darker parts of the image using tone equalizer:
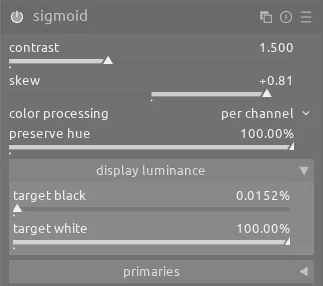
Next, enable sigmoid and boost the contrast. Moreover, push the skew slider to the right to direct more of the contrast towards the right-half of the histogram:
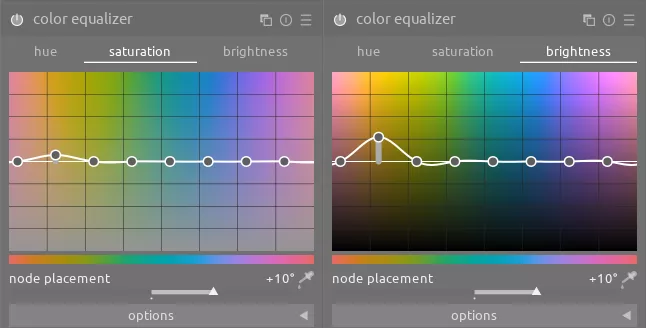
We can also use color equalizer and color look up table to increase contrast for specific colors:
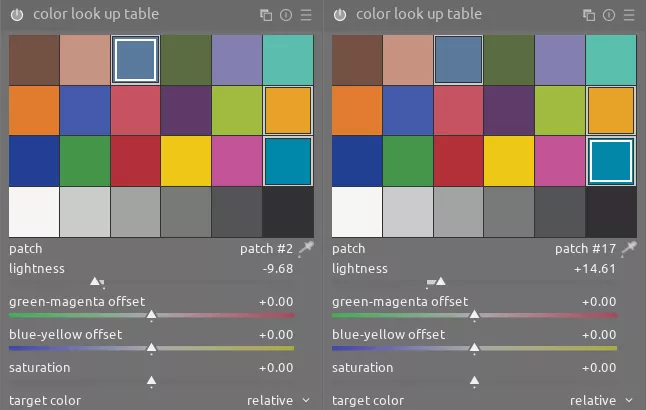
In particular, brightening the bird on the hood with color look up table makes a significant difference:
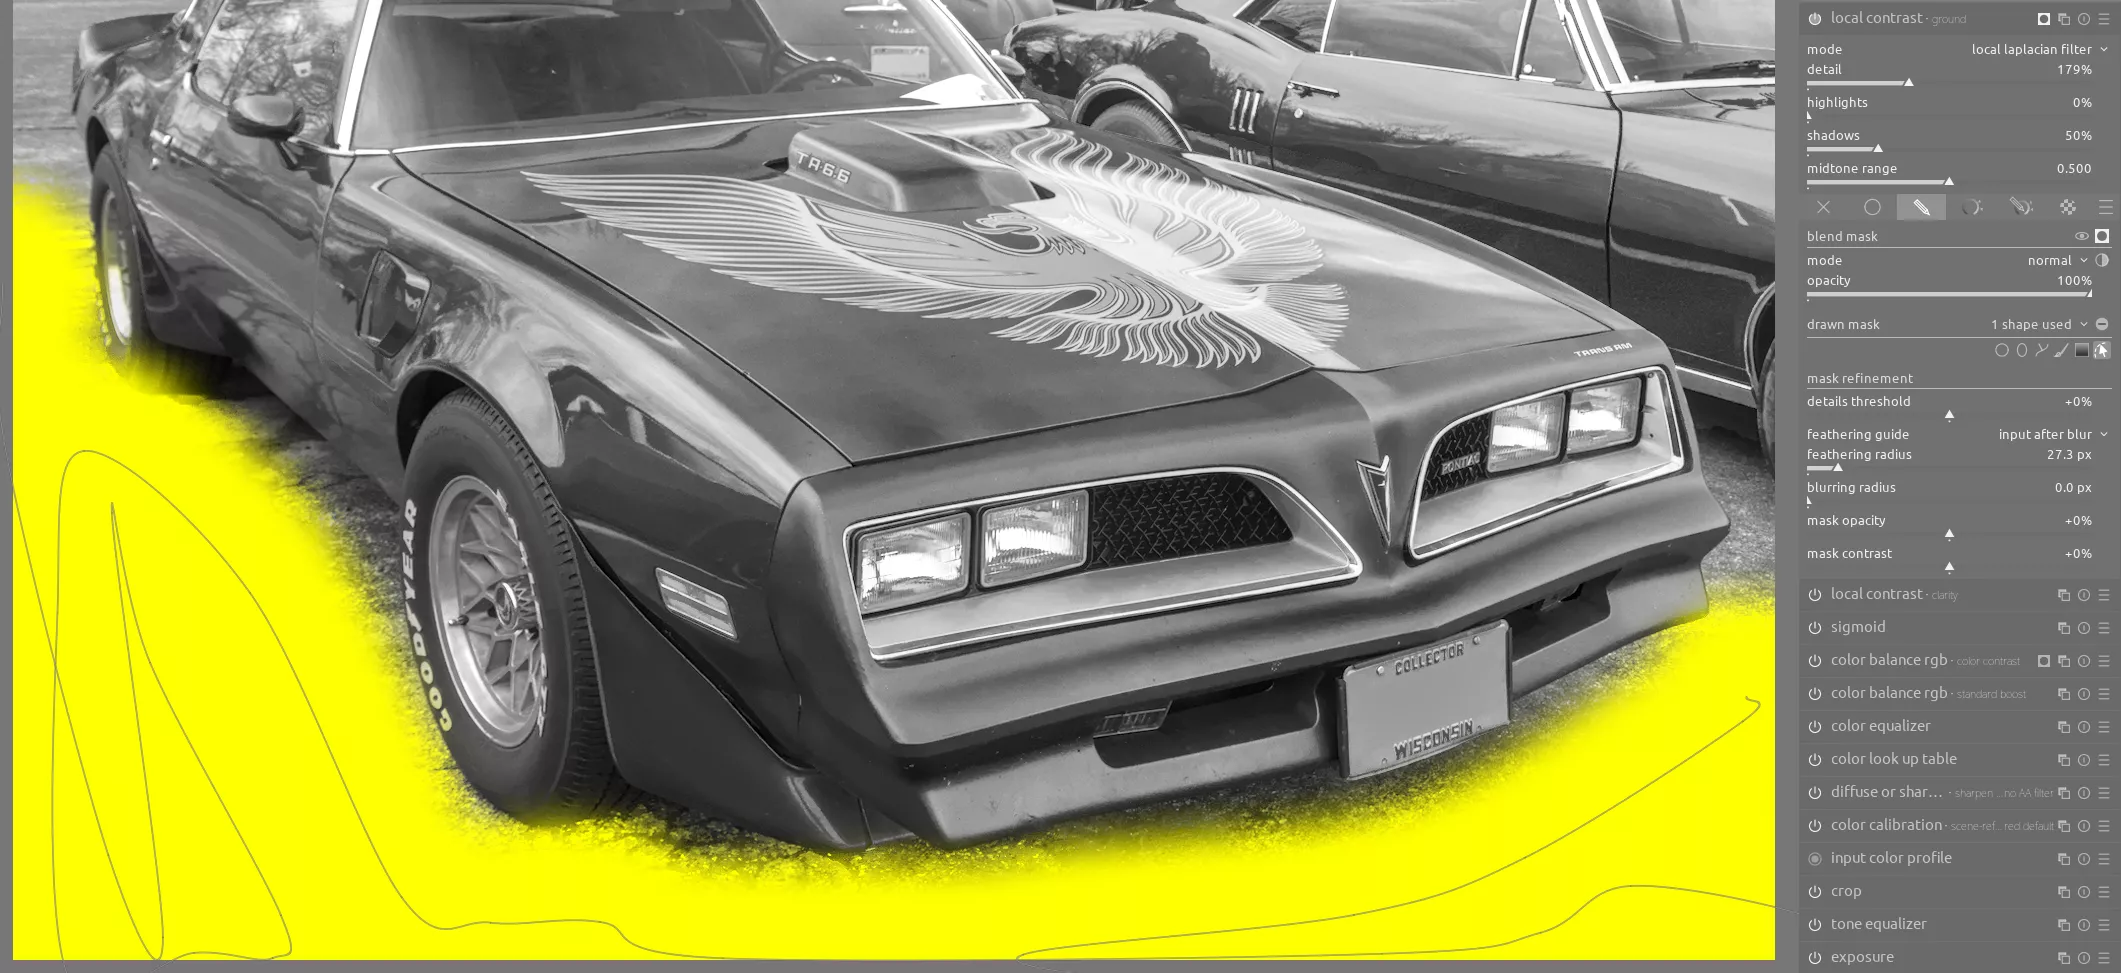
Details
In addition to the main subject, I like giving the cement it's sitting on a more distressed look. To do this, use a drawn mask with the local contrast module to highlight the cracks:
Color Contrast
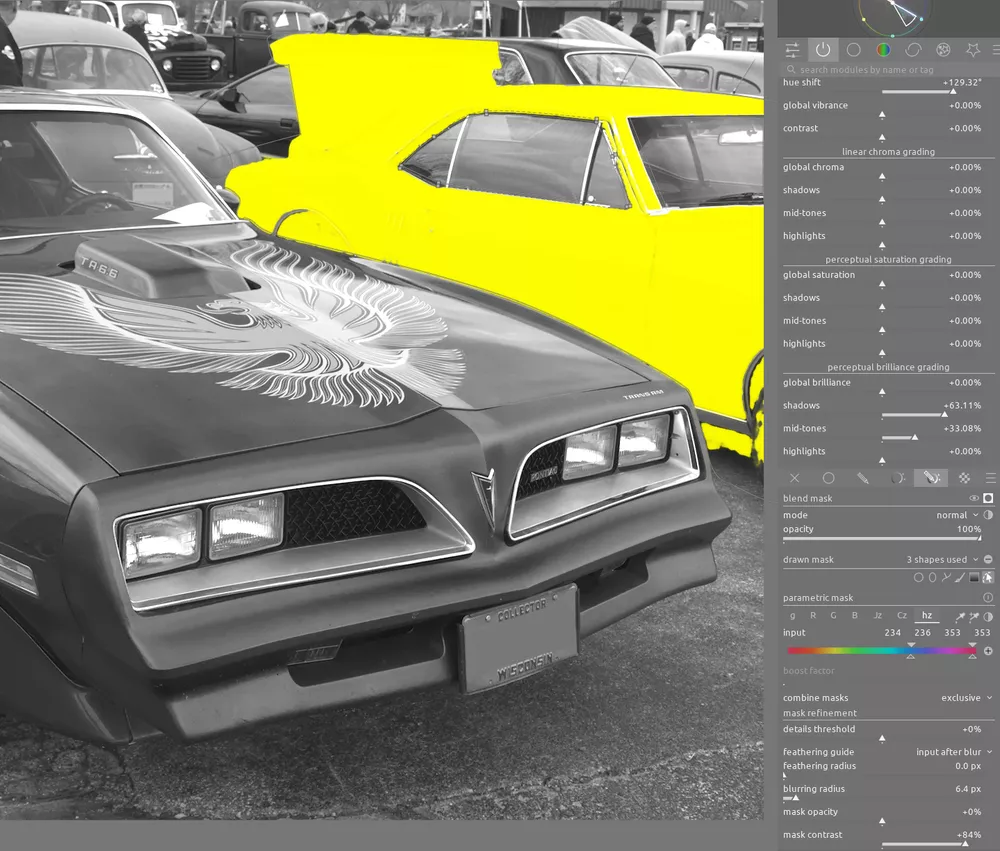
This image can also benefit from a bit of color contrast. Looking at the color wheel, we can see that the blue of the Trans Am would be balanced by some orange to make a complementary palette:
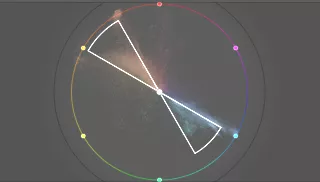
Even though there isn't any orange in the scene, we can easily add some by using color balance rgb and a carefully-placed drawn mask to select the neighboring car and change it to orange:
License Plate Cleanup
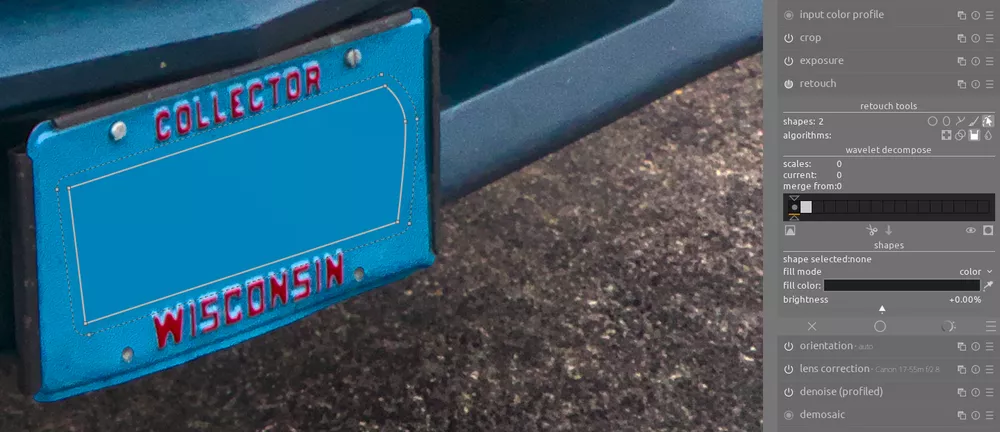
Finally, we want to remove the license plate number. The first step here is to use active fill mode of the retouch module. Change the fill mode dropdown to color and use the color picker to select the blue background of the license plate. Then, draw a shape over the letters on the license plate:
This creates a solid, uniformally-colored blue square. To make it actually blend in, use the grain module with a drawn mask in the same area as the retouch module and add some grain to this blue rectangle:
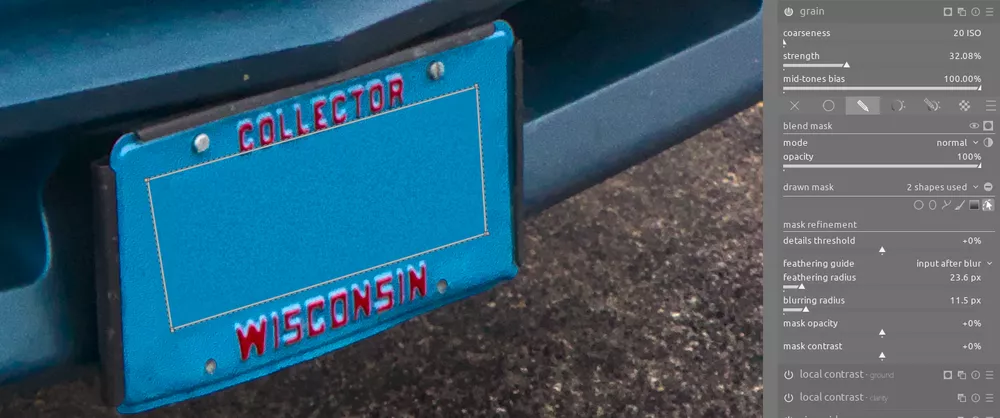
This combination is a highly effective way to seamlessly remove this part of the license plate.
Final Product
The final product helps highlight the beauty of this classic car. Moreover, the color contrast and additional contrast on the bird really help it pop off the screen: