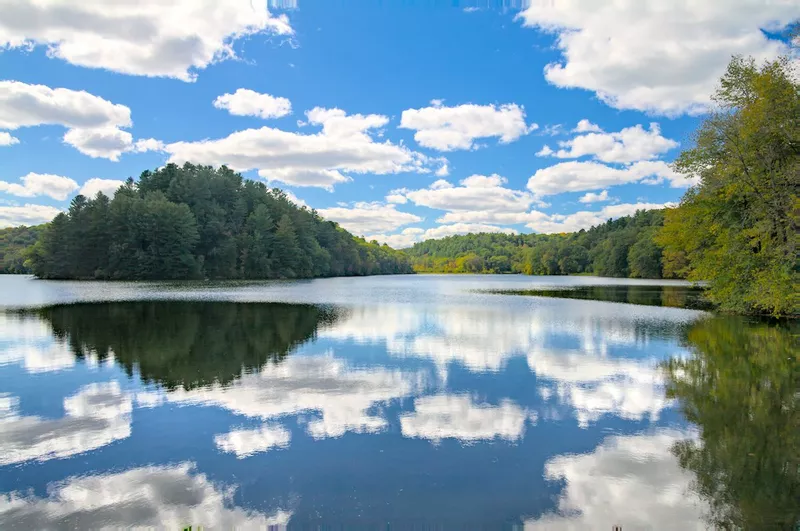
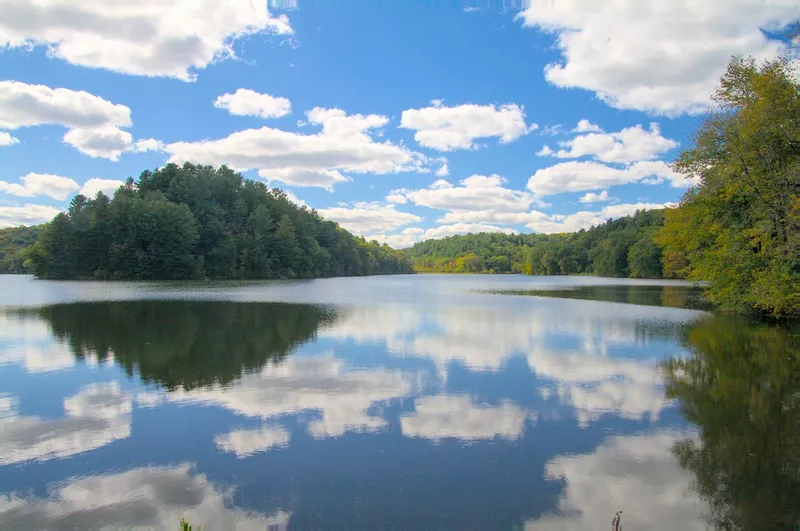
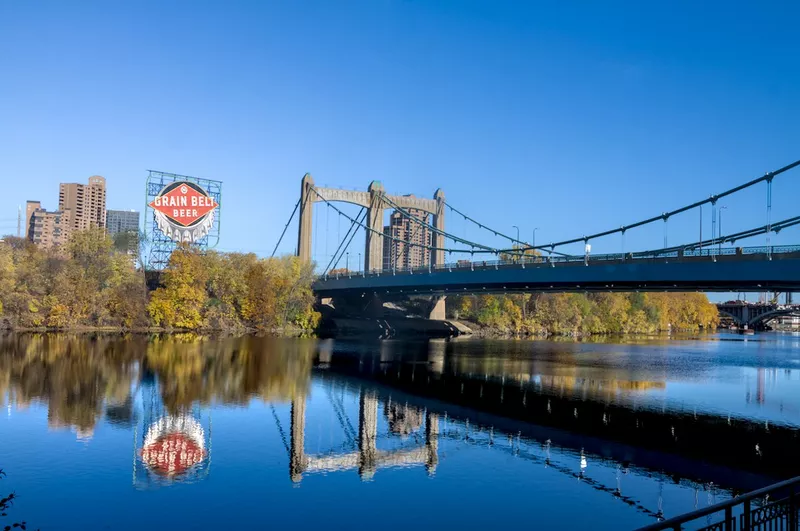
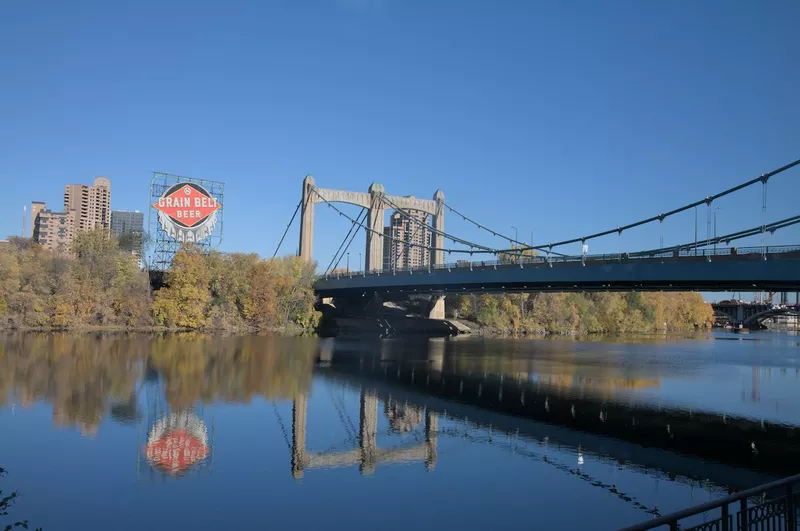
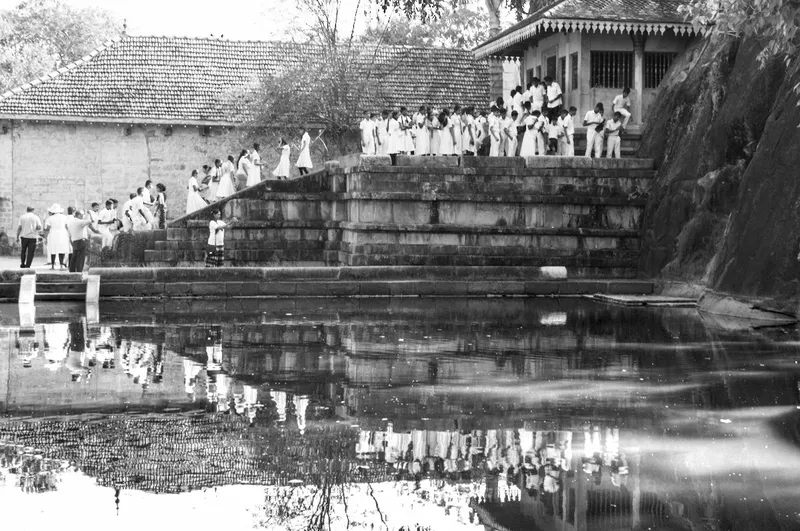
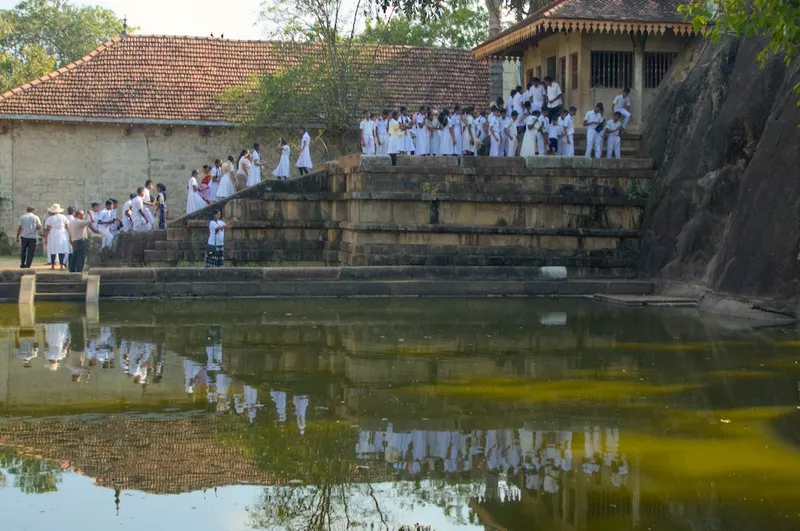
Using a circular polarizer and knowing how to selectively enhance contrast with the local contrast module can make reflections stand out and give an image a much more dramatic look. Let's dive in to each of these steps to capturing impressive reflections in your images.
Circular Polarizers
Unlike most posts in this series, the first step for capturing great reflections happens in-camera. Investing in a good quality circular polarizer filter for your lens allows to significantly change the scene by manipulating the polarized light present. For example, take a look at the dramatic difference in the sky, water, and land in these photos:
This isn't only useful for landscapes - you can also use a circular polarizer to change the reflections on shiny objects like this paddle board for a significant change in appearance:
Post-Processing
Once you've captured a photo using a circular polarizer, it's now time to process it with darktable. Each of these photos (and the one at the top of this post) use essentially the same technique with the local contrast module:
- Create a mask to cover the area where reflections are present
- Use the detail, highlights, and shadows sliders to significantly increase the contrast of the reflections:
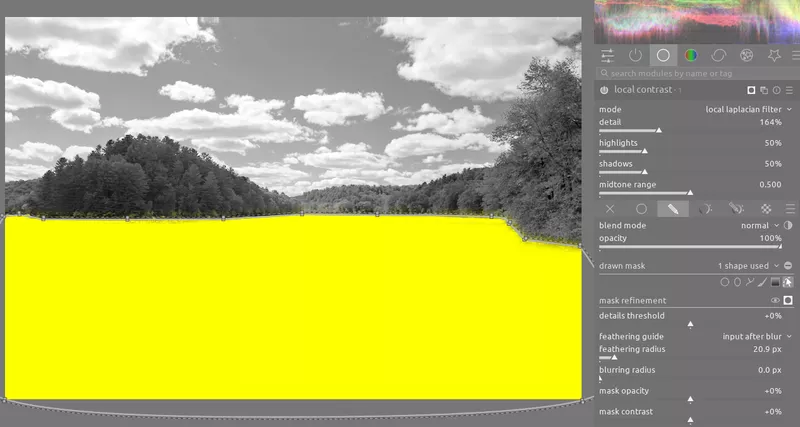
This simple technique allows you to really bring out the details and contrast in the reflections:
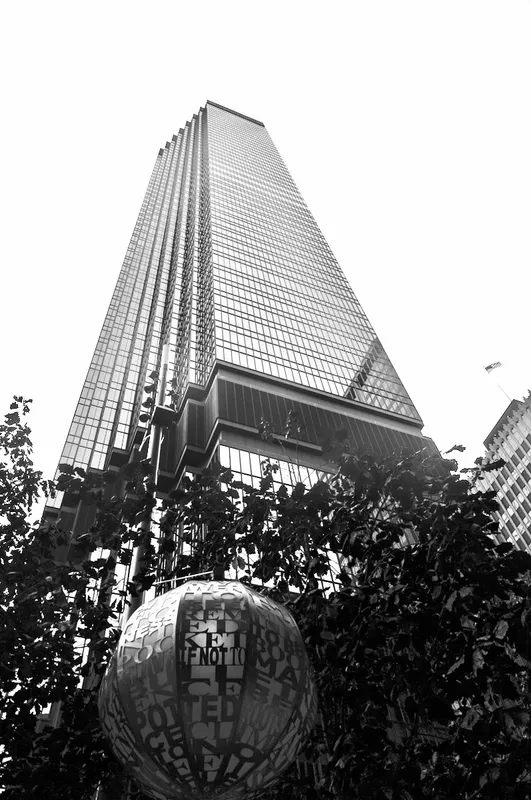
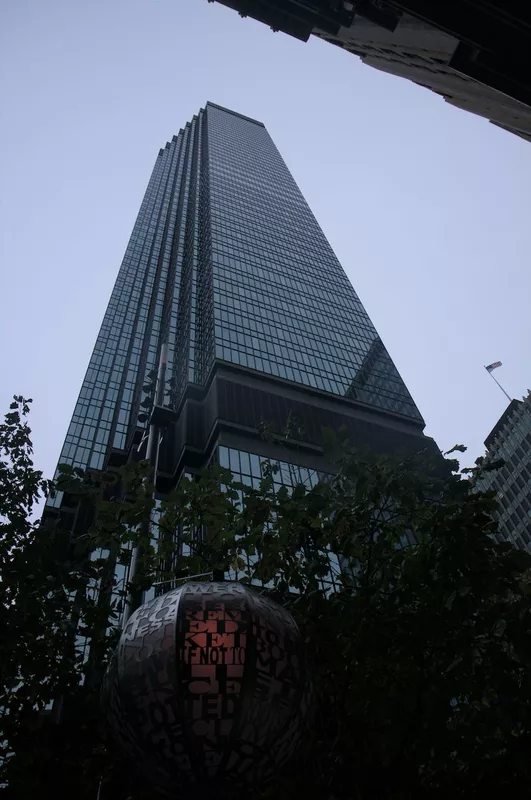
This process can also be used with urban scenes:
Conclusion
Alternatively, you can use the diffuse or sharpen module to achieve a similar effect, for example with the local contrast preset. However, I find that for most situations the local contrast module is a faster and less resource-intensive way to enhance reflections. It is impressive that simply using a circular polarizer filter and a little post processing work can deliver such a substantial difference to your photos.

