
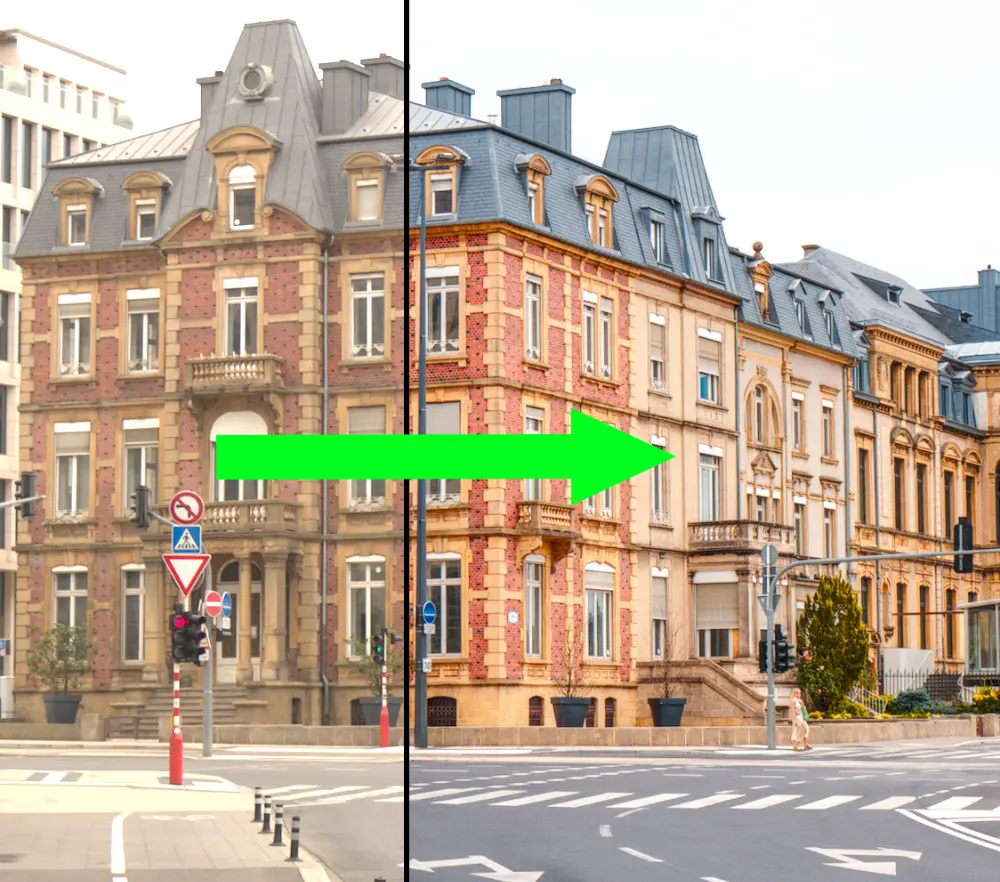
Let's look at how to highlight this beautiful historic bank building amidst the busy urban scene on Royal Boulevard.
Initial Analysis
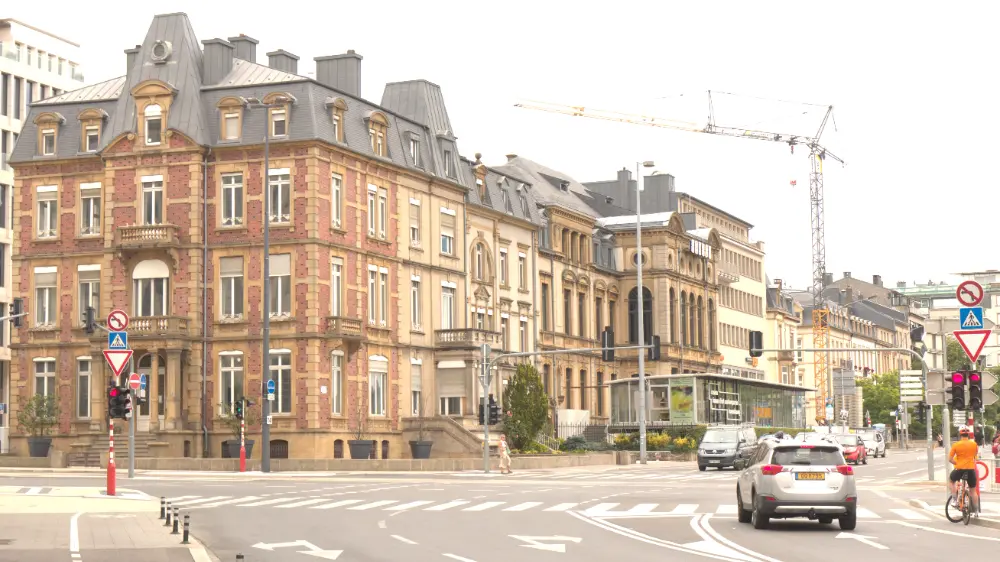
This image looks rather busy and uninspiring at first glance. However, we can add more contrast by making the areas below either dark and blue or bright and yellow (or red):
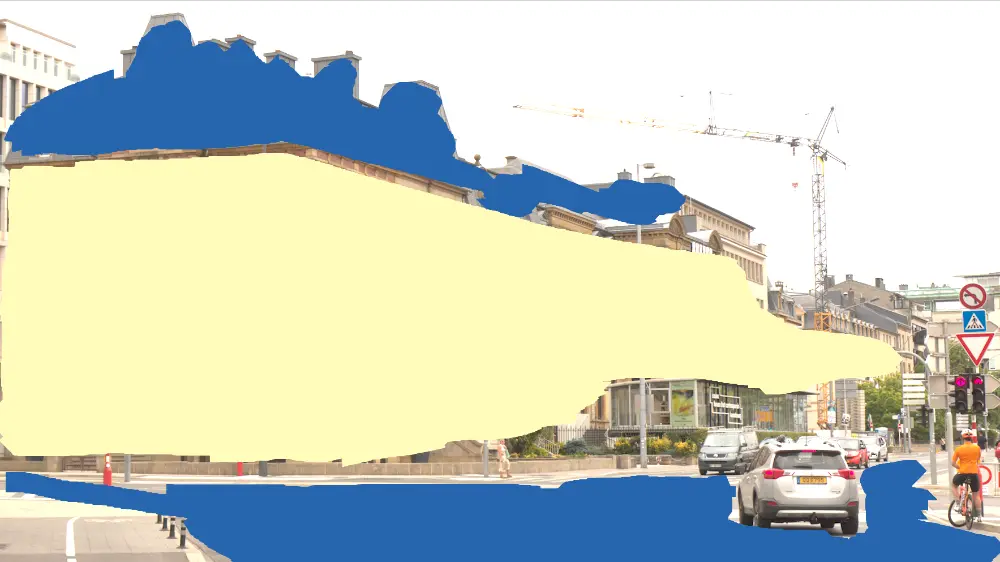
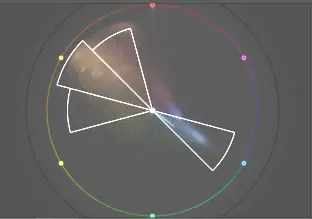
This creates contrast in both brightness and color:
Exposure
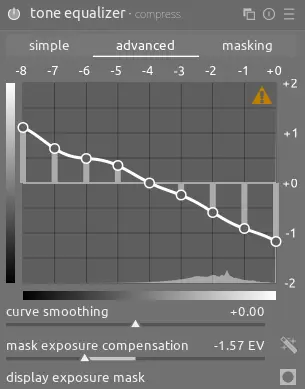
Because of the high dynamic range in this scene, let's start with an instance of tone equalizer and compress the dynamic range:
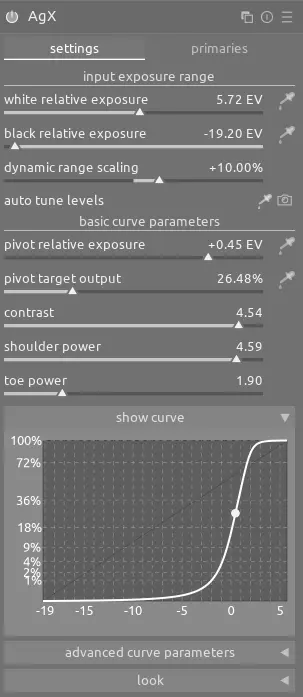
Next, in AgX, really push the contrast and shoulder power sliders to add contrast and make sure the clouds appear as bright as they should:
Contrast
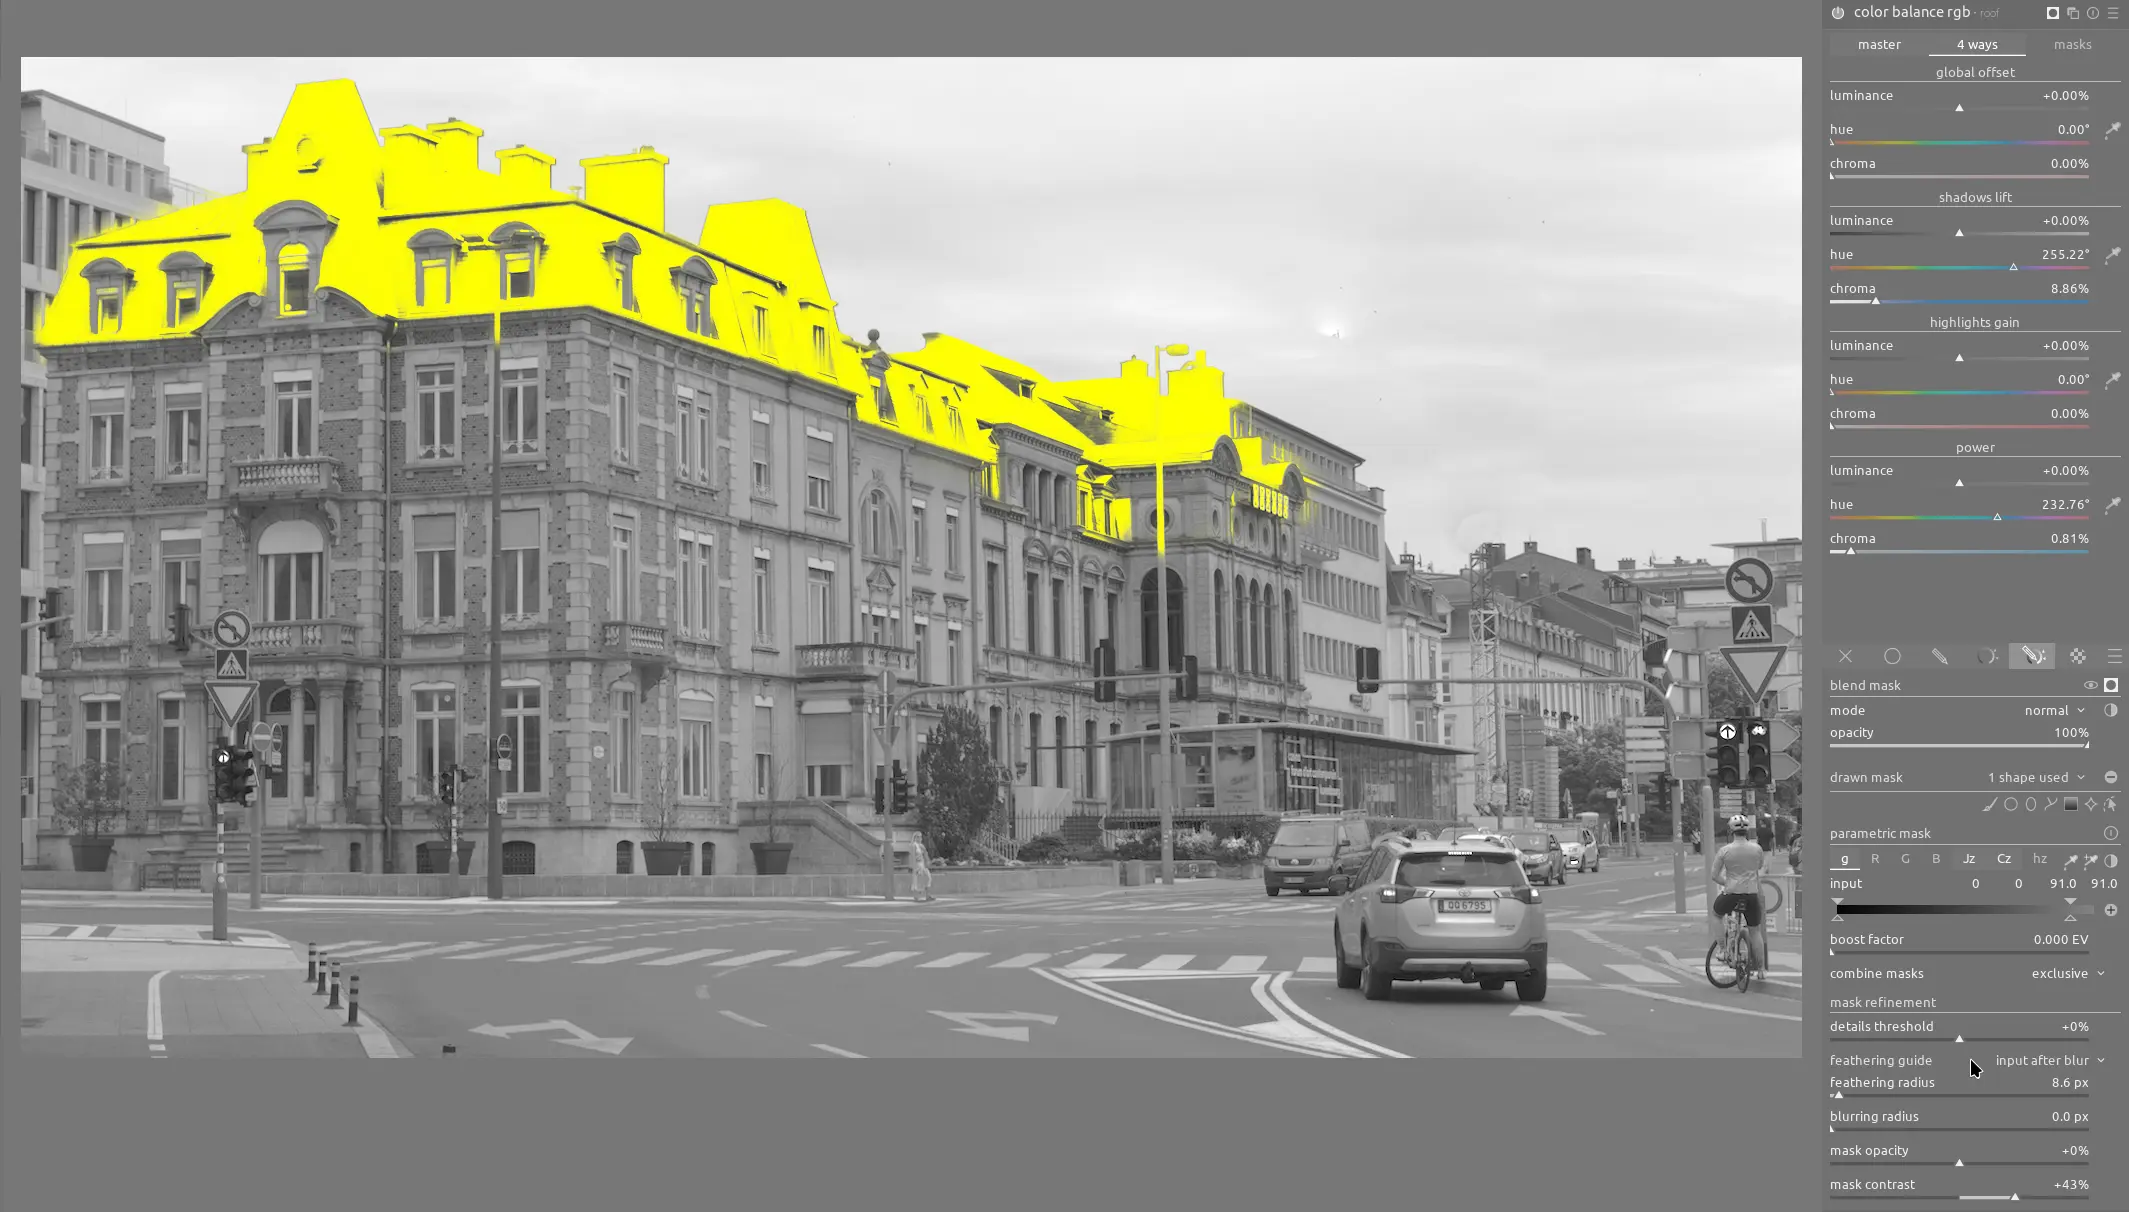
Next, we'll use two instances of color balance rgb - one for the roof and one for the road. Only one instance is shown here, but both are similar. First, use a parametric mask with a combination of g, Jz, and Cz along with a drawn mask to select just the roof. Then, use the contrast slider on the master tab to increase contrast. Finally, on the 4 ways tab, add blue using the hue and chroma sliders to both the shadows and midtones (power):
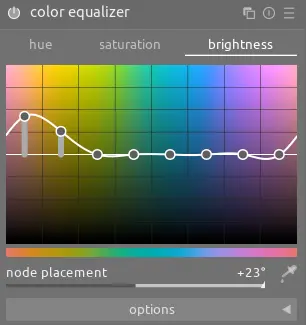
We also want to use an instance of color equalizer to increase the brightness of the red and yellow parts of the building:
Cleanup
The building has a bit of an orange tint. We can make it a more pure red with an instance of rgb primaries (and make the blues slightly more blue too):
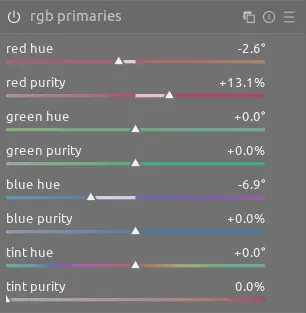
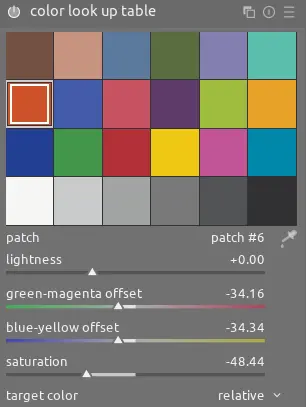
Also, the biker's bright shirt is distracting, so we can use an instance of color look up table to desaturate it:
Let's remove the crane from the skyline using the retouch module:
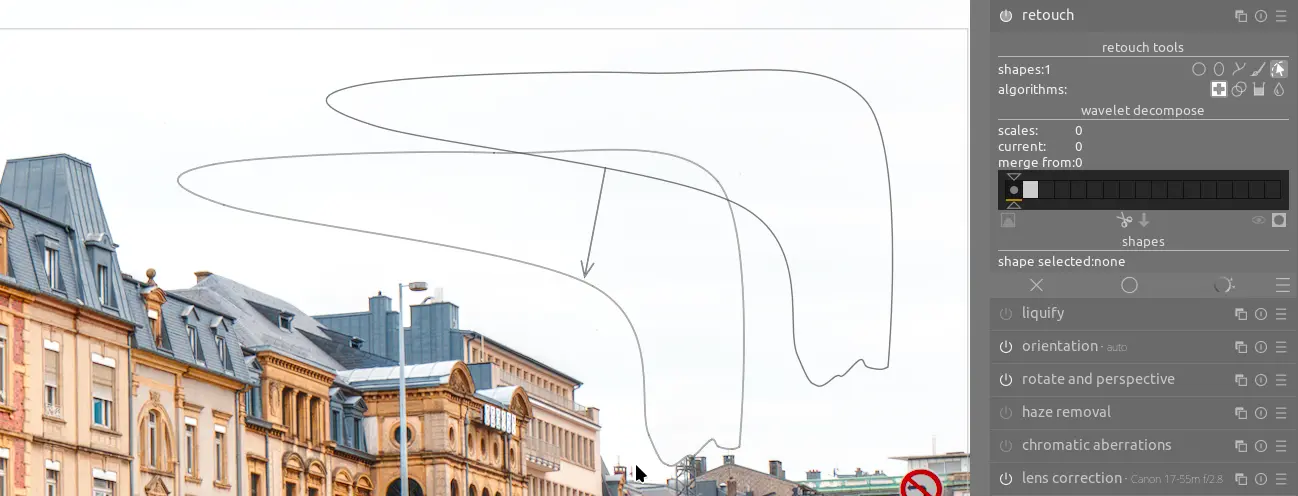
Removing it from in front of the buildings would be a lot harder, and the bottom blends in well so we can just leave it.
Conclusion
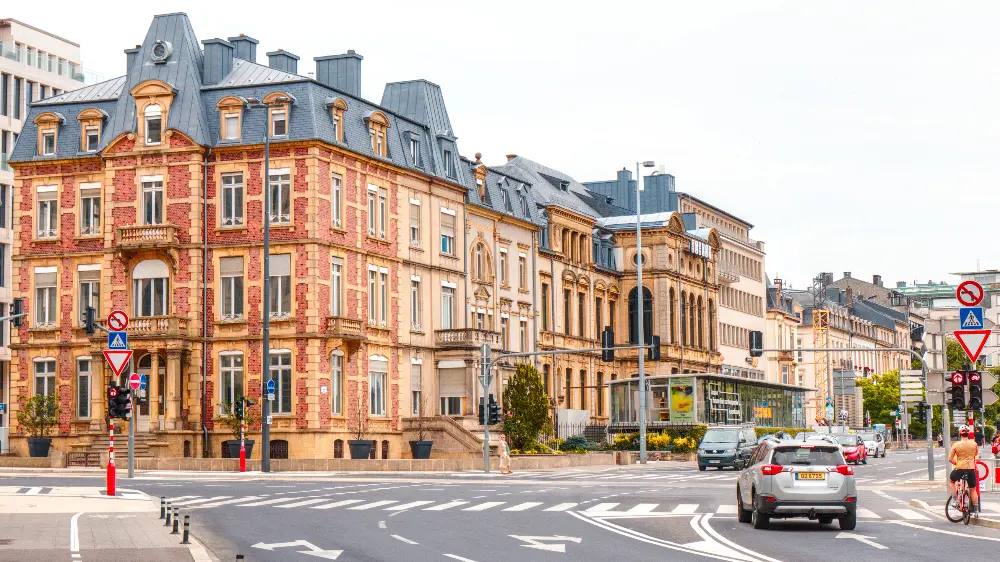
The bank building really pops with more contrast and beautiful color!