
Adjusting the white balance of a photo is a fundamental skill needed when developing RAW files. In this tutorial, we take it a step further and show how to use darktable's powerful selective white balance to use different white balance settings on specific parts of the image. Typically, this would be used to correct the color from multiple light sources (each with different color temperatures), but in this case we'll use it to keep the subject neutral while adding a creative effect to the background.
For an overview of how to use color calibration to set the global white balance, see the manual and this video tutorial.
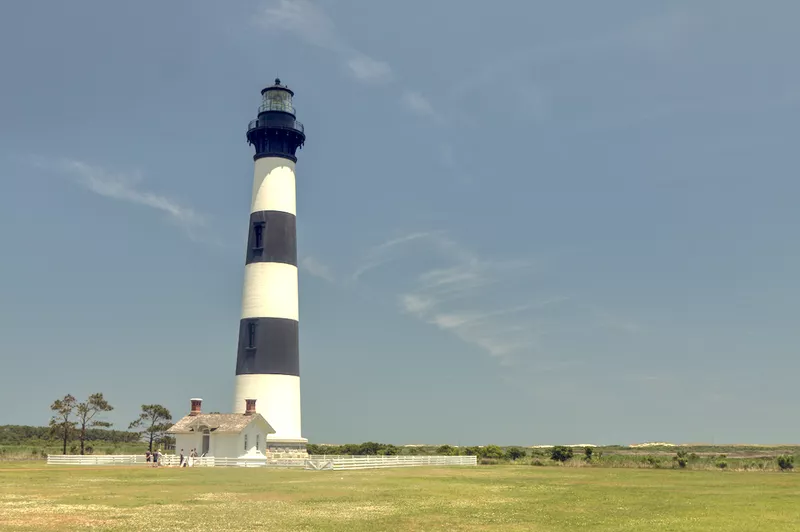
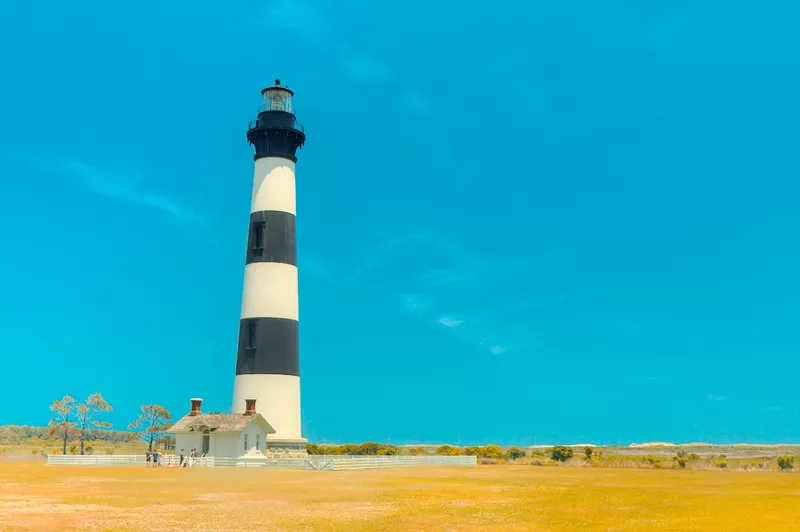
The goal with this photo is to add the popular teal/orange color grading effect. The problem is if you try to do this globally, the lighthouse, which should obviously be white, develops a strong color cast:
To apply the teal/orange color grading to everything but the lighthouse, add a drawn mask to the color calibration module; this is described in detail in the manual:
1color calibration can be used with masks. This means that you can selectively correct different parts of the image to account for differing light sources.
2
3To achieve this, create an instance of the color calibration module to perform global adjustments using a mask to exclude those parts of the image that you wish to handle differently. Then create a second instance of the module reusing the mask from the first instance (inverted) using a raster mask.
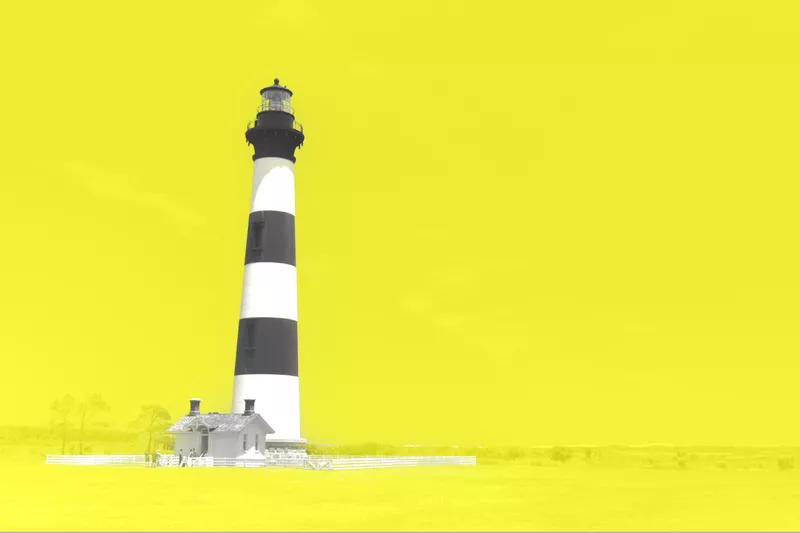
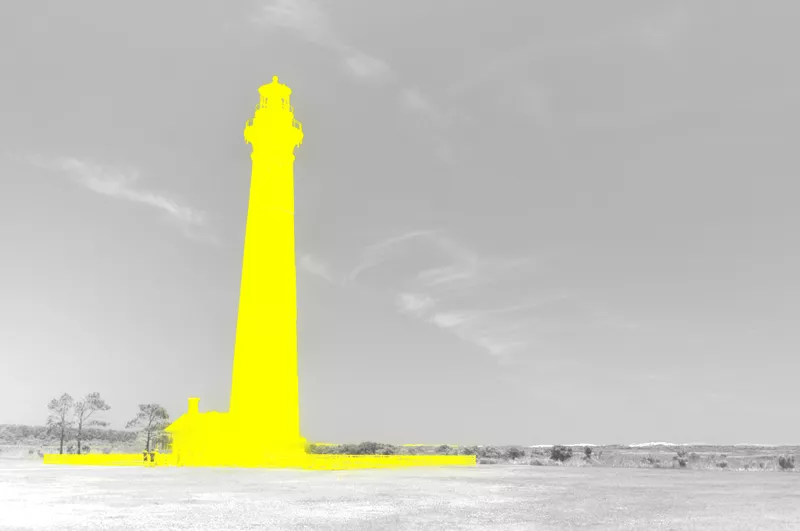
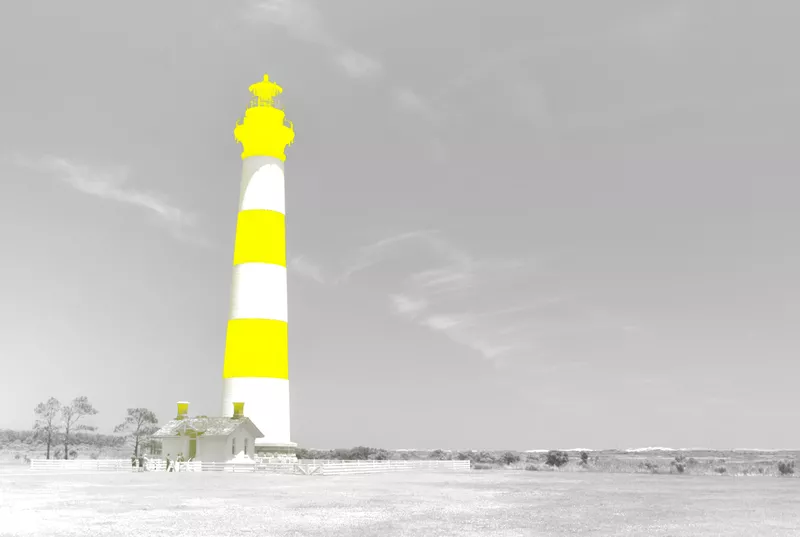
First, create the drawn mask around the lighthouse and invert it to select the background:
Use this instance of color calibration to apply the orange/teal color grading (see the video below for details). Next, create a second instance of color calibration and select the same (existing) mask, but don't invert it this time. Now you can adjust the white balance of the lighthouse to make the light parts appear white:
After applying these adjustments, it turns out that the dark parts of the lighthouse still have a green/blue cast:
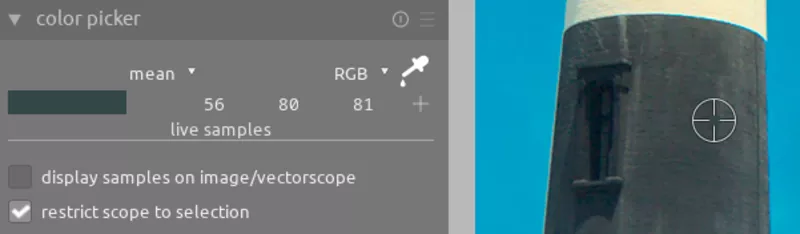
We can correct this with a third instance of color calibration that uses the same drawn mask along with a parametric mask to select only the dark regions and then desaturate them:
It's worth noting that even after the above processing steps, the white parts of the lighthouse aren't perfectly white; doing so would give it an unnatural blue cast.
After these adjustments, we have successfully applied a strong color grading effect to the background while independently setting the white balance of the subject; this type of selective white balance adjustment is not a feature that all RAW processors have, showcasing one of the powerful features of darktable.