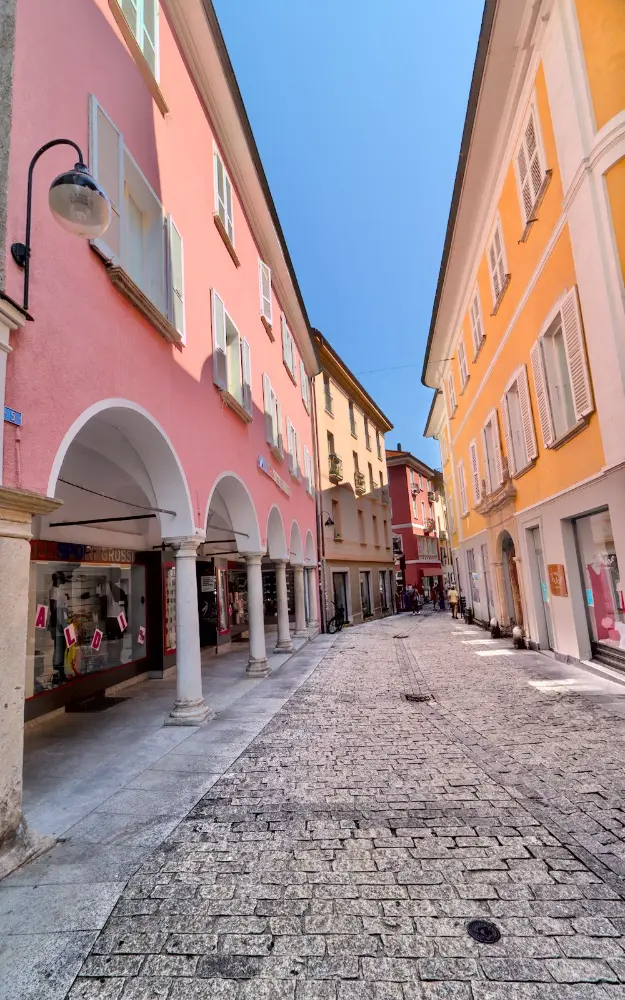
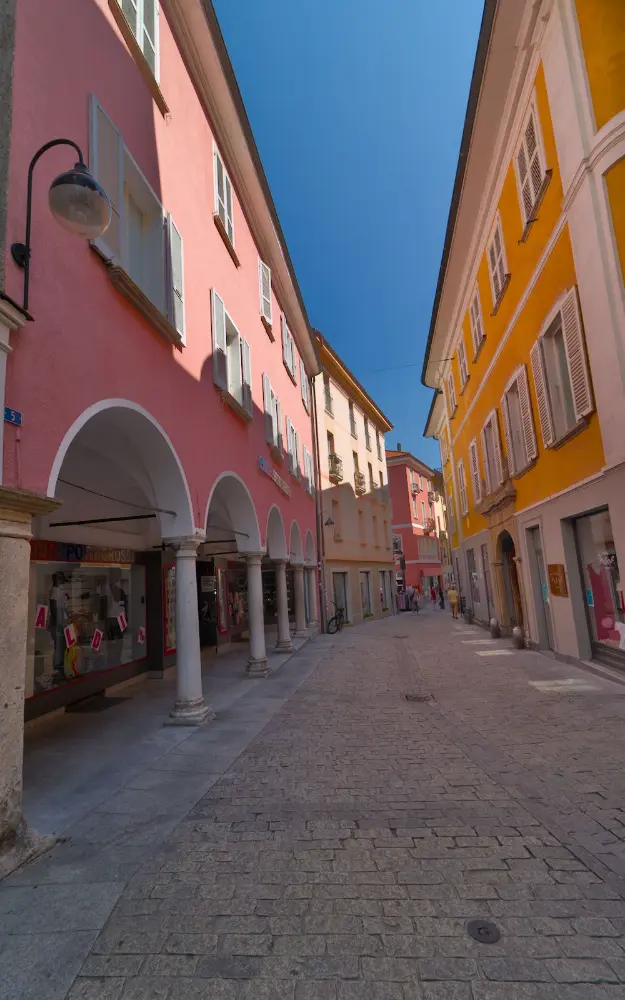
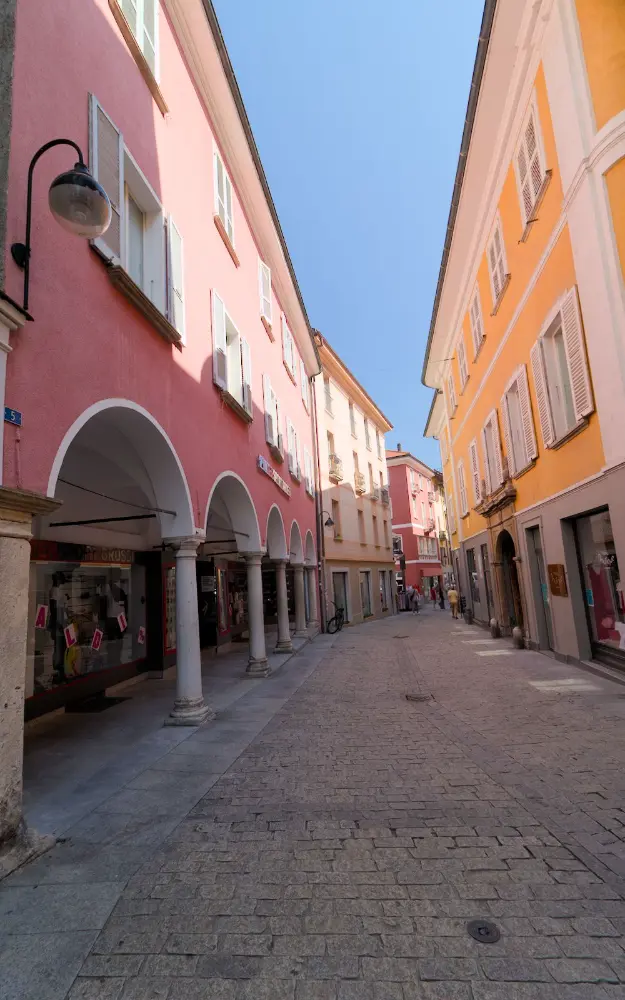
These beautiful buildings were quite colorful, yet the vibrance of the colors is lost in this capture due to the extreme difference in contrast between the parts in direct sunlight and the parts in the shade. Let's see how to bring this scene to life so it more accurately reflects how it looked in person using darktable.
Working With Extreme Exposure Differences
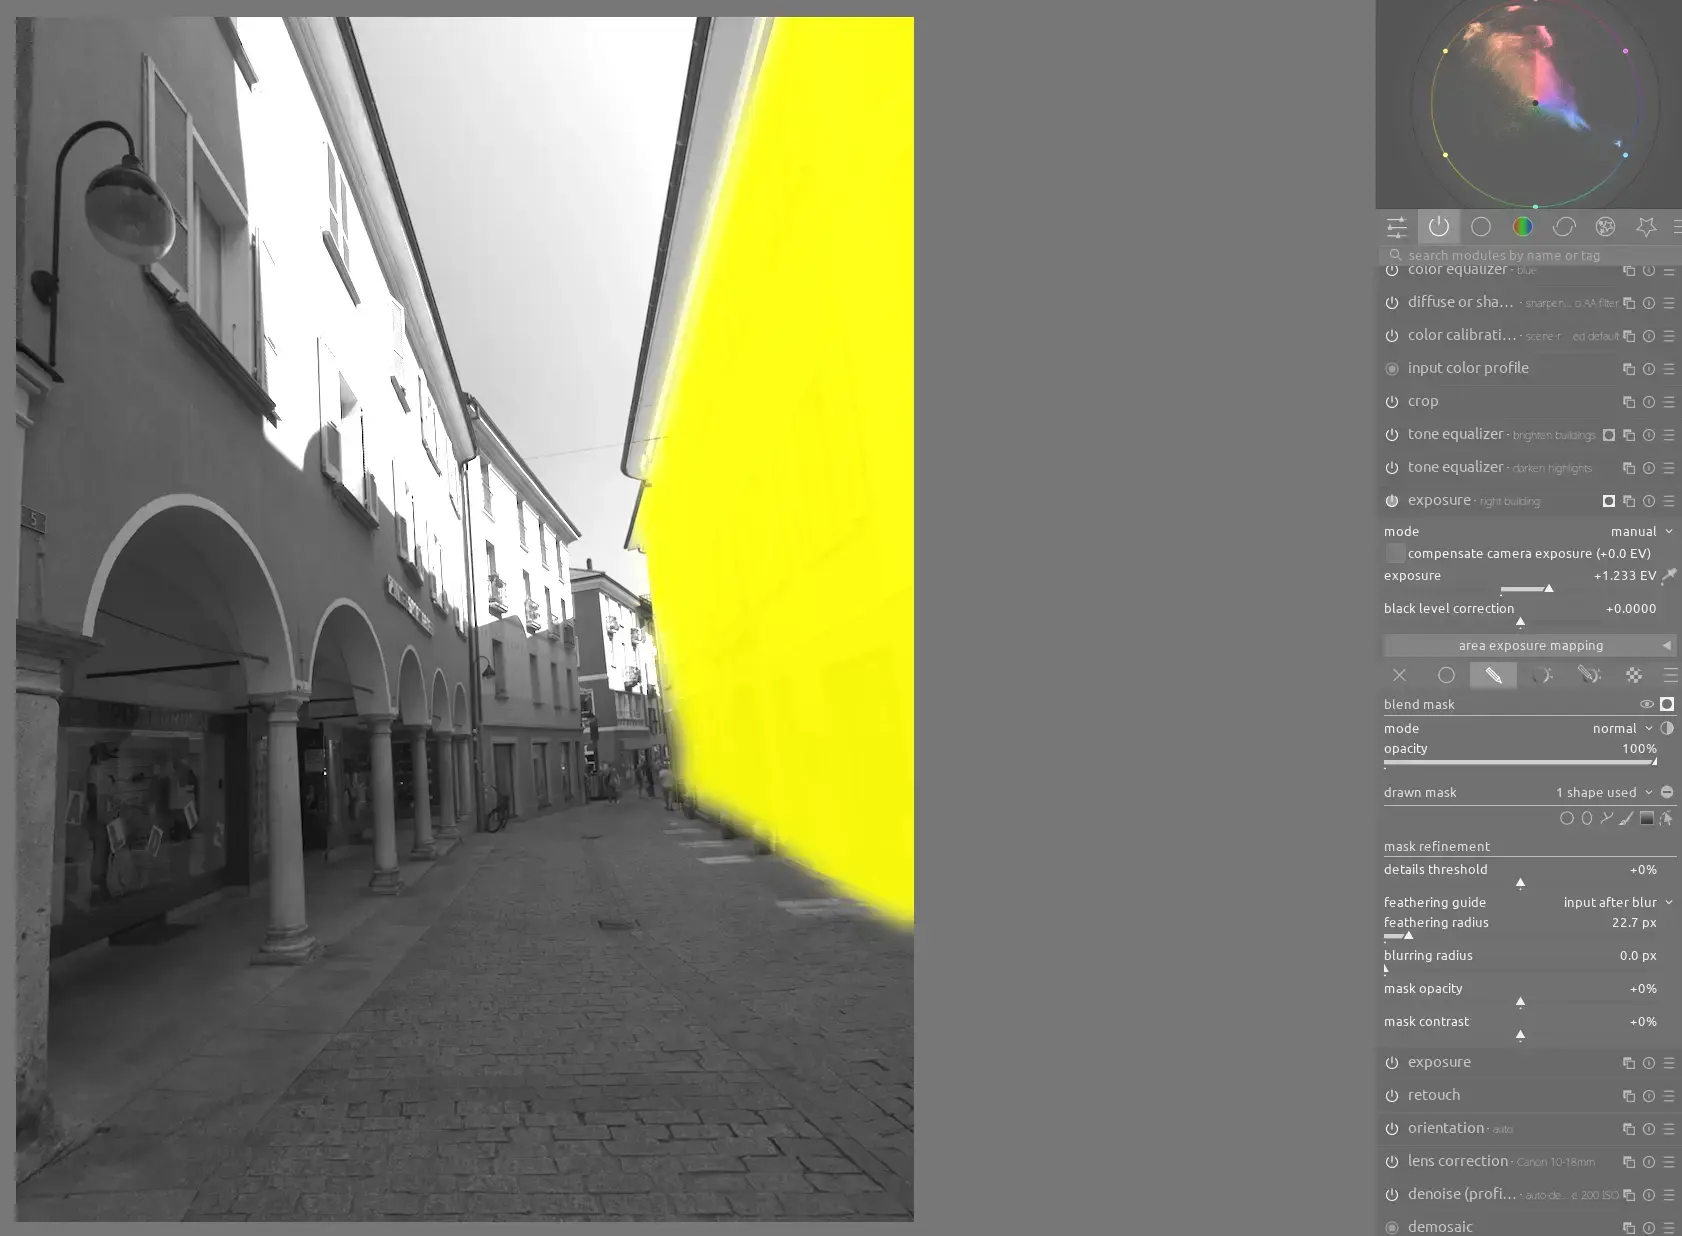
There are a number of different exposure-related corrections to make with this image. First, as usual, use an instance of exposure to properly expose the midtones. Next, we can see that the large yellow building on the right is pretty dark, so use another instance of exposure with a drawn mask to brighten it up:
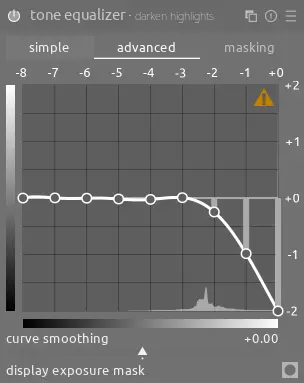
Now, we need to darken the highlights to reduce some of the extreme contrast in this scene. Typically, when using filmic rgb, I would use the white relative exposure slider on the scene tab, but as you can see below, even cranking it to an extreme value of 10 EV isn't sufficient. Therefore, use an instance of tone equalizer instead and pull down just the highlights:
You can see how much more effective this technique is on the pink building by comparing filmic rgb's white relative exposure slider on the left (at 10 EV) and this instance of tone equalizer on the right below:
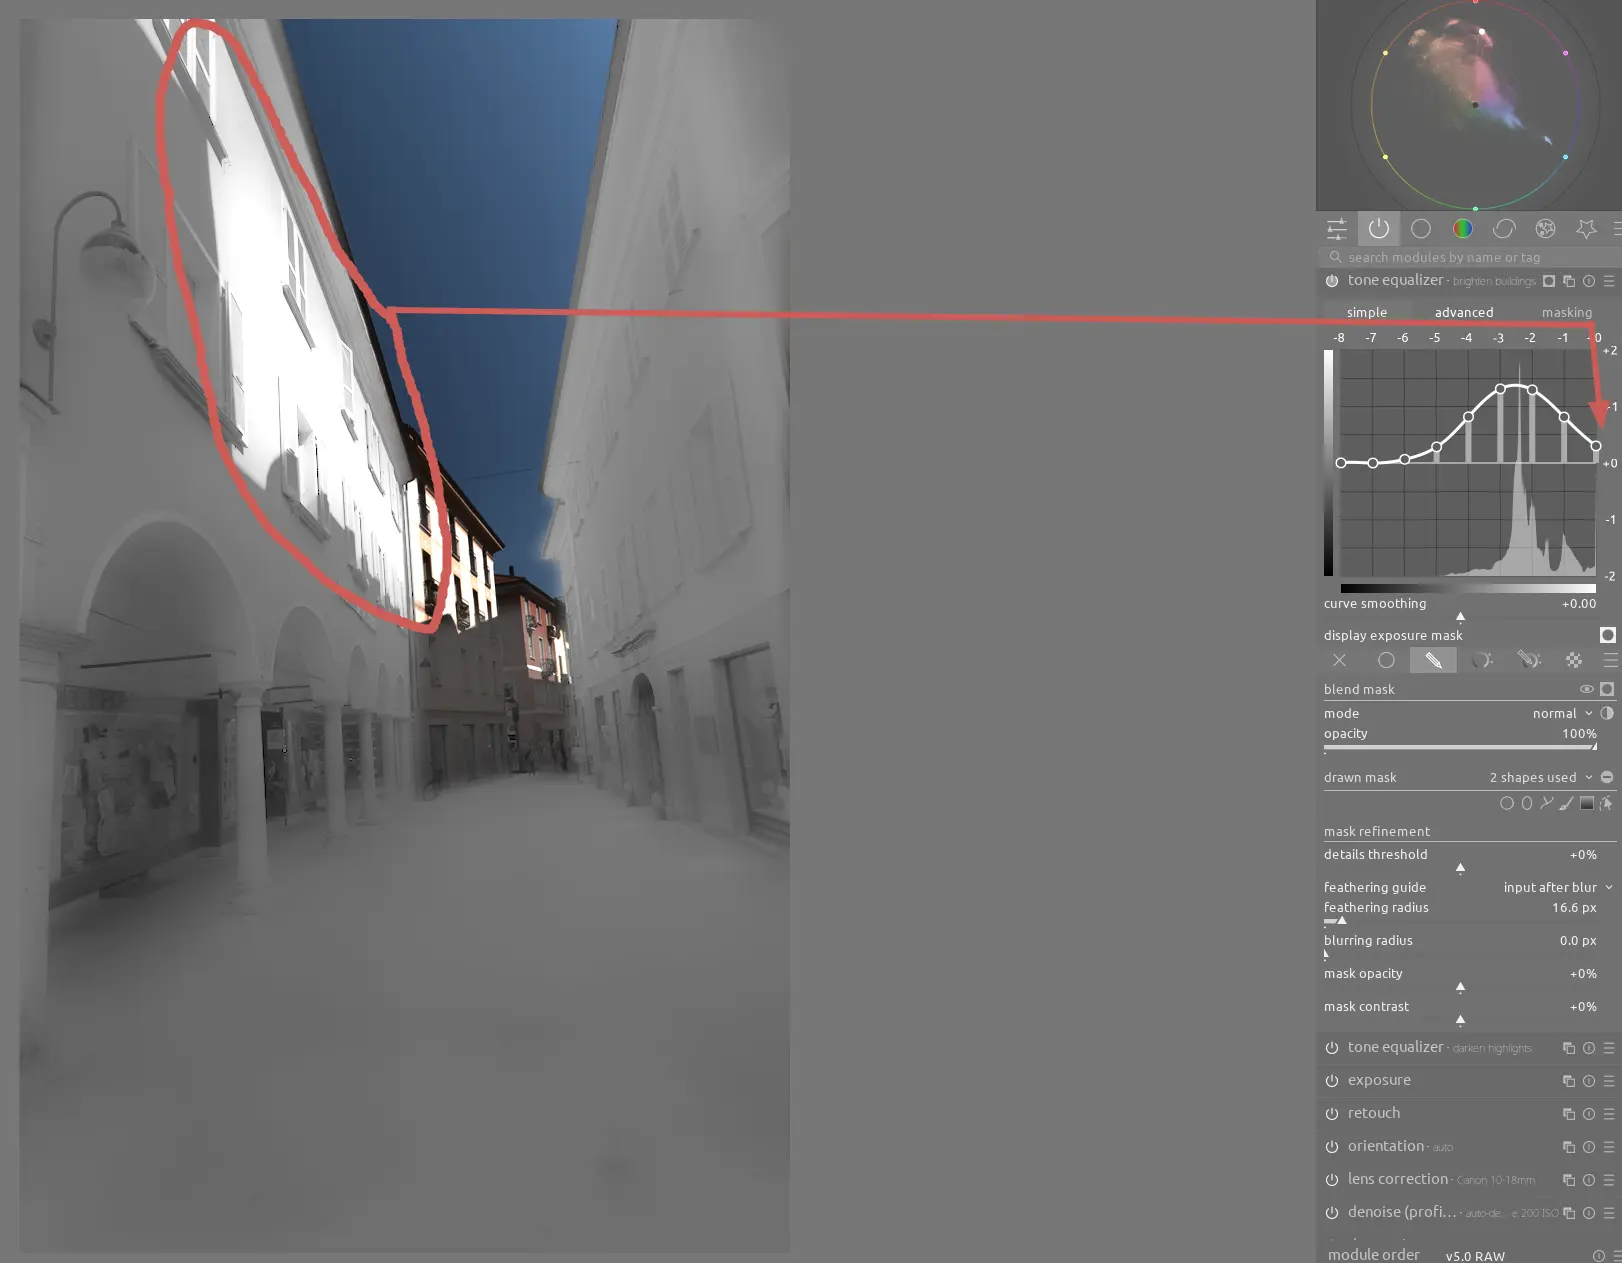
Using another instance of tone equalizer, we can reduce the contrast between the different parts of the buildings by selecting just the shaded parts and brightening them up:
Notice how the mask isn't all a single color - this is because a second, separate mask is used to select the buildings in the distance and set the opacity of the mask on those buildings to only 45%. We do this because those buildings appear to be in a more intensely shaded area, and we don't want to make the image look unrealistic by overly brightening that darker region.
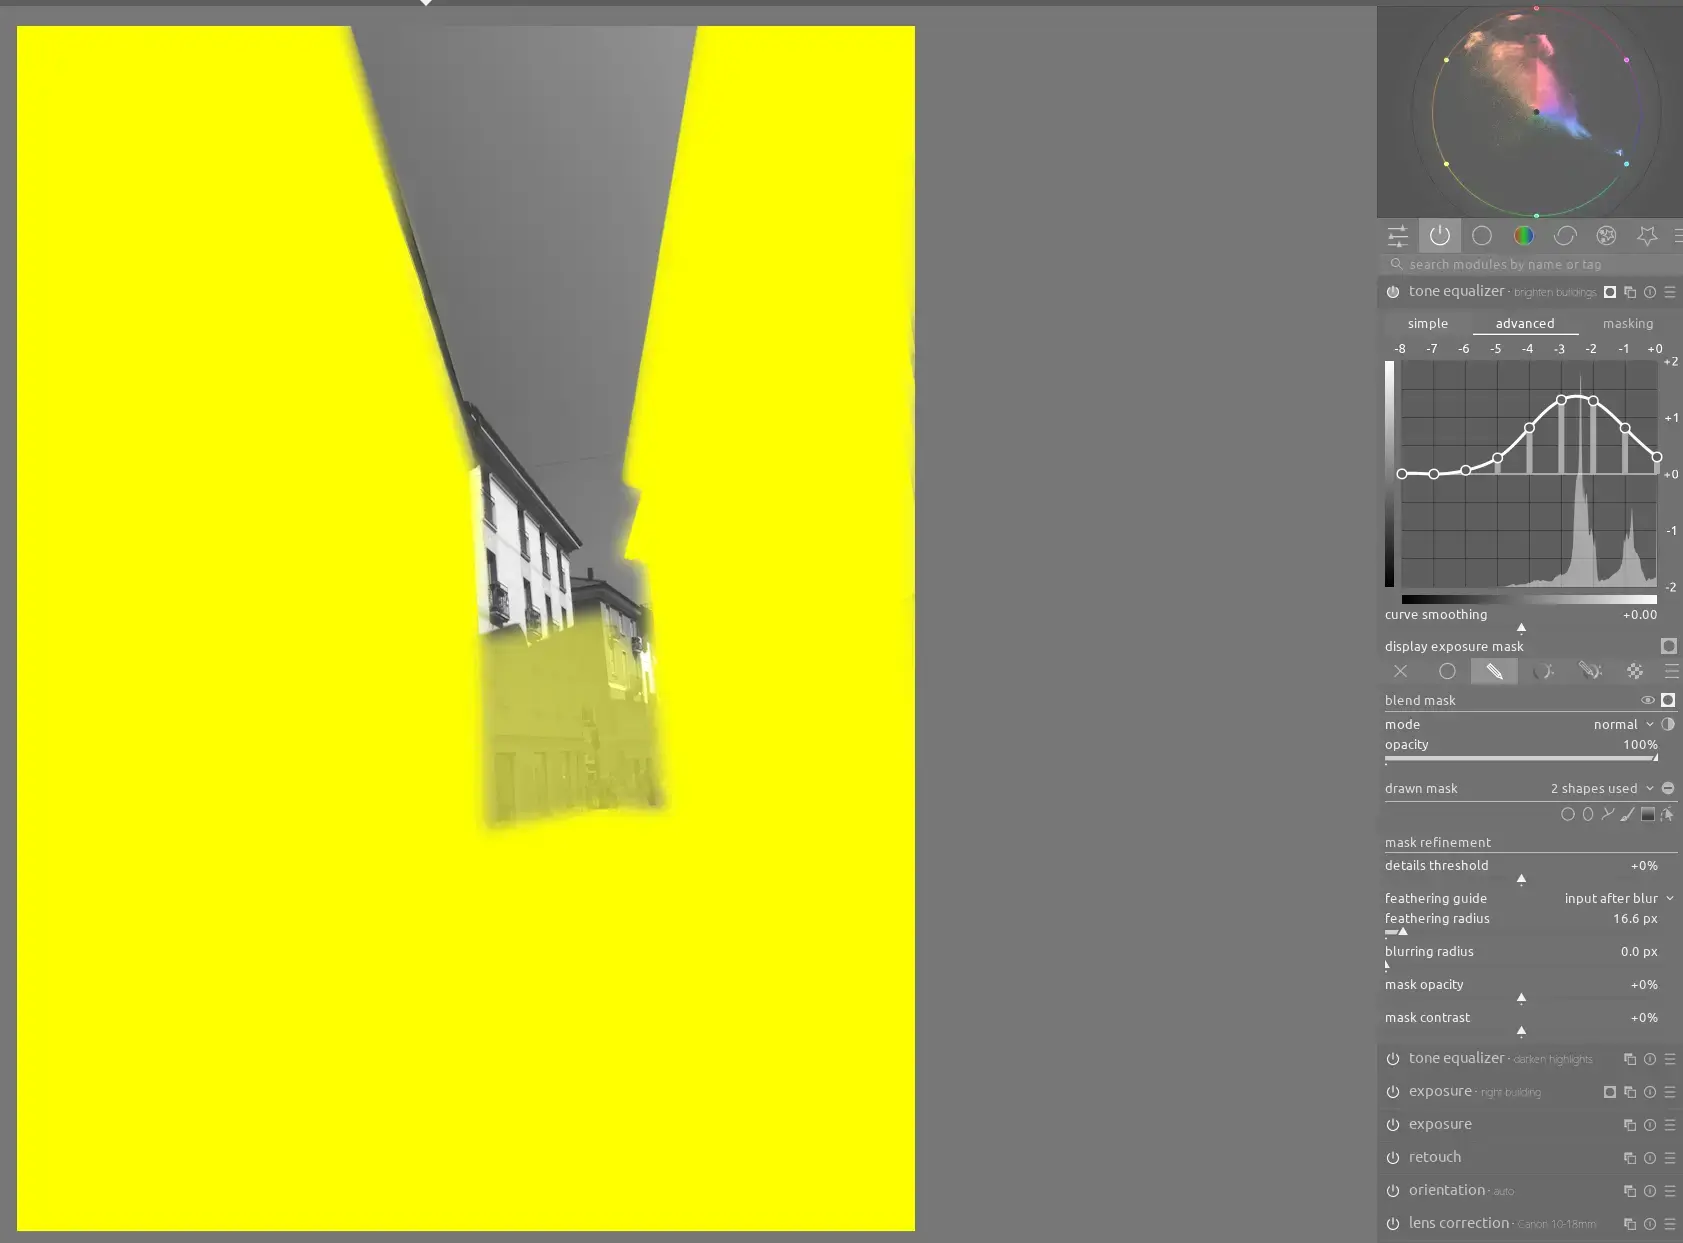
You might ask why we don't exclude the parts of the pink building that are in direct sunlight from the mask - this is unnecessary because that part of the image is outside the part of the tonal range that this instance of tone equalizer is operating on. You can see this by hovering your mouse over that section of the image and observing how it shows +0.2 EV (but tone equalizer operates from -8.0 EV to +0.0 EV); this is also illustrated below when clicking the display exposure mask icon:
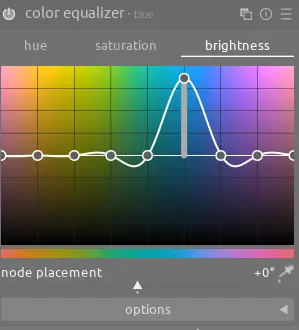
Finally, the sky has gotten caught up in all of these exposure adjustments, so use an instance of color equalizer to quickly restore it to its bright blue color:
Color Adjustments
Next, we need to bring out the vibrance of these colors. Even with the exposure differences reduced, we can see that the color in the parts of the buildings in direct sunlight is more muted than it should be. Let's correct that using an instance of colorize and use the color picker to sample the color from the shaded part:
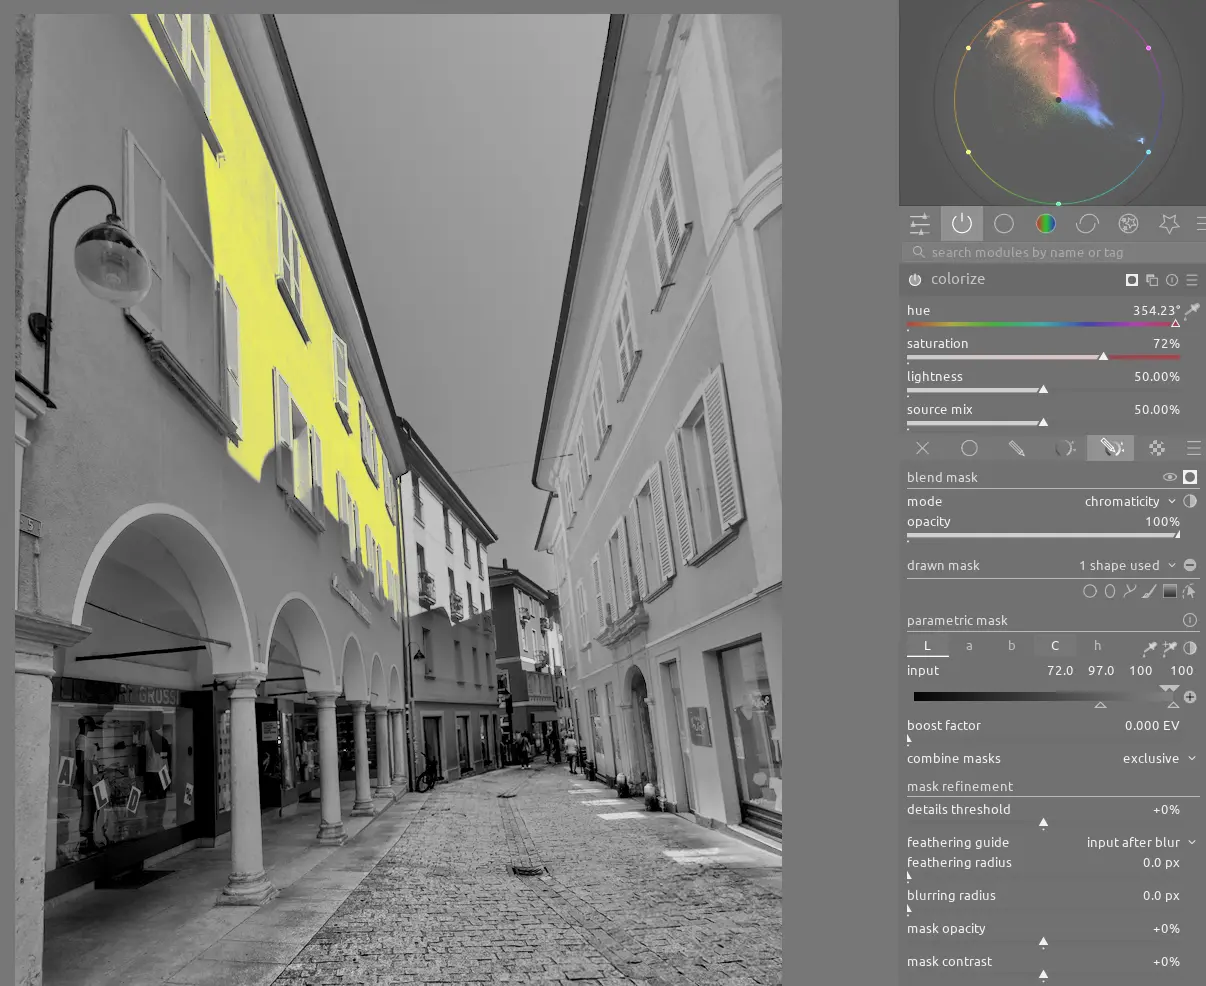
In this case, we want to use a drawn mask to select the general region and a parametric mask to select the bright parts. In addition to what is displayed in the above screenshot, the C slider has also been adjusted a bit to exclude the white trim around the window in the top-left corner. With these masks created, we need to use the chromacity blend mode since we just want to overlay the color and not adjust anything else about the area.
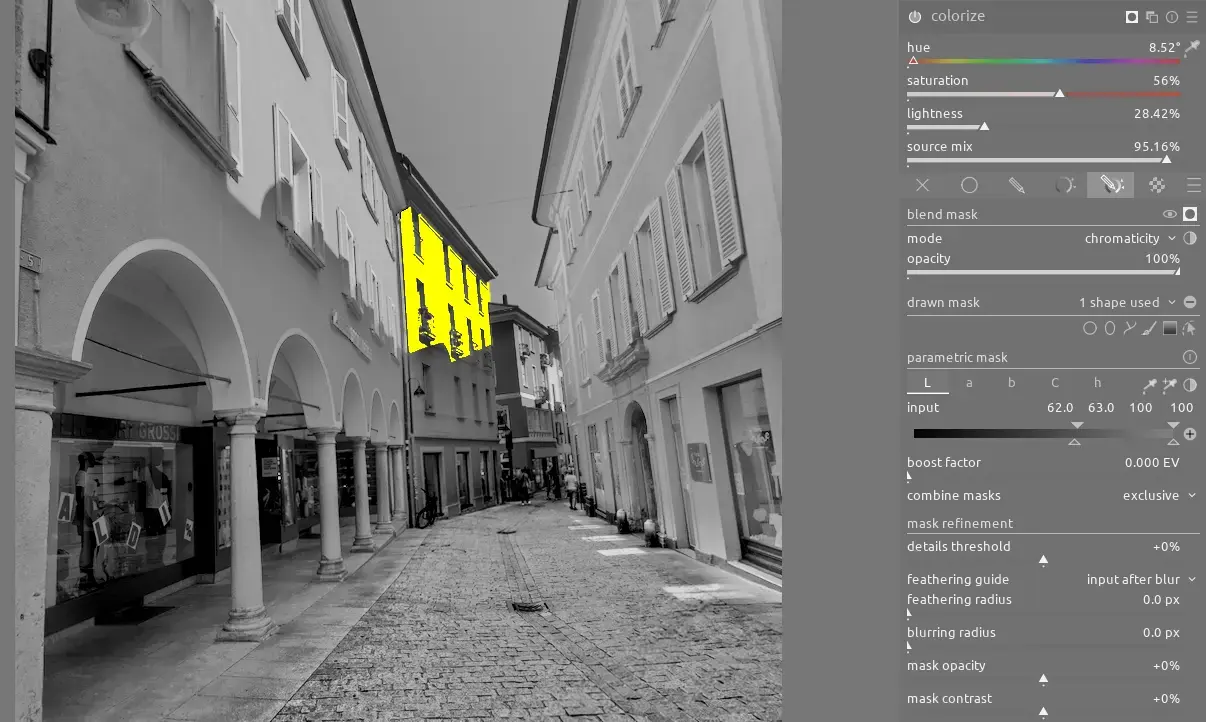
We can then use another instance of colorize to apply this same technique to the yellow building in the distance:
Local Contrast
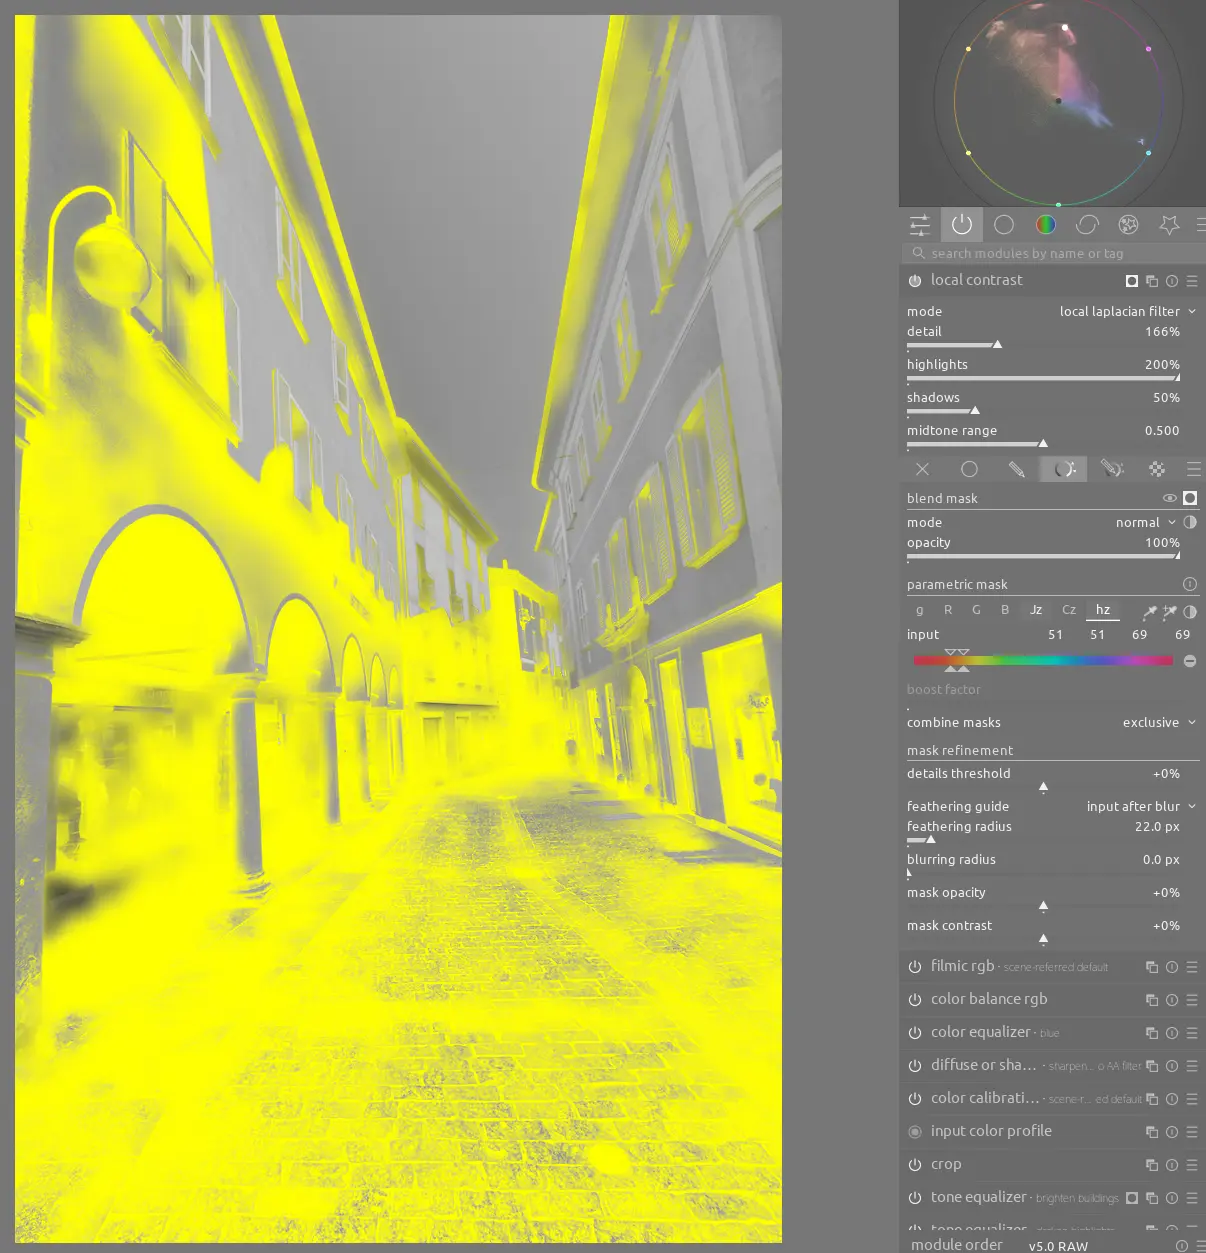
Finally, we can make several adjustments to local contrast with this scene. For example, it makes sense to darken the shadows under the windows, but we need to be careful to avoid selecting too much of the pink or yellow as variations in texture and exposure can make the buildings look dirty. To do this, use an instance of local contrast with a parametric mask using Jz to select only the darker parts and hz to exclude the pink and yellow:
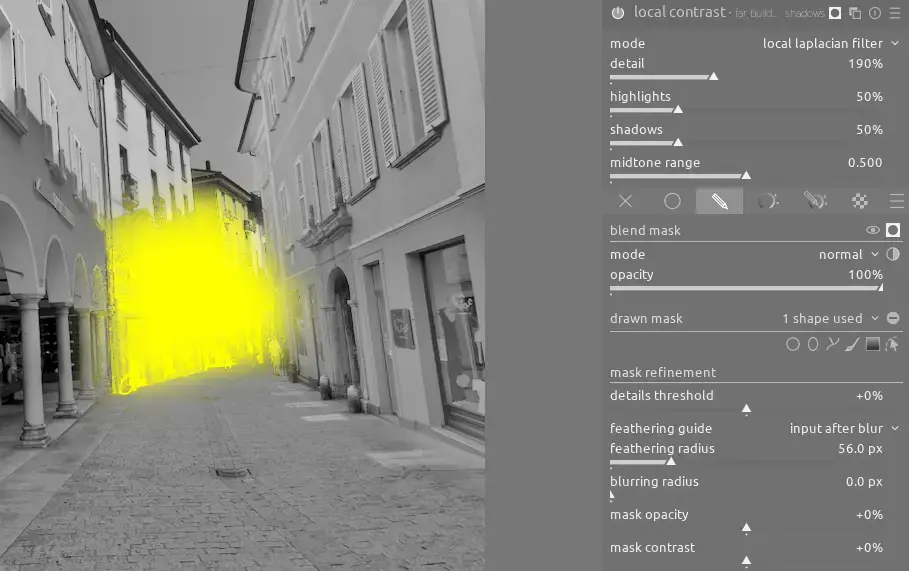
Once again, we want to adjust the more prominent shadows on that distant yellow building, so use another instance of local contrast with a drawn mask to select it:
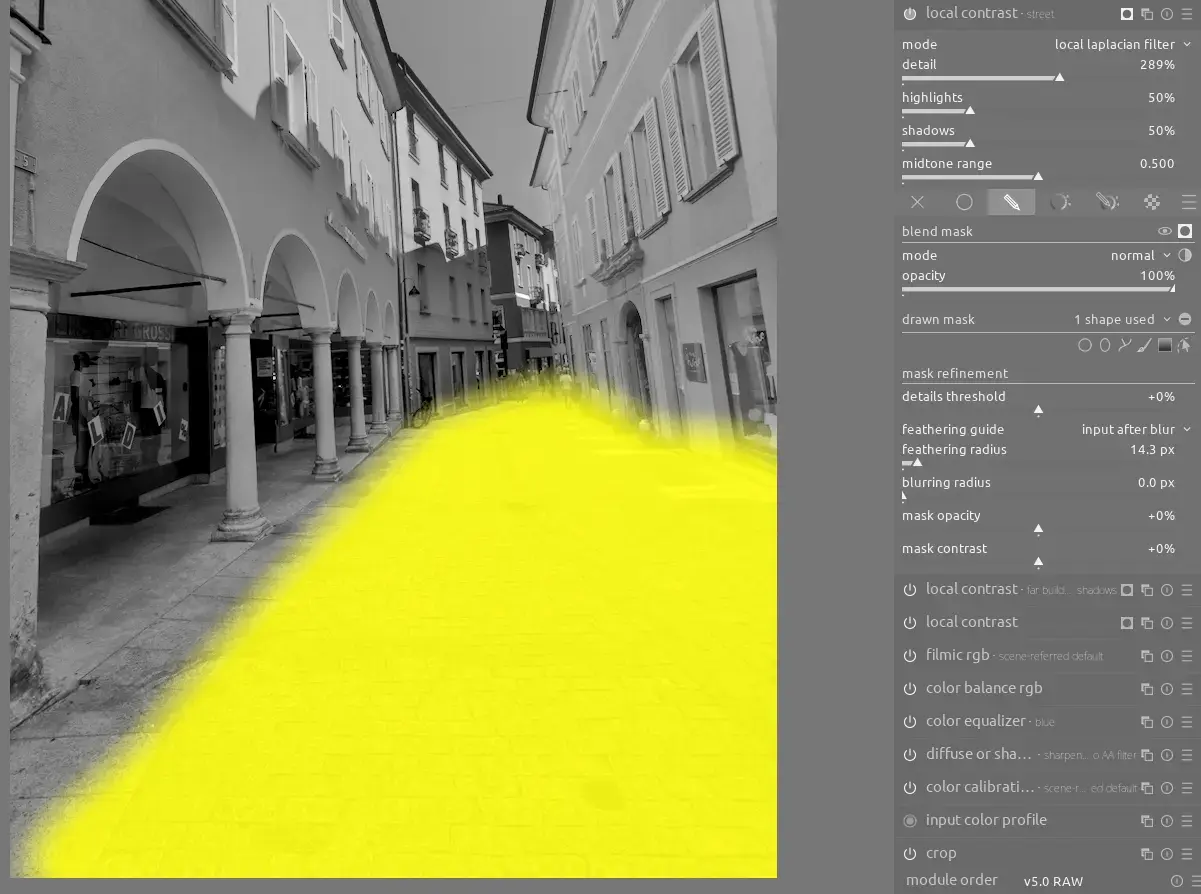
Lastly, use one more instance of local contrast with a drawn mask to highlight the texture of the street:
Conclusion
The human eye does a much better job correcting for extreme differences in exposure than your computer's display, but fortunately this is easily improved using these steps in darktable. Remember when capturing shots like this to be careful not to clip the highlights since that will make it much harder (if not impossible) to achieve a realistic result.