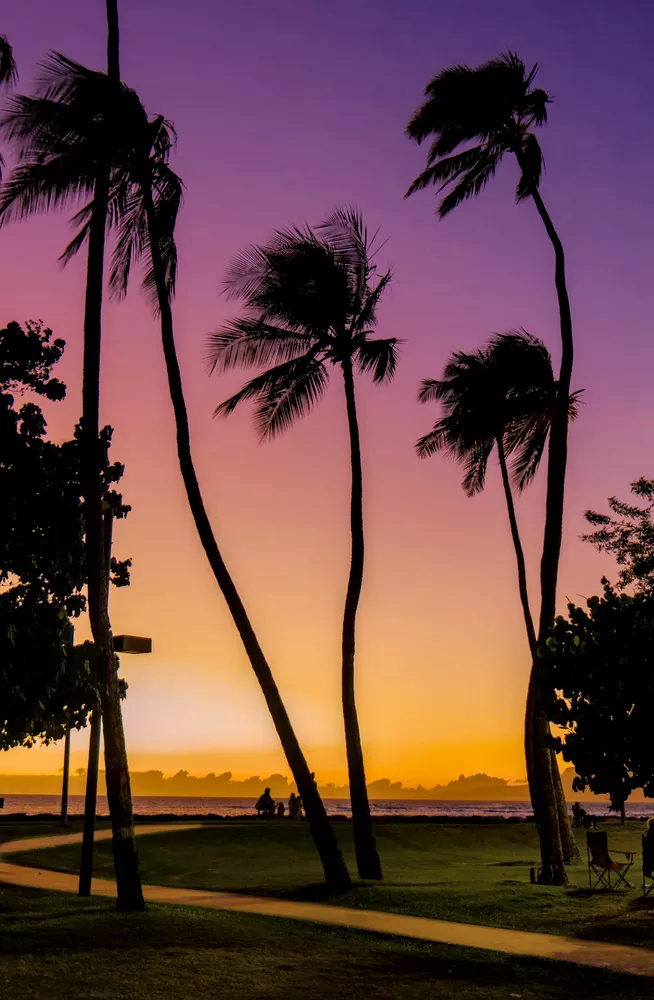
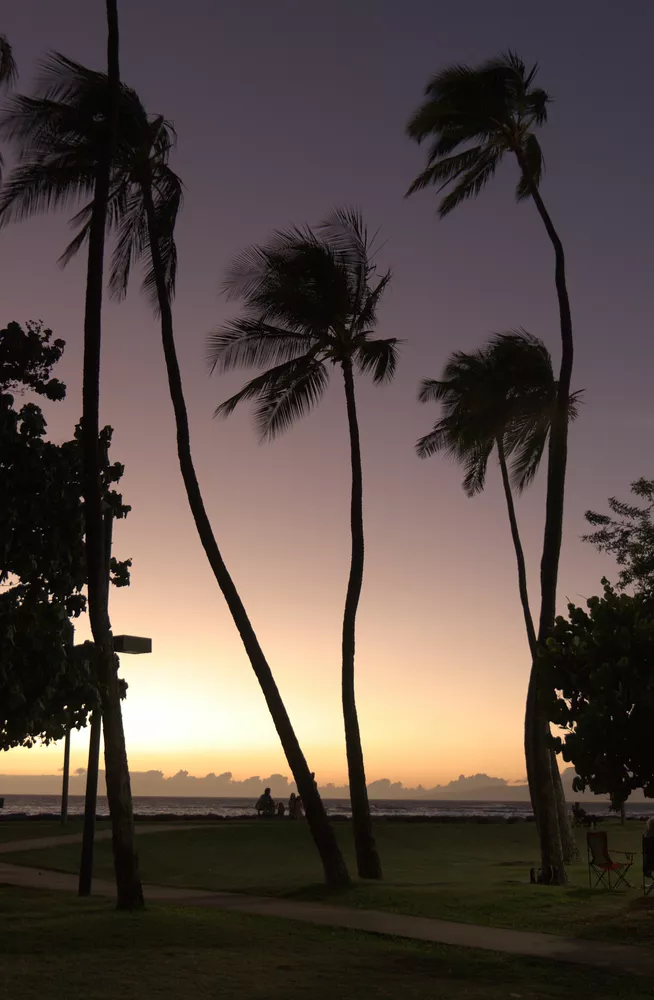
Sunsets can have many fantastic colors, but they may not be very visible on the initial edit of an image. Let's explore how to bring sunset colors to life with this beautiful tropical silhouette.
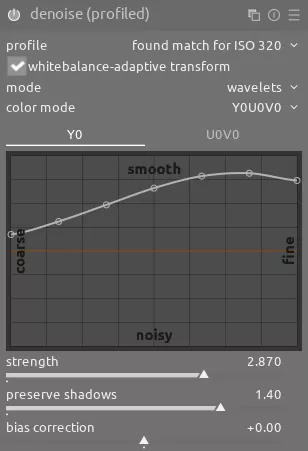
As you can see in the "before" shot above, this image is quite colorless and boring upon first glance. Let's begin by enabling the denoise (profiled) module to remove any noise from the image, especially in the darker parts of the sky:
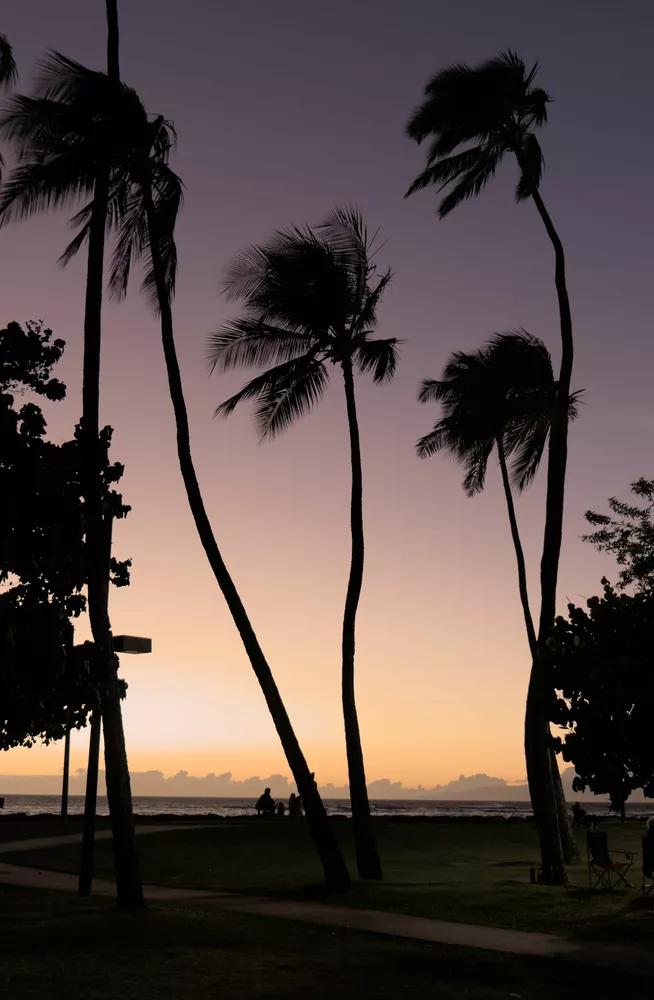
Next, increase the exposure with the exposure module:
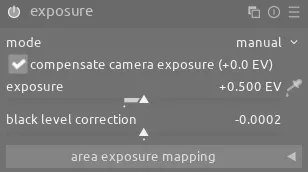
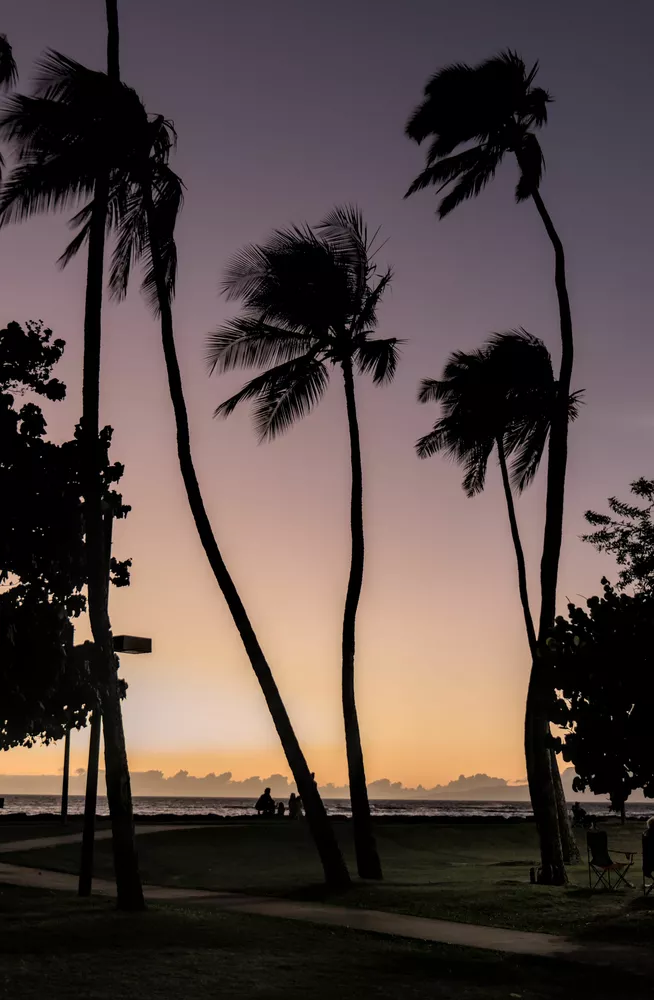
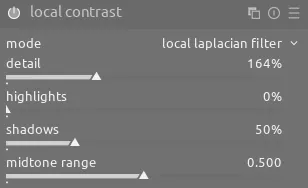
This exposure increase is subtle, but really helps boost the contrast between the palm trees and sky as you can see above. Let's make this effect even more pronounced using the local contrast module:
Finally, we can increase the chroma and saturation on the image using color balance rgb. It's worth emphasizing that these are the original colors present in the scene - no additional colors or adjustments to hue were necessary:
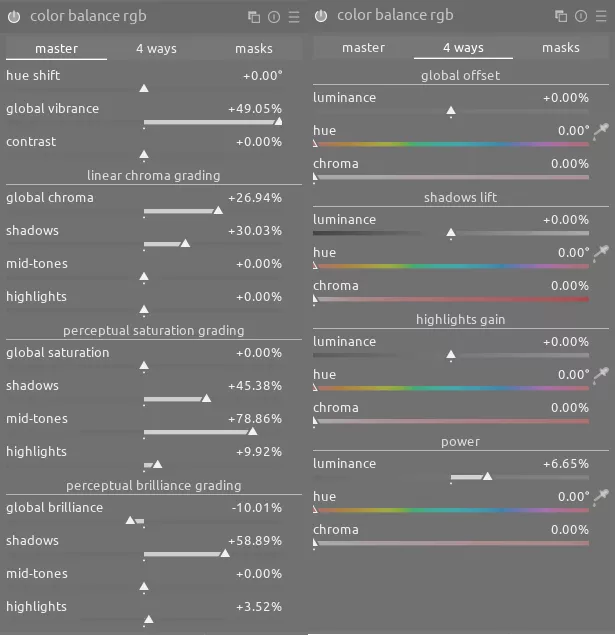
On the master tab, increase the global vibrance, linea chroma grading, and perceptual saturation grading sliders until the colors look good. Use the following adjustments in tandem to make the grass more visible and create an interesting side-lighting effect with the setting sun:
- on the master tab under the perceptual brilliance grading section, increase the shadows slider
- on the 4 ways tab under the power section, increase the luminance slider
It's incredible to think that so many colors were hidden in this original image! This looks pretty good, but we can add one more element of interest by selecting the path with a combination of drawn and parametric masks:
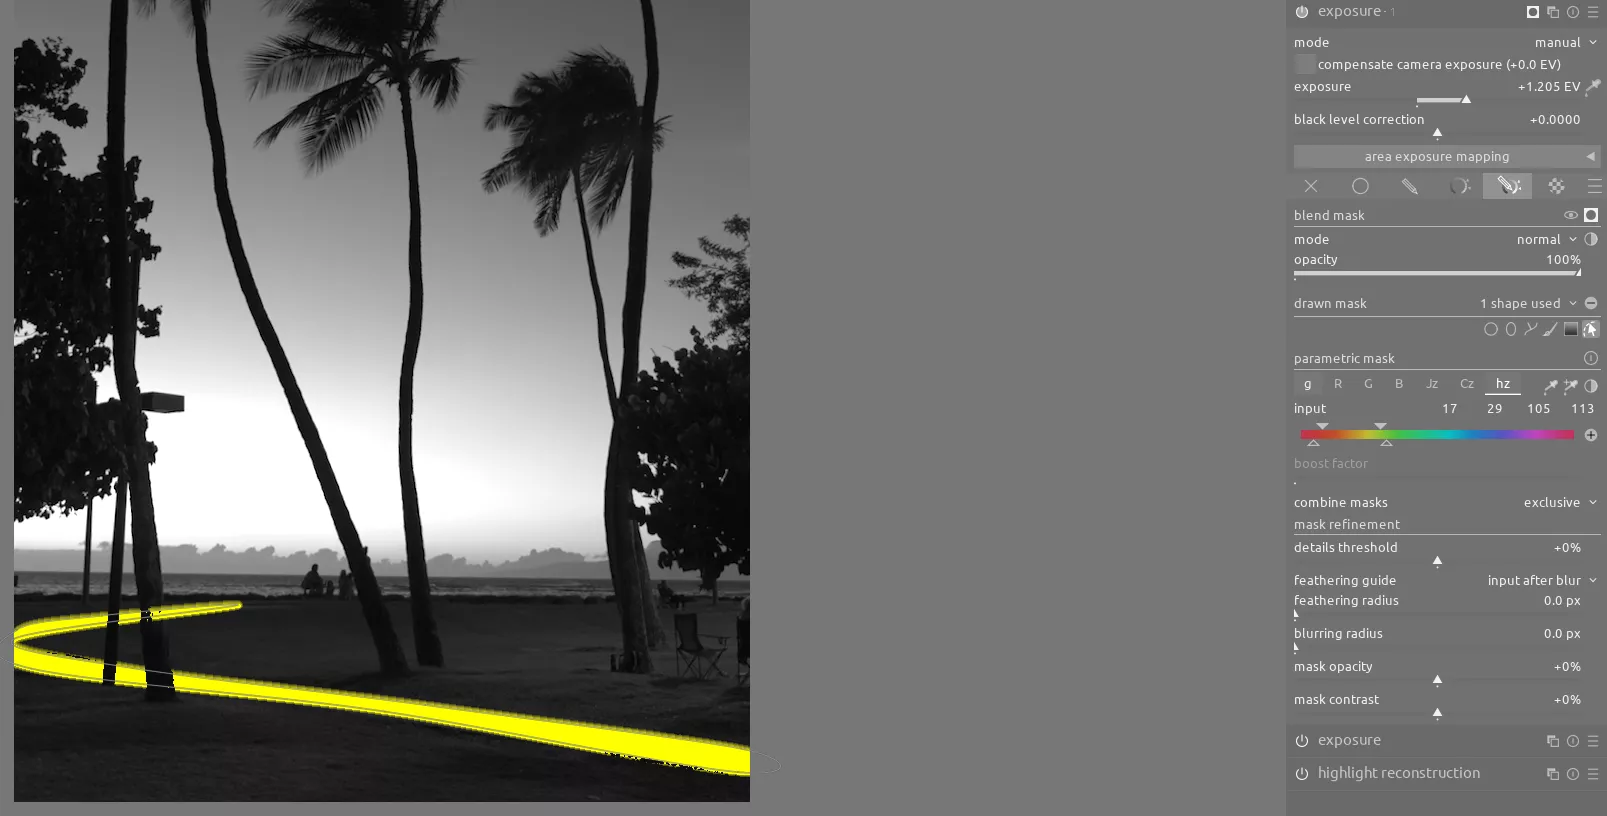
In addition to the above configuration for the mask, the g slider on the parametric mask has been adjusted very slightly to exclude the trees crossing the path. Brightening the path like this helps lead your eye through the scene:
What a dramatic transformation overall for this image. There was an impressive amount of color hidden in the sunset and the above steps helped illuminate the beauty in this silhouette.

