Let's explore how to showcase this beautiful waterfall in Lauterbrunnen along with the colorful rock surrounding it and the iconic church tower.
Exposure and Contrast
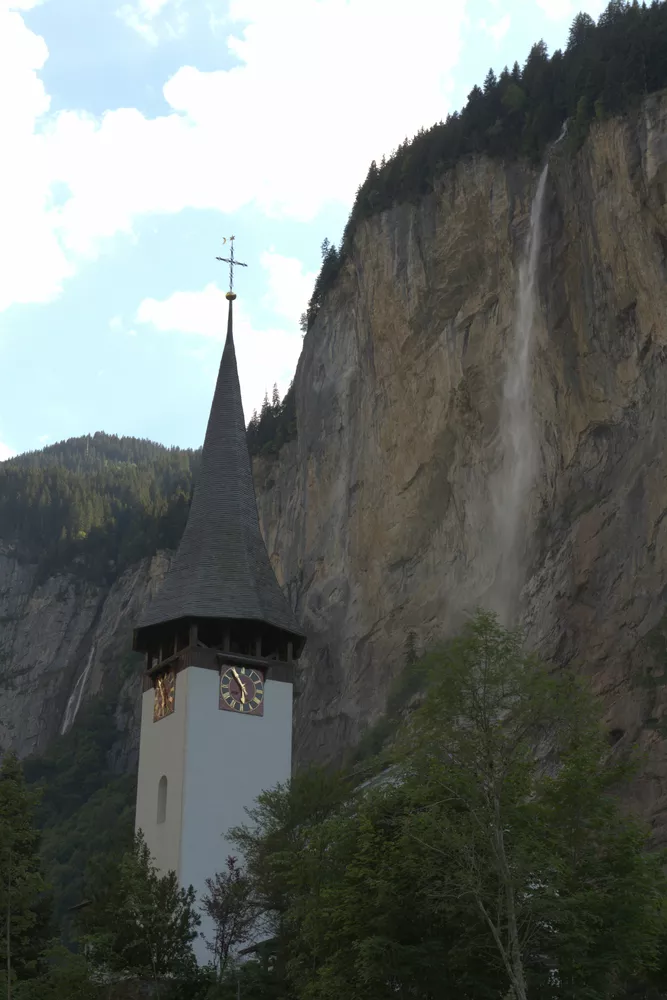
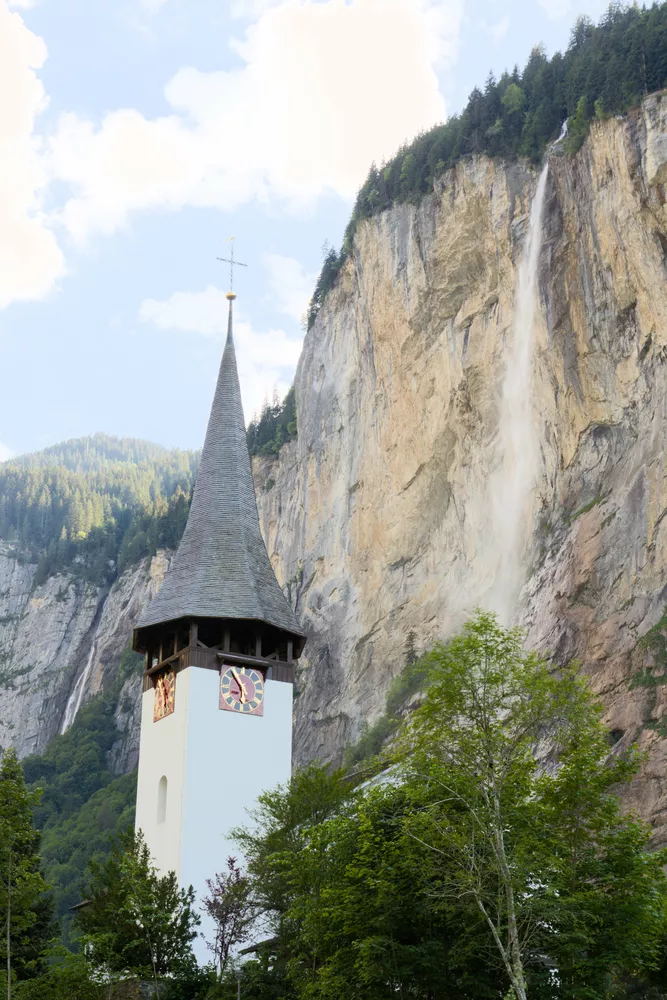
After using the exposure module to set the correct exposure for the midtones, we find that the entire sky is completely blown out. Notice below how simply enabling filmic rgb brings these highlights back, but at the expense of the waterfall's brightness:
We'll fix the waterfall later on. Next, use tone equalizer to increase the contrast:
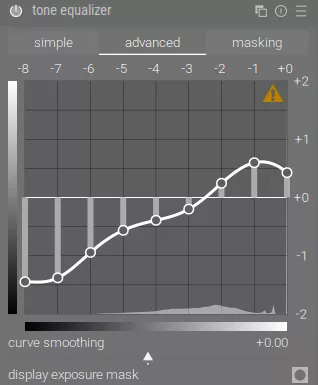
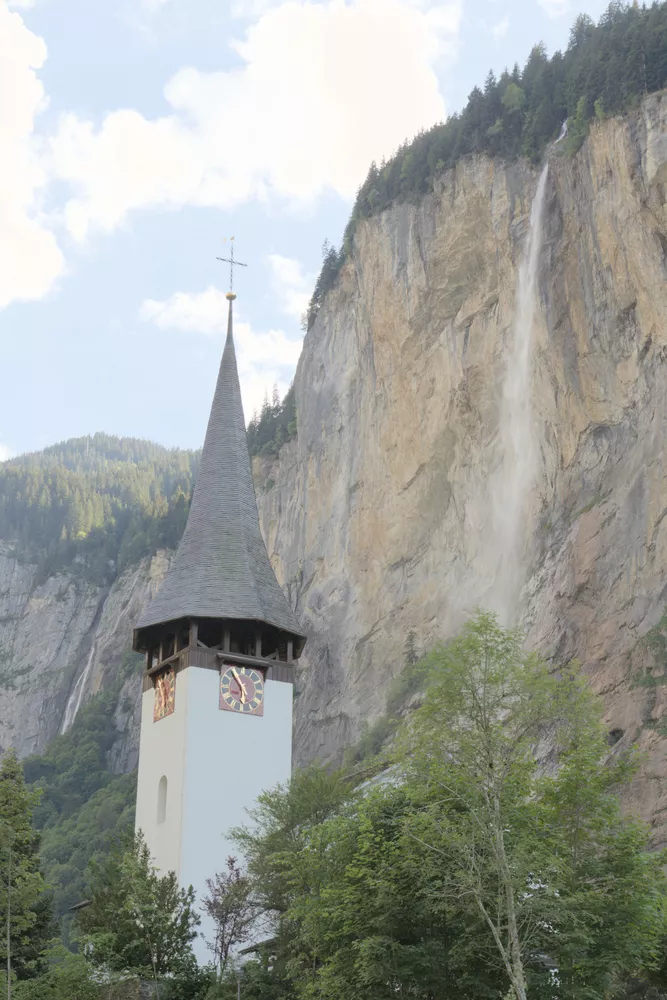
You can see the results of this contrast boost below:
Color
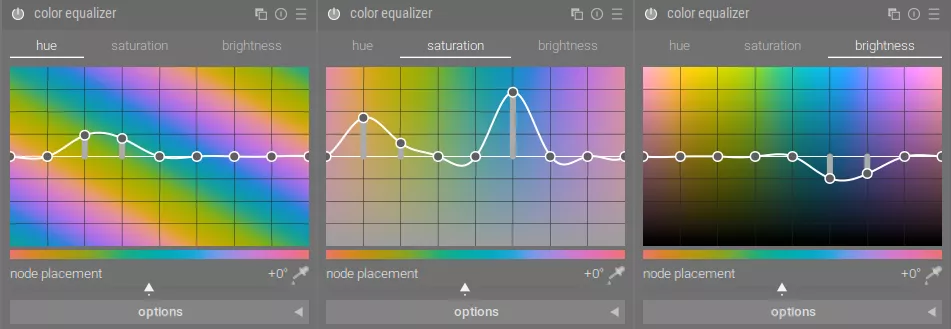
We want to really bring out the beautiful colors in the rocks surrounding the waterfall. Moreover, we want to highlight the church in the foreground and make the sky feel more blue. First, let's use an instance of color equalizer to increase saturation, decrease brightness of the blue sky, and adjust the hue of the trees to more of a blue shade:
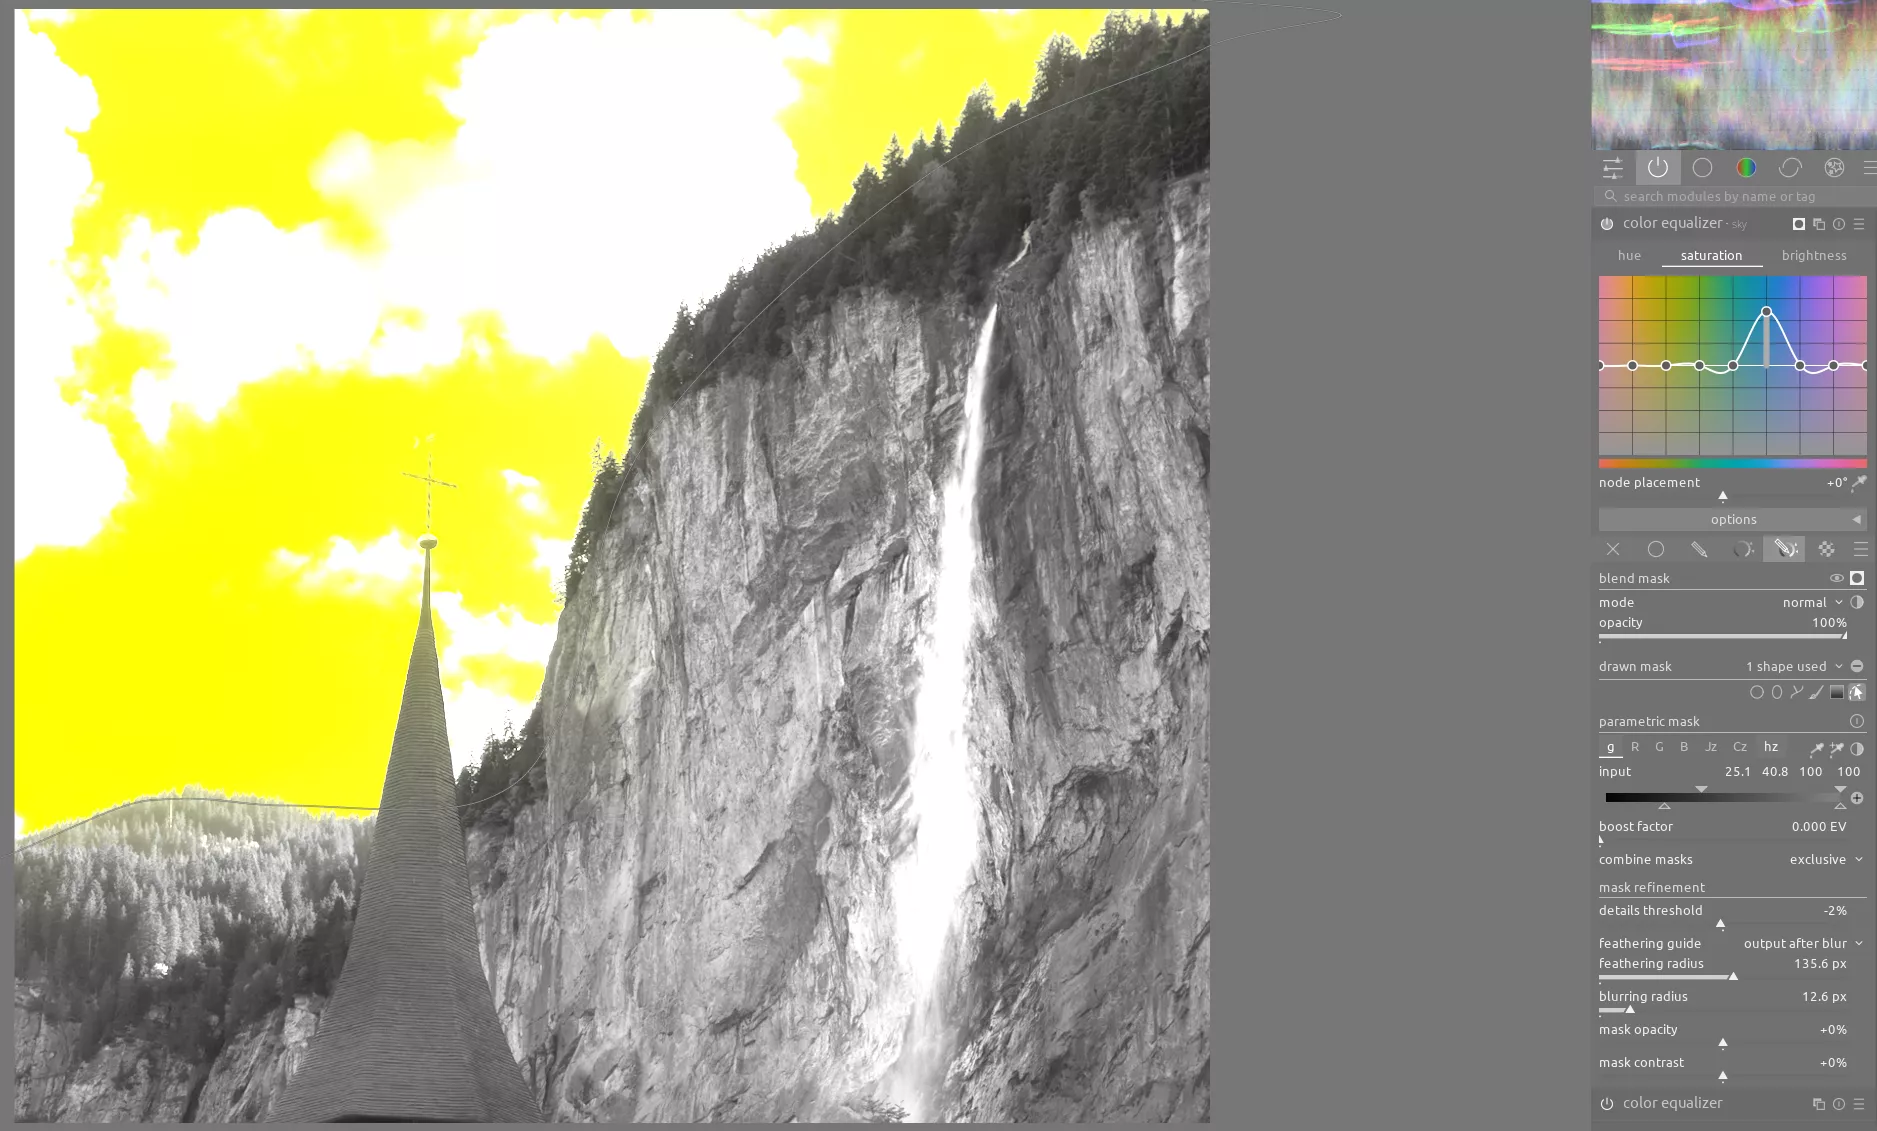
Next, use a second instance of color equalizer with a drawn mask to select only the sky and a parametric mask with only the blue selected to dramatically increase the saturation of the sky (which was washed out in the original image):
Now we use several instances of color balance rgb to make targeted adjustments, such as increasing the saturation of the red clock on the church tower to make it stand out. Using another instance of color balance rgb, we can apply an orange/blue split tone to the image:
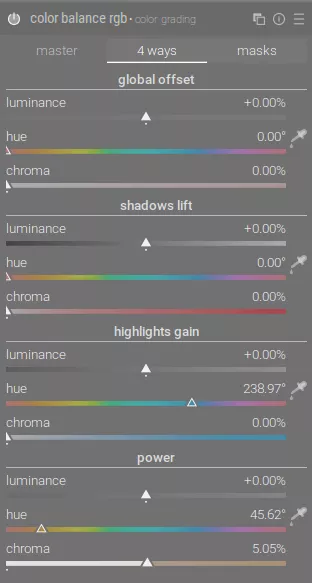
This helps with our goal of highlighting the color in the rocks around the waterfall:
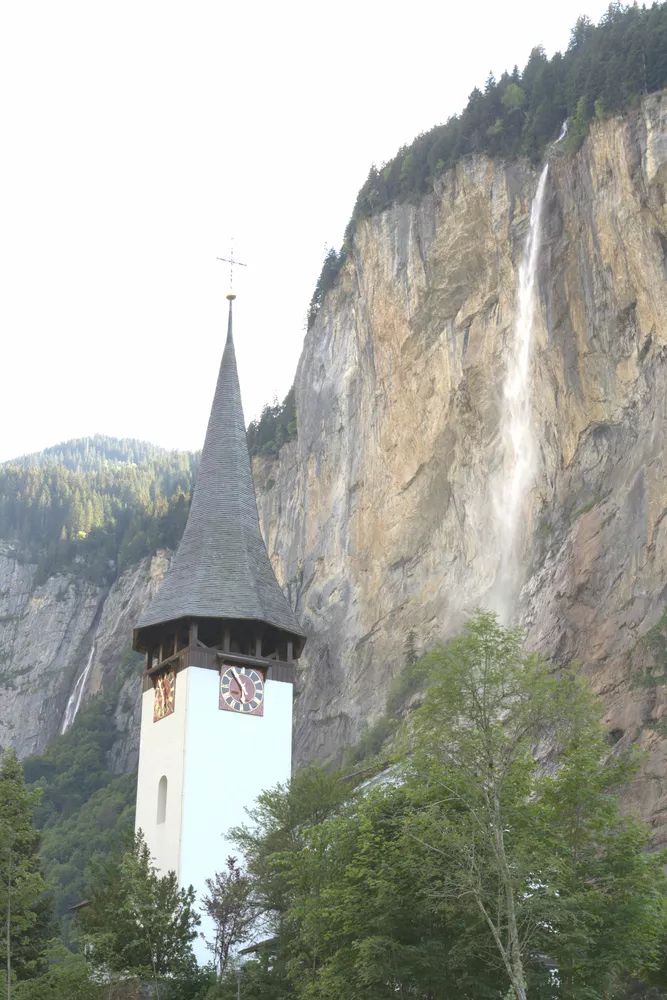
At this point, the closer face of the church tower appears to have a blue tint. Using a drawn mask and parametric mask, we can select only the tower and desaturate it to make it look white again:

This makes a surprisingly big difference:
The cumulative impact of these changes on the color wheel can be seen below:

This basic analogous complementary color harmony was there from the beginning, but now it's much more apparent in the image.
Highlighting The Waterfall
As I said above, filmic rgb did a good job of recovering the highlights, but in the process it also dimmed the waterfall. Let's use a drawn mask and parametric mask to select the waterfall and brighten it up again with another instance of exposure:
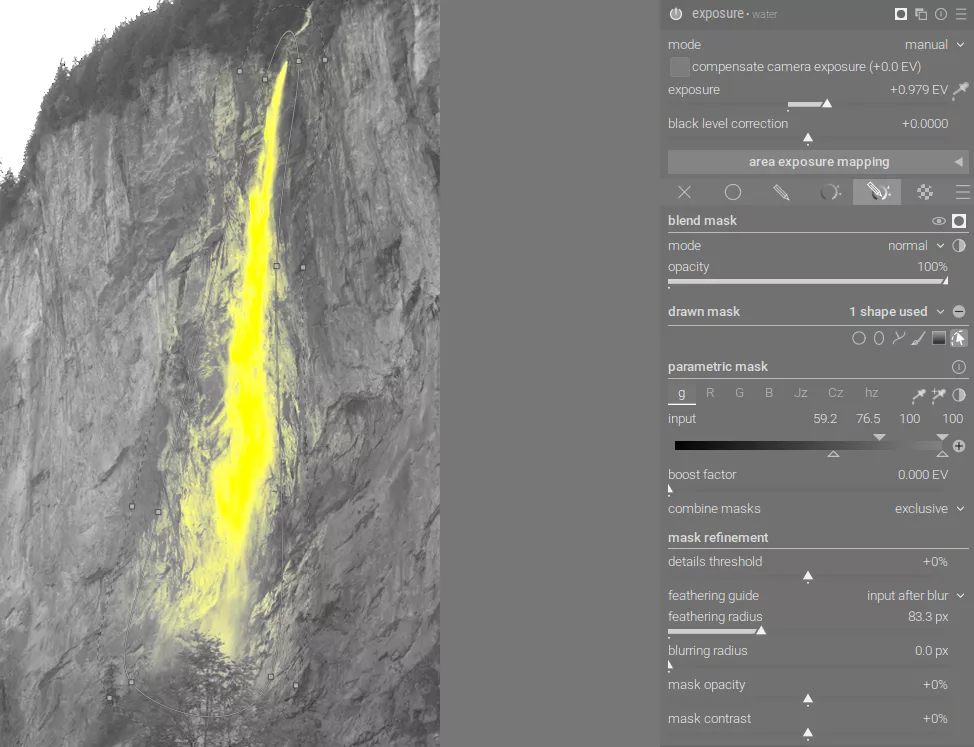
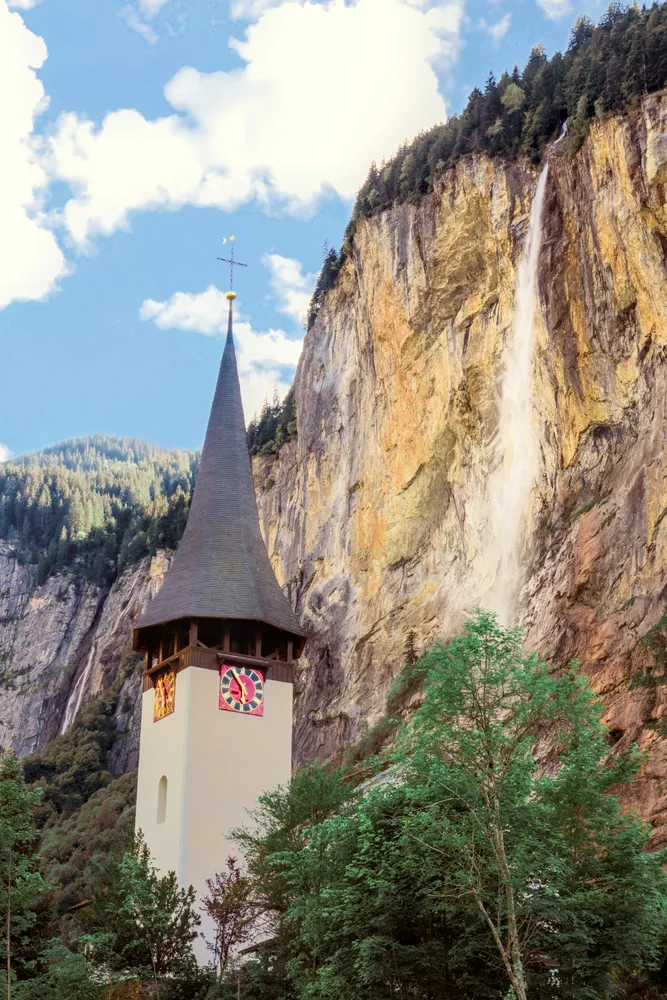
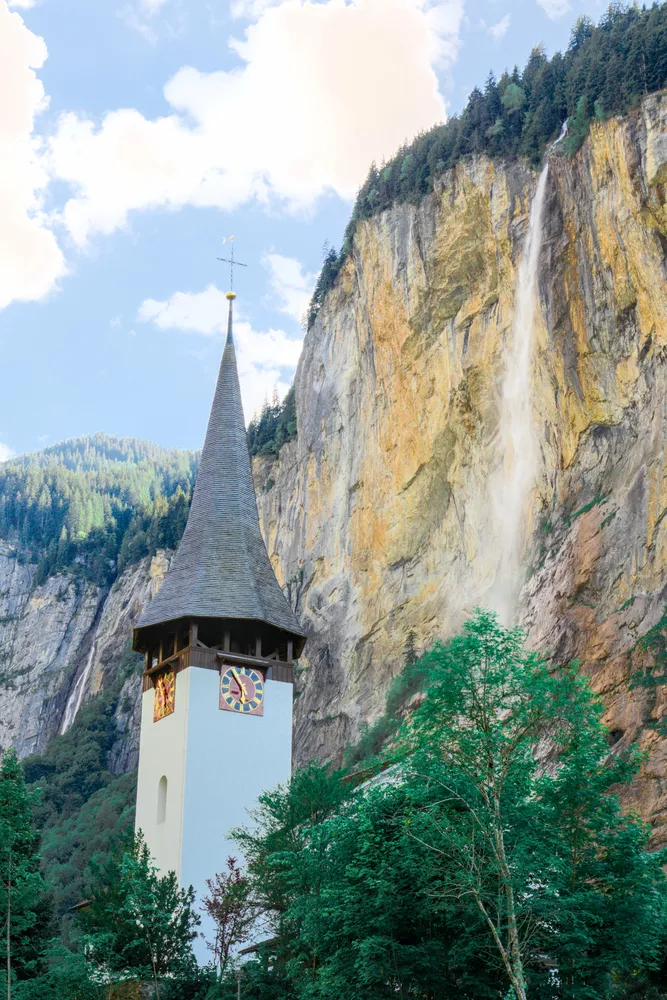
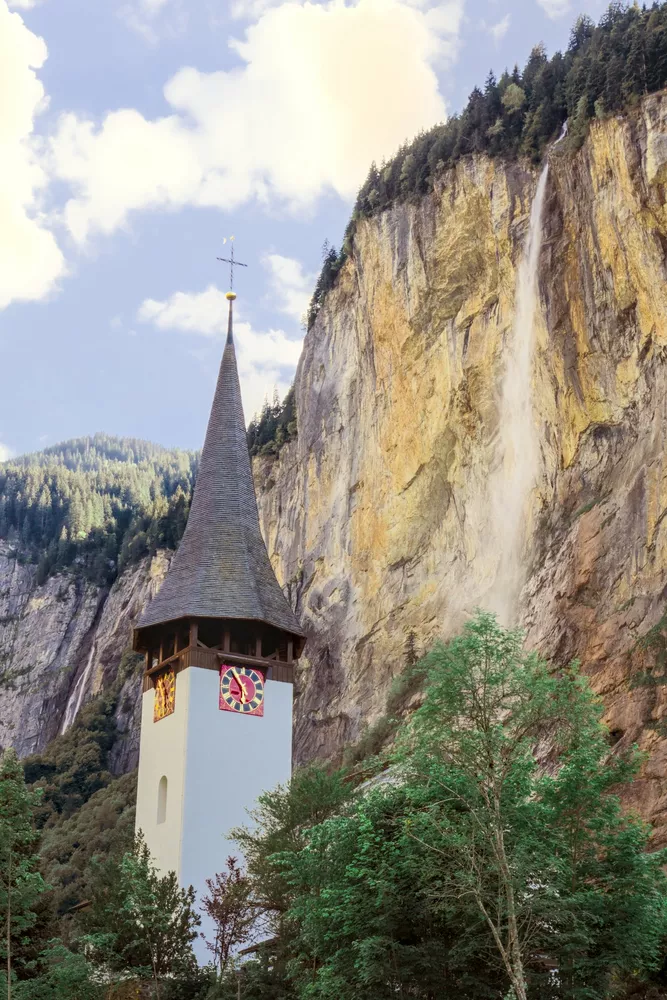
This helps the waterfall to pop and capture your attention:
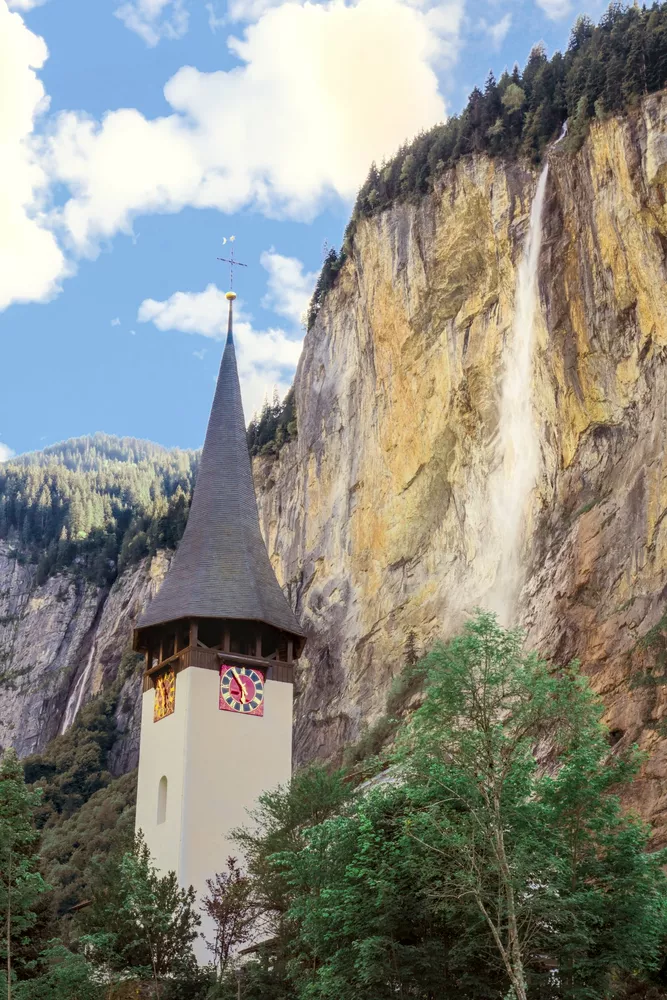
With a few more small adjustments, we arrive at the final image: