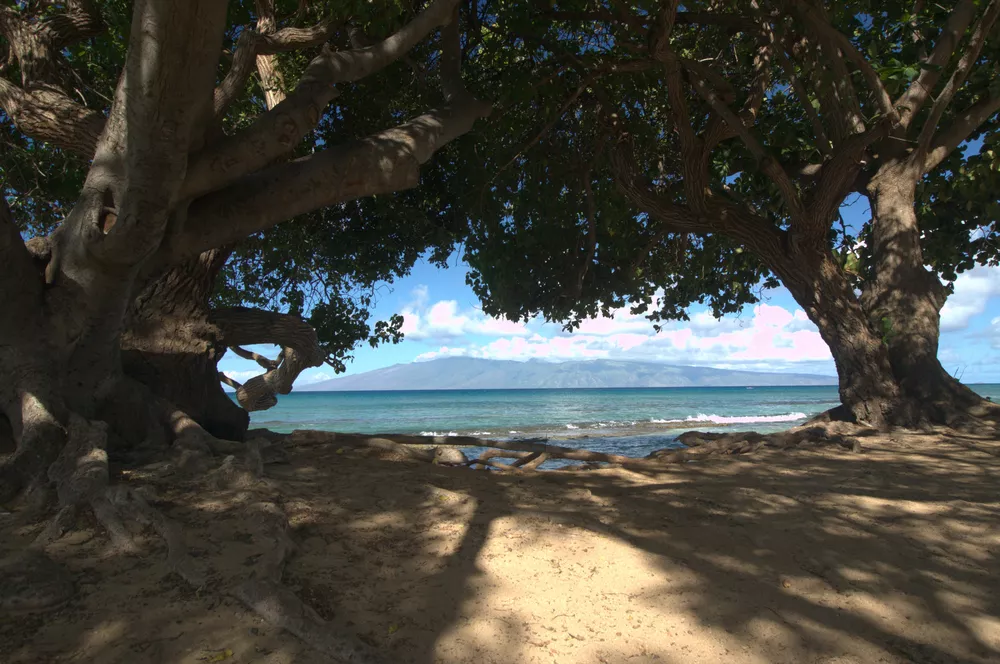
Scenes with a high dynamic range can be challenging to work with - either you risk blowing the highlights or the shadows are way too dark. Let's learn how to compress a high dynamic range scene in darktable using both filmic rgb and sigmoid to compare how each of these tone mapping modules works.
Filmic RGB
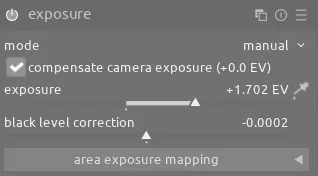
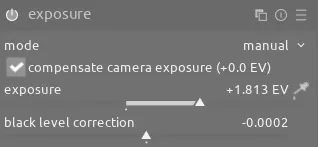
The first step in the filmic rgb version is to increase the exposure using the exposure module:
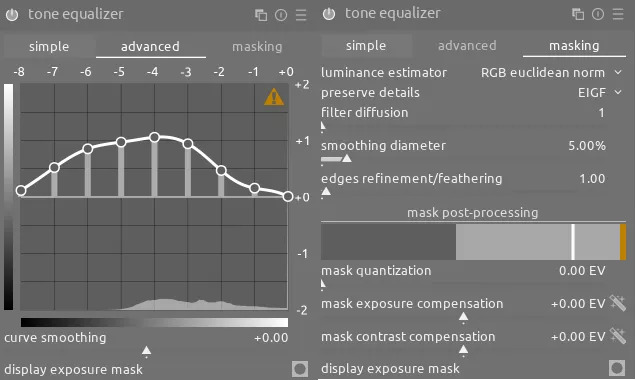
Next we need to use tone equalizer to brighten the very dark shadows under the trees. Note that the mask shows the image shifted to the right - this is intentional so we can access all parts of the shadows, even the very dark parts:
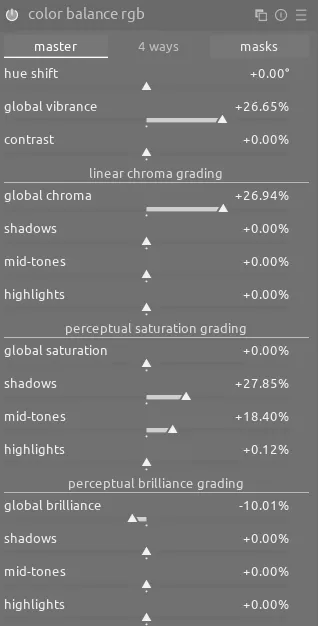
We can now use color balance rgb to increase saturation:
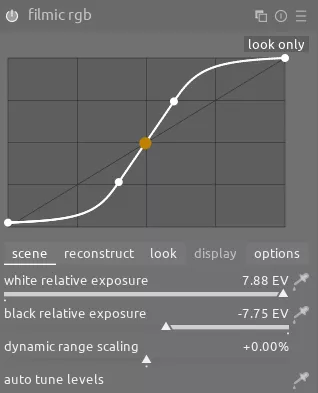
Finally, enable filmic rgb and set white relative exposure to recover the highlights, especially the clouds:
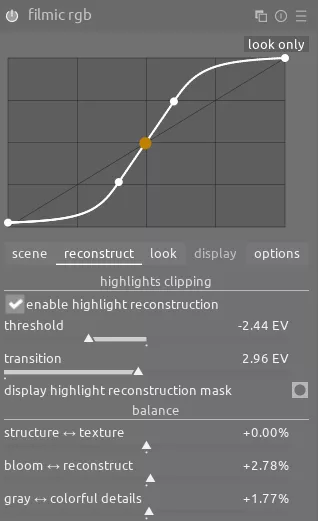
You'll then need to use both the reconstruct tab as well as the highlight reconstruction module to recover the brightest highlights:
filmic rgb's reconstruct tab:
highlight reconstruction module:
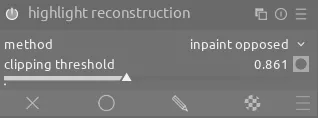
Notice how we had to decrease the clipping threshold in order to cover all of the very bright clouds.
Finally, play with the color science and preserve chrominance values on filmic rgb's options tab to find the best version of colors in the highlights:

With all of these changes, we've reduced the dynamic range significantly such that even the shadows under the trees and the bright white clouds are all visible on the screen (or print media).
Sigmoid
Similarly, the first step in the sigmoid version is to increase the exposure using the exposure module:
Next, we need to use tone equalizer to brighten the very dark shadows:
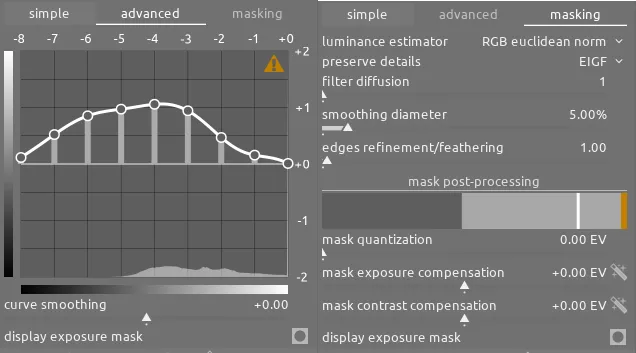
At this point, the steps for sigmoid diverge as we need to use a second instance of tone equalizer to pull down the brightness of the highlights (since sigmoid doesn't have an equivalent of filmic rgb's white relative exposure). Contrasting with the first instance of tone equalizer, notice how the mask in this version greatly reduces the exposure so that all of the pixels fit well within the mask range (and even leave some headroom on the brightest EV) - this allows us to reduce the brightness of all of the highlights:

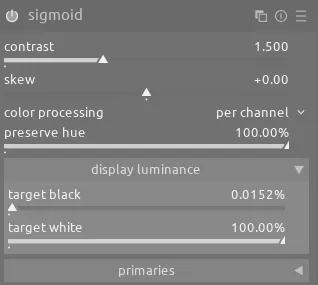
Next, enable sigmoid and make any adjustments if needed:
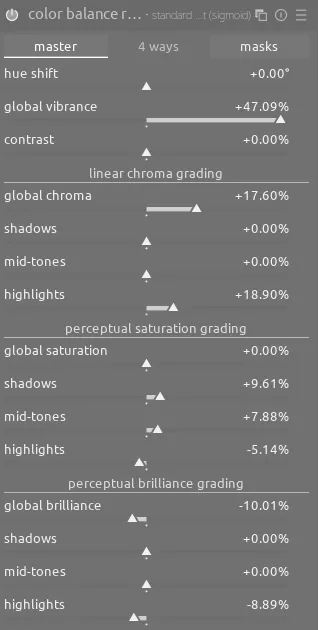
Finally, use color balance rgb to increase saturation:
Comparison
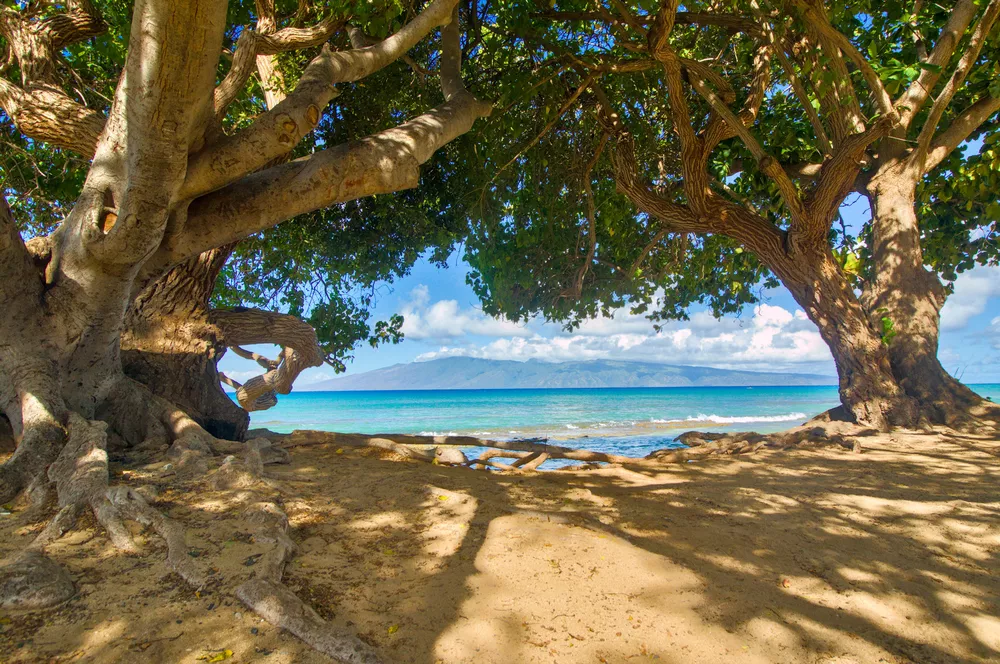
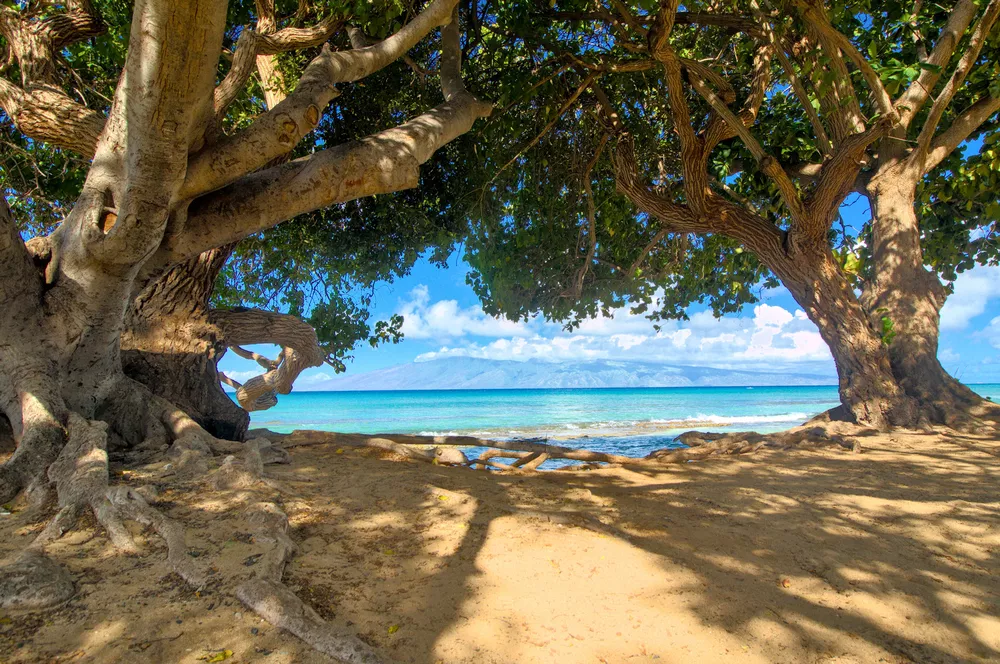
You be the judge of which version you like better (left is filmic rgb and right is sigmoid). It's worth noting that additional refinement could be done to bring these versions even closer, such as a second instance of tone equalizer on the filmic rgb instance to bring down exposure of the brightest parts of sand. Interestingly, I think the filmic rgb version probably looks more accurate to how my eyes would see the scene (with that sand in the middle appearing really bright and hard to see details in it), whereas the sigmoid version gives us more control to pull down that part of the highlights and keep more detail.
In general, I prefer filmic rgb for scenes that involve the sky and clouds as the white relative exposure seems to do a great job of recovering the highlights, setting appropriate saturation in the highlights, and gently transitioning the curve to pure white:

I tend to prefer sigmoid for scenes that don't involve the sky, or where I'd like to easily add a lot of contrast. We are fortunate to have both of these tone mapping modules in darktable to provide multiple ways of working with a wide variety of scenes.