
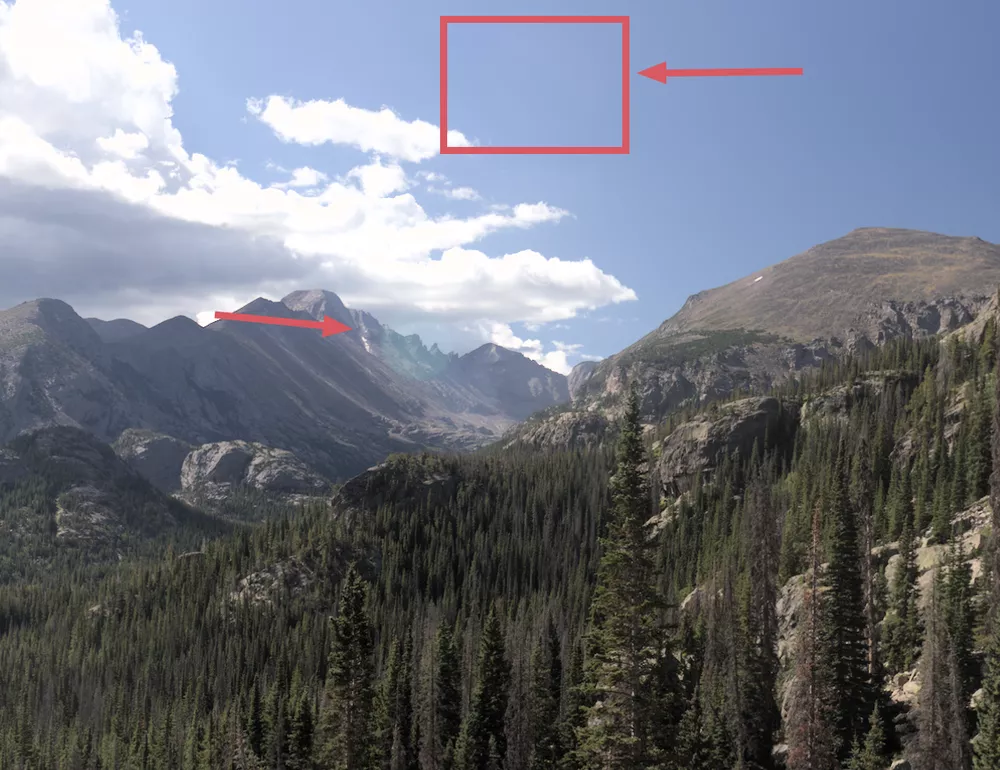
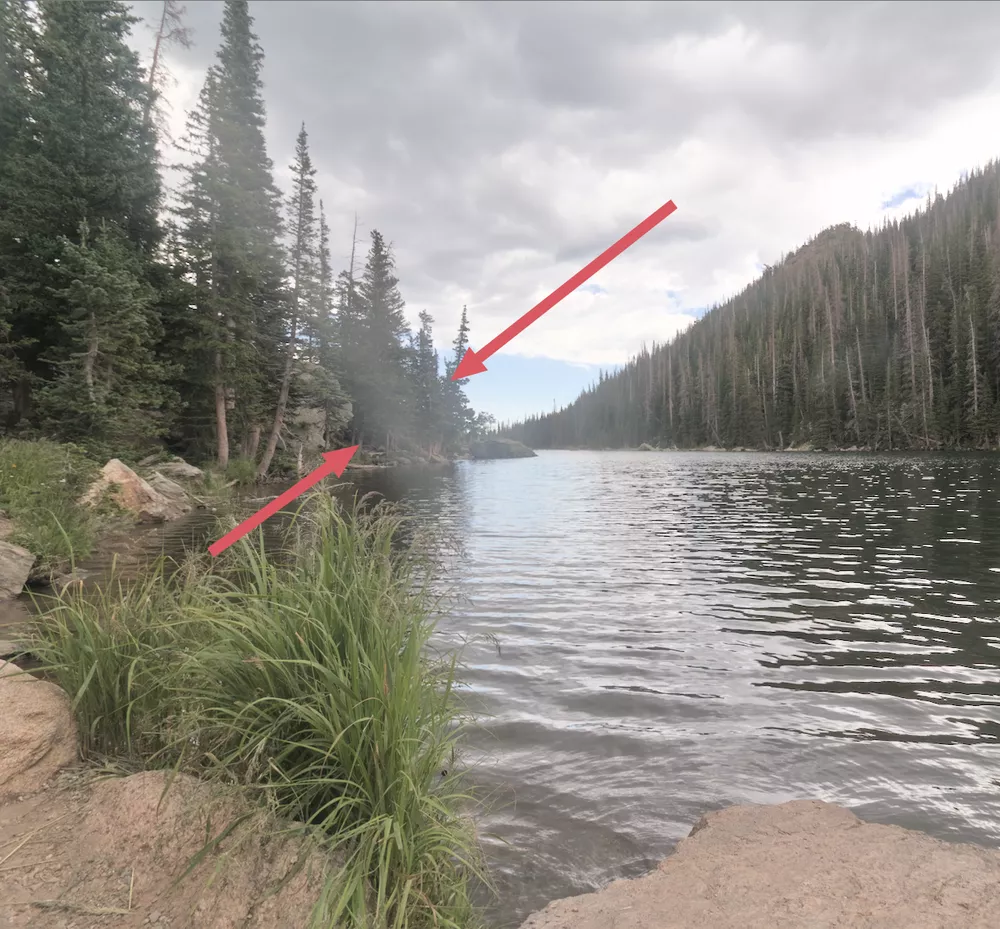
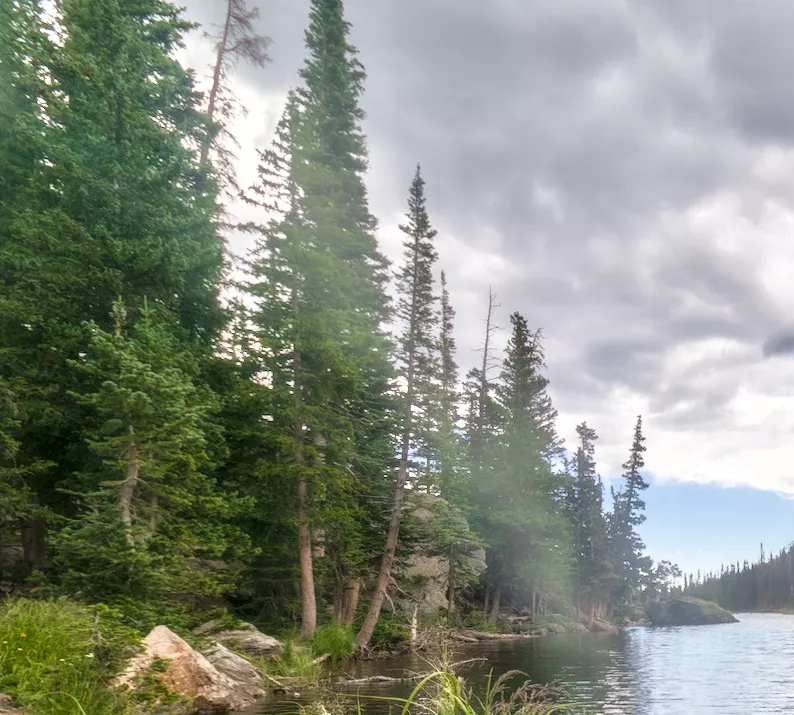
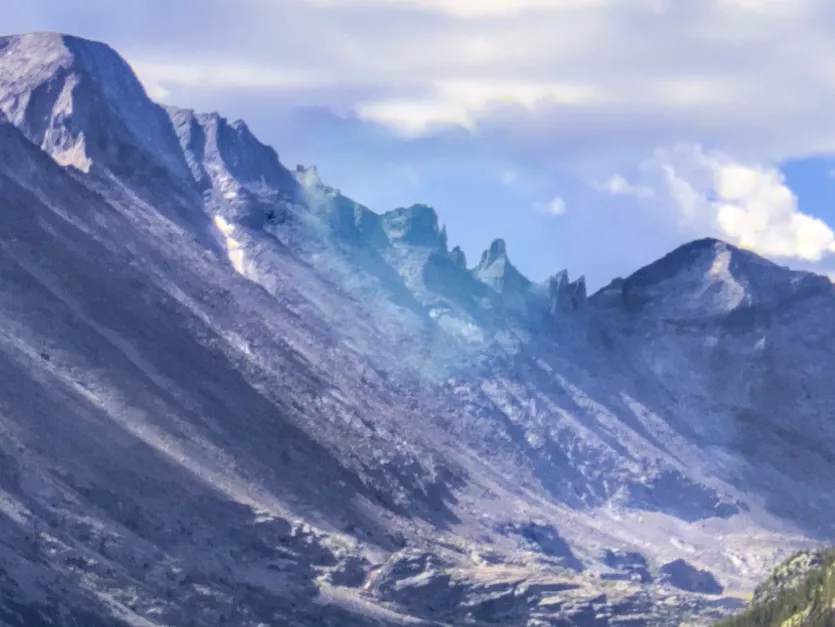
Sometimes a great shot involves pointing your camera in the direction of the sun. Even if it isn't actually present in the field-of-view, direct sunlight can still cause distortions in the image called lens flare. Fortunately, darktable provides some powerful tools for correcting these aberrations.
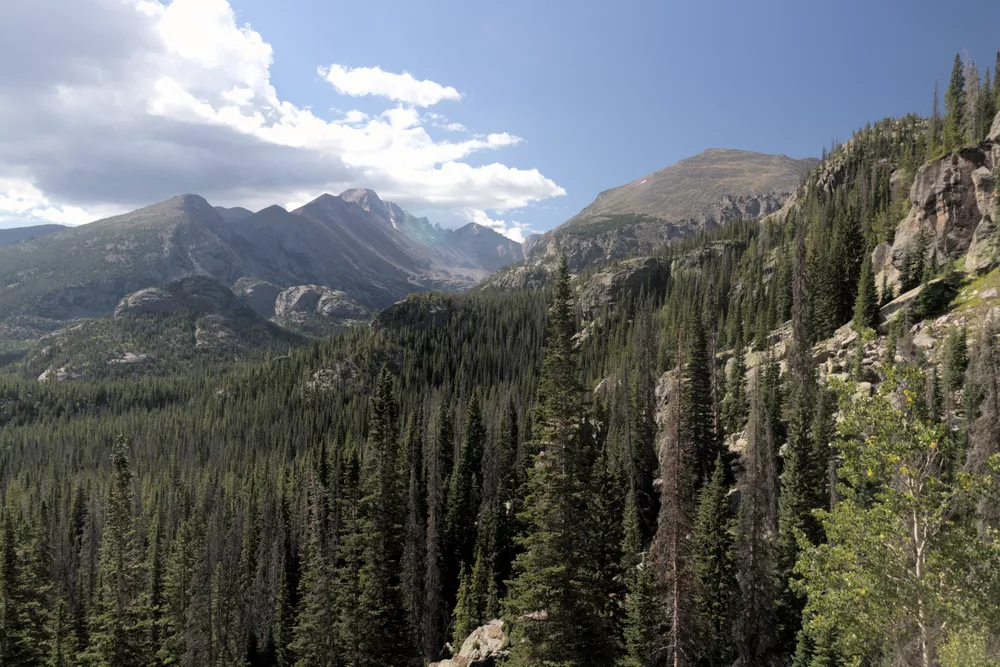
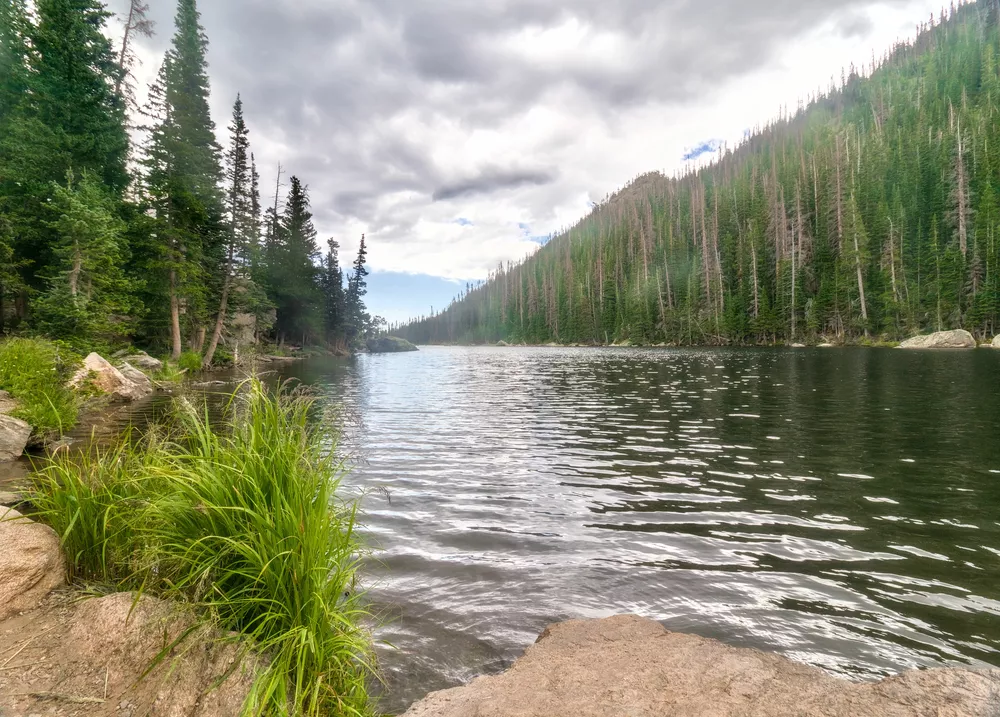
Both of these are nice images but the lens flare ruins them:
Let's look at 3 darktable modules you can work to correct lens flare.
Retouch
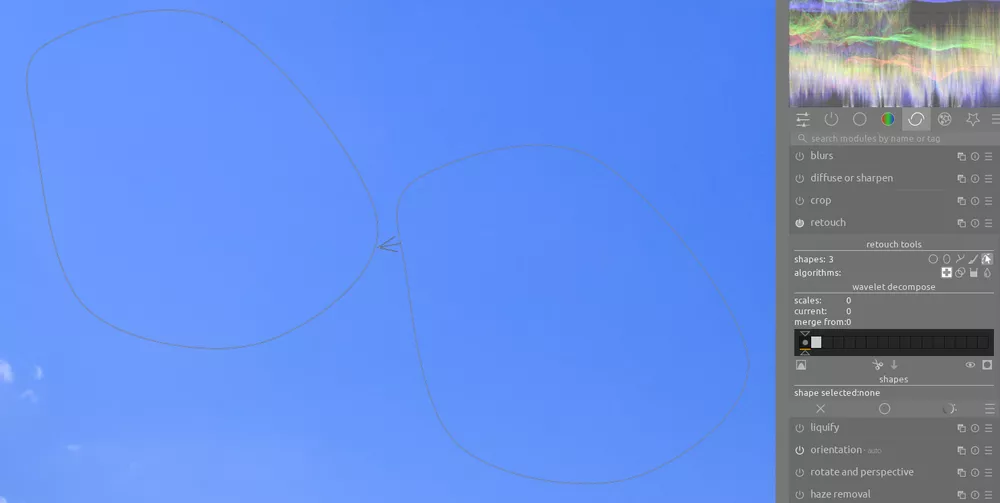
In some cases, such as against a solid background like the sky, it's easy to use the retouch module to simple replace the area with the lens flare with a good sample from elsewhere. However, this technique doesn't work if the lens flare is in front of some important details or would distract from the composition. Let's look at two more ways to work with lens flare.
Colorize
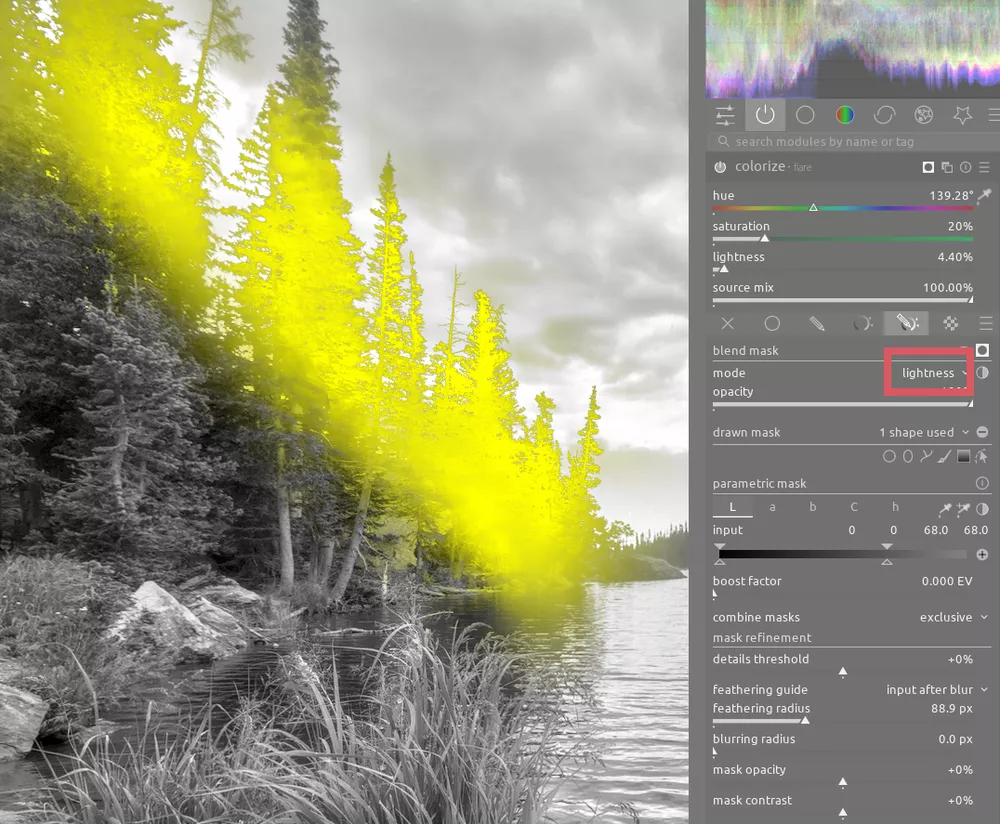
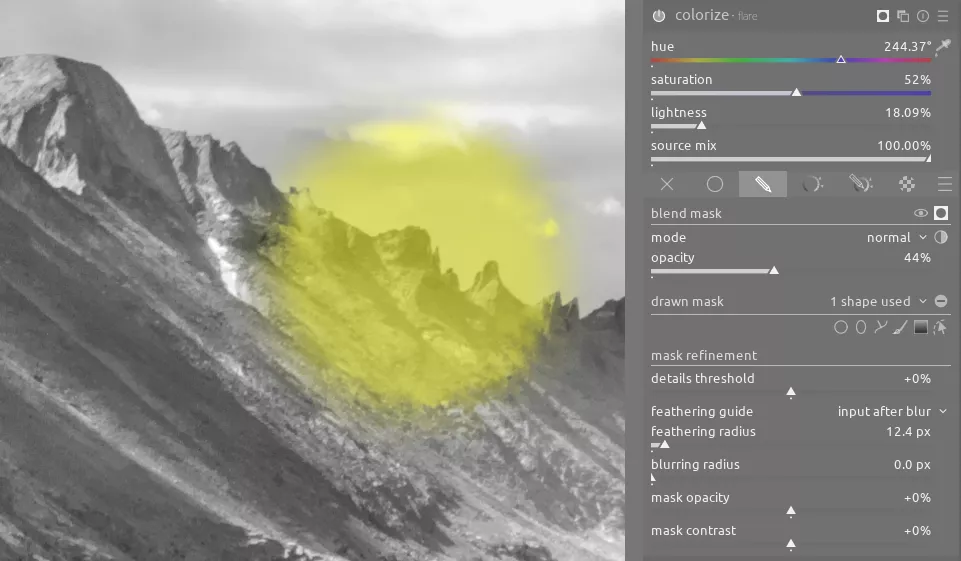
In this photo, the area under the lens flare distortion is lighter than it should be. This is pretty easy to correct using the colorize module. This module allows you to overlay a color on top of an area and then adjust the saturation and lightness. You'll need to experiment with the settings to find exactly what works best for your image. Adjusting the blend mode from the default value of normal to lightness may improve the correction if the lens flare is just washing out the image and not introducing a color shift:
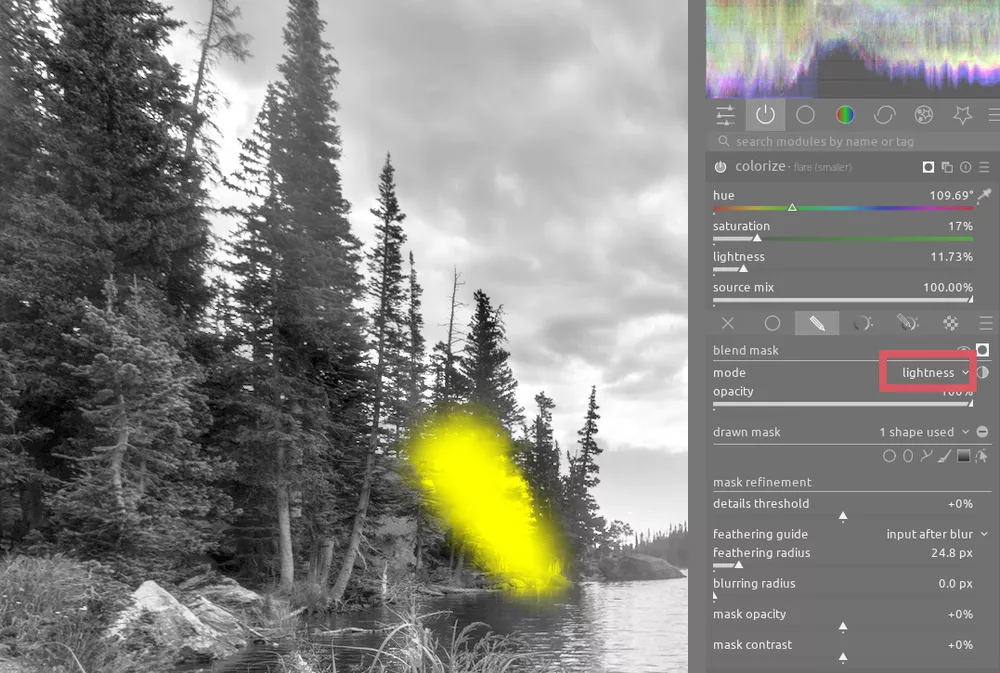
Moreover, you might need to use multiple instances of the module if the distortion affects some areas differently:
Let's look at another example:
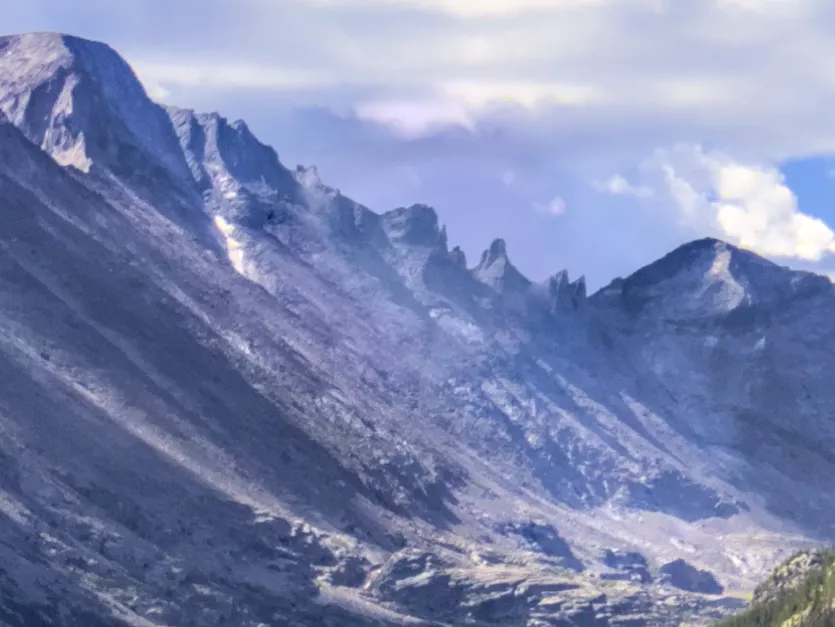
You may also need to add color in to the affected area to match its surroundings. In this case, the mountains are clearly dark blue but the saturation present in the area behind the lens flare was distorted. You can use the color picker module on surrounding pixels to get an idea of the colors that are present there verses the affected area, and then add in the difference in the R, G, and B channels to set the correct ratio between the channels or the correct values (amount of saturation) in each channel:
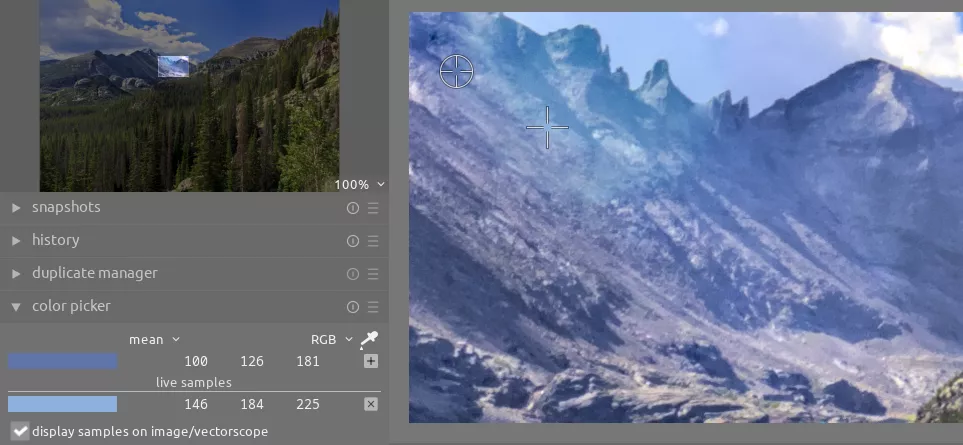
We can then add in a darker blue as needed:
While this gets us closer to the goal, additional color-related adjustments are necessary using color balance rgb.
Color Balance RGB

As seen in the "before" image above, using only the colorize module results in the area still appearing washed out. Sometimes you need to adjust the color differently for the shadows, midtones, and highlights which is possible using the 4 ways tab on the color balance rgb module:
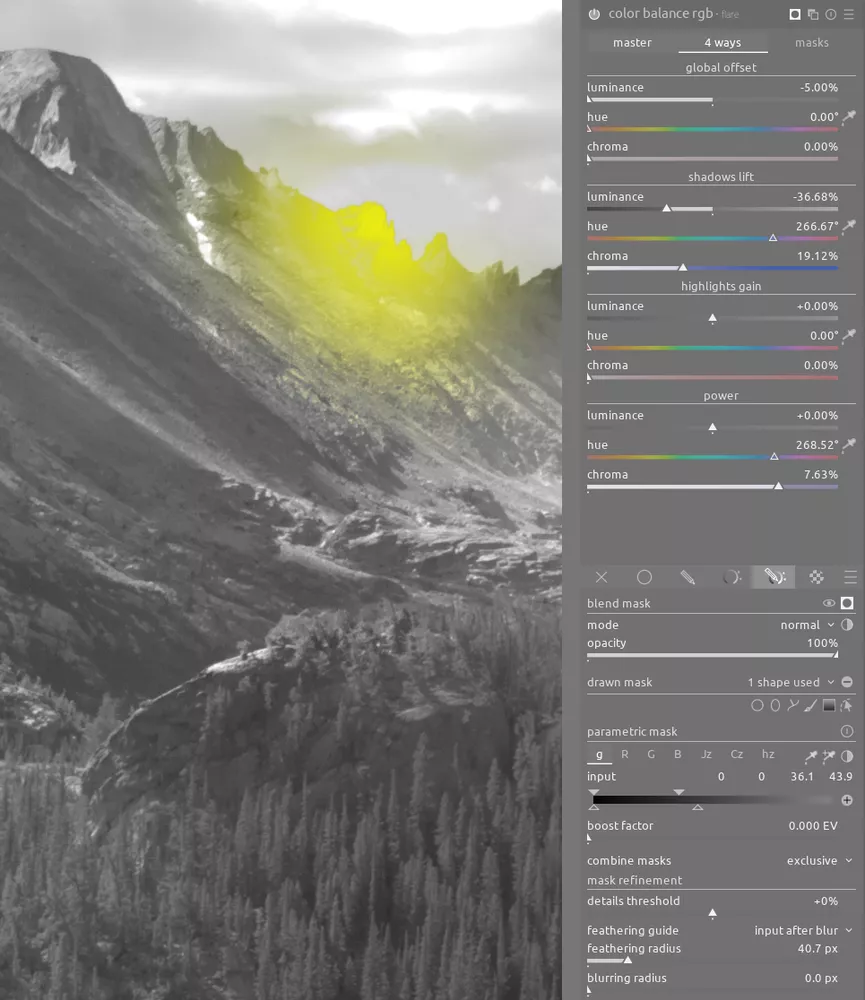
As you can see, the shadows needed a deeper blue correction whereas the midtones needed a lighter purplish blue.
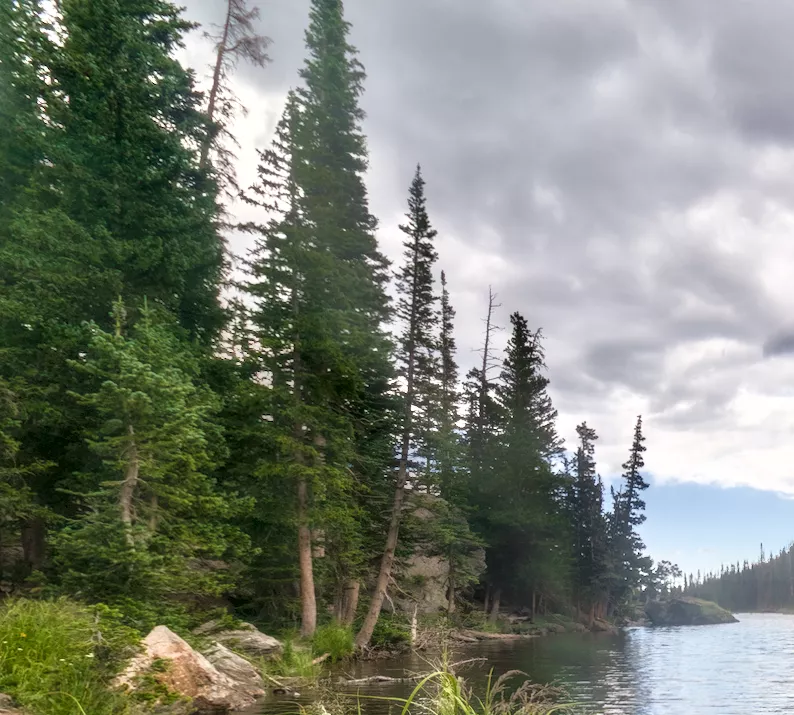
Conclusion
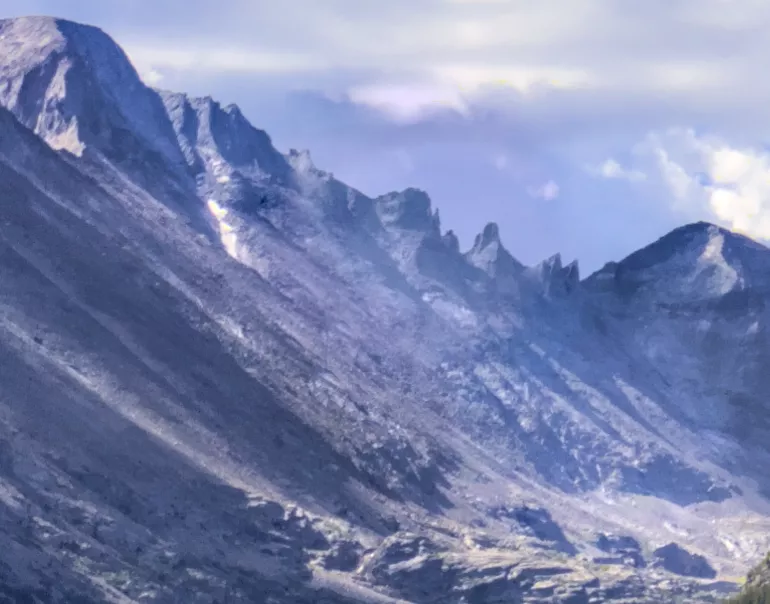
Here are the final corrected images:
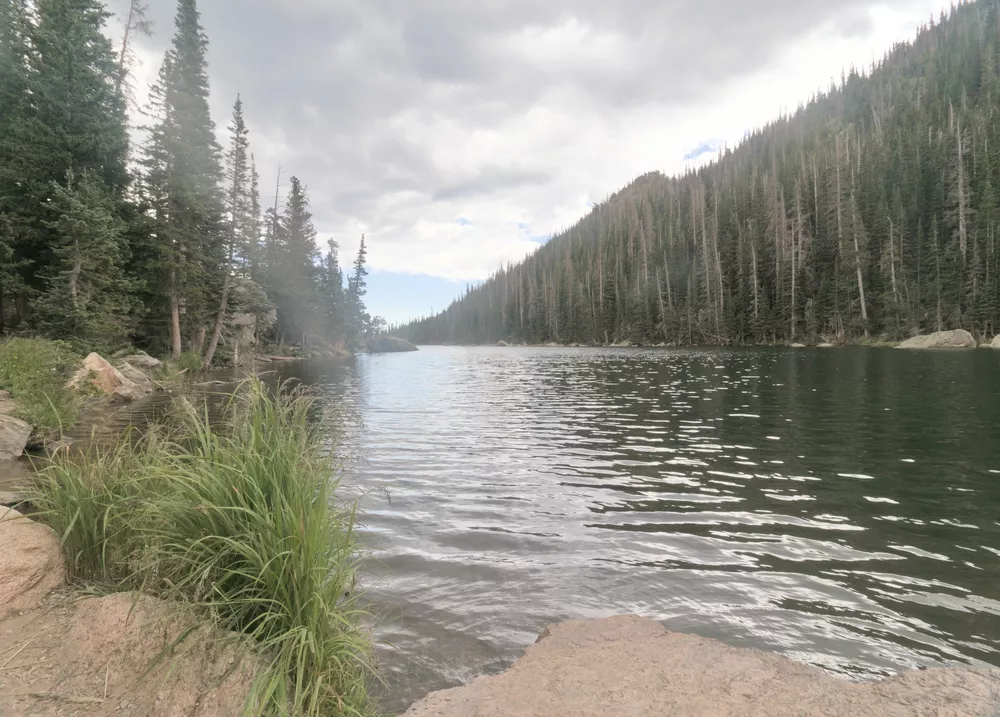
Sometimes lens flare is hard to avoid; darktable provides a flexible and powerful set of tools for correcting these aberrations. Remember that a combination of parametric and drawn masks with feathering and opacity adjustments will let you target the effect just to the desired area. Moreover, it's fine to use multiple copies of a module to make variances in the adjustments as needed.