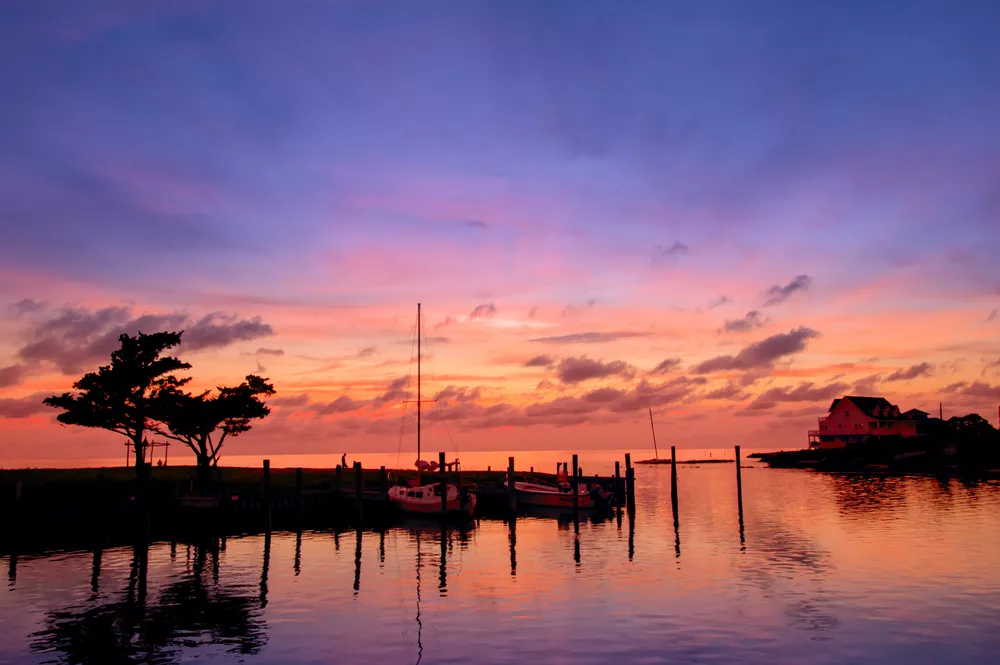
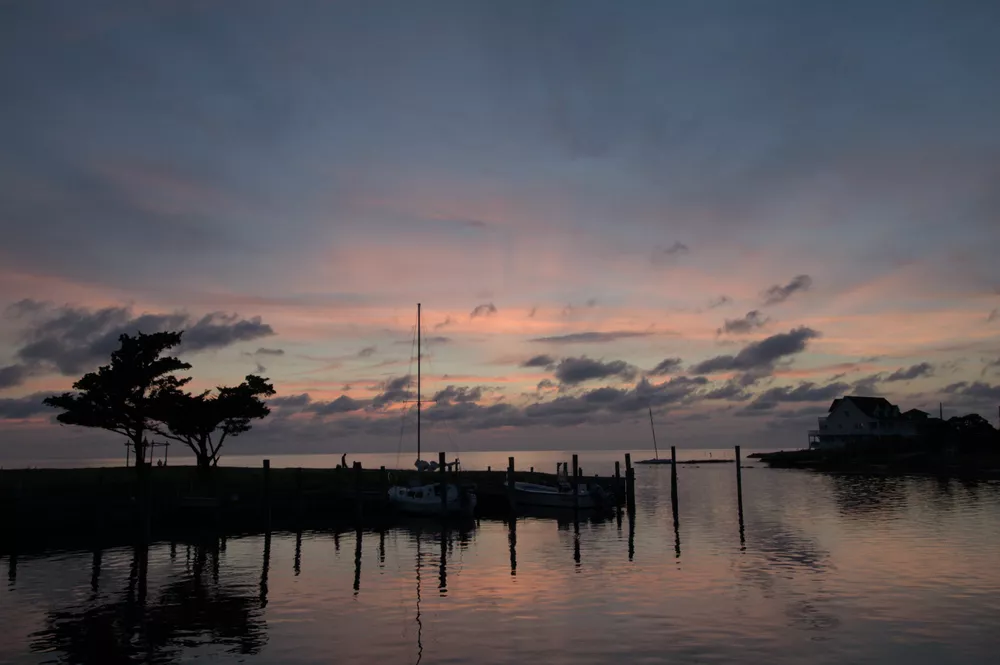
Maybe you just missed the peak colors of a sunset, or maybe you just want to apply an artistic interpretation to a photo. Darktable offers powerful and easy-to-use tools for blending new colors into a scene; let's take a closer look at some different techniques for how to do this.
Scene-referred vs Display-referred
Before we get started, a quick refresher on the difference between a scene-referred workflow and a display-referred workflow from the darktable manual:
1In display-referred processing the data from your Raw file is initially compressed into a range that represents pure black as 0 and pure white as 1, fixing mid-gray at 0.5. A tone curve is automatically (and irreversably) applied to this data to make the image look “good” on your display and subsequent edits are carried out on top of this already highly-modified image data. The cost of display-referred is an early loss of the relationship between pixel luminosity and saturation (usually also involving hue shifts), which is responsible for the infamous “HDR look” when the dynamic range increases.
2
3In the real world, “pure black” does not really exist (there is always some light) and there is no limit to how bright things can be (so no “pure white” either). Scene-referred processing attempts to retain the physical properties of the scene for as long as possible by placing the Raw data on an unbounded linear scale and only compressing the data to the dynamic range of your display after image processing is complete... This approach is used extensively in cinematography and is known to be much more robust than the traditional display-referred approach.
_In modern versions of darktable, you either use the filmic rgb module or the sigmoid module as the tone curve (display transform). Modules that come before filmic rgb or sigmoid are scene-referred and those that come after are display-referred.
In general, I try to prefer scene-referred modules for the reasons outlined above. However, in some cases with creative adjustments, a display-referred module works just as well or better. Below we'll process the same scene using one of each and compare the results.
Colorize
The colorize module is pretty easy to use - simply select a hue, configure the amount of saturation and lightness, and you have a color overlayed onto the image. This isn't very useful by itself, so we limit the location where this color is applied using masks. As seen in the video below, we use two instances of colorize and masks to apply one color (purple) to the darker part of the sky and another color (red) to the lighter part of the sky. Still, this isn't useful because it's just a single color applied uniformly over the entire masked area:
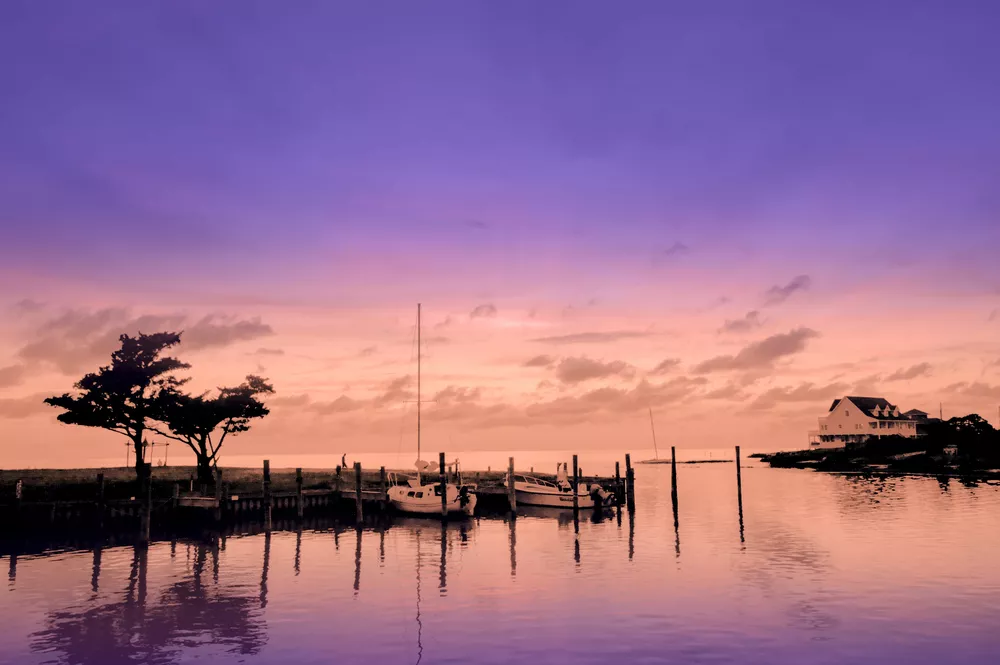
What we need to do is apply a blend mode to each colorize module to overlay the new color with respect to the original image. One of the contrast enhancing blend modes should work well to both blend with the original image and also enhance contrast slightly at the same time. After testing out each blend mode, I settled on overlay for the dark part of the sky and softlight for the light part of the sky. You can see all of these details in the video below:
Color Balance RGB
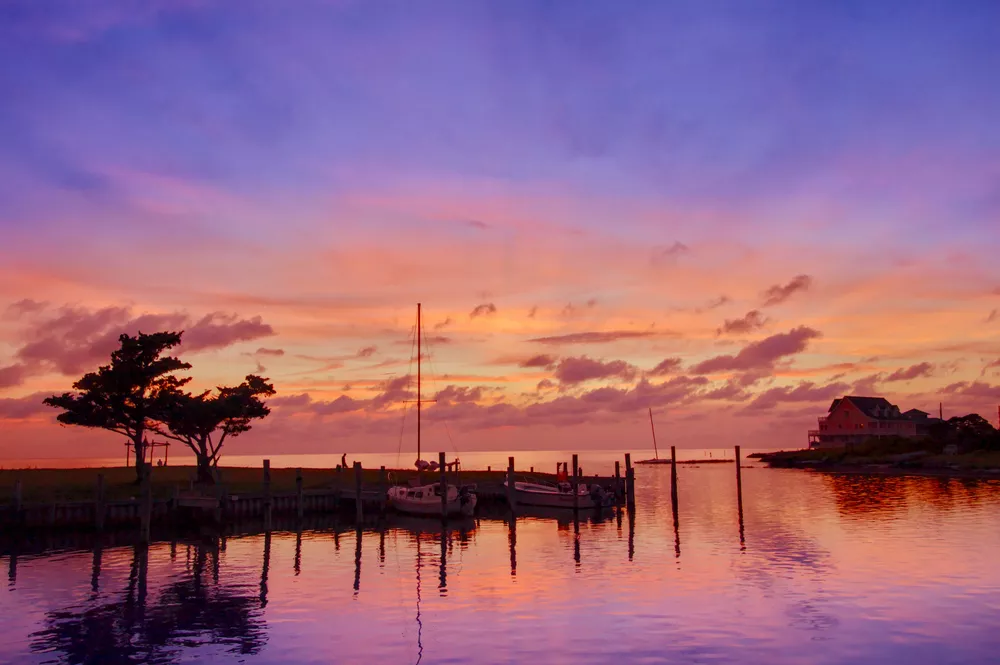
Similar to colorize, use two different instances of color balance rgb with masks to add purple to the darker part of the sky and red to the lighter part of the sky. In both cases, the 4 ways tab is how we can select a color to add to the image and even add it more specifically just to the shadows, highlights or power (midtones). The color balance rgb module already blends the new colors in with the original image, so using a special blend mode with the module is not necessary.
Comparison
Let's directly compare these two methods (colorize is on the left and color balance rgb is on the right):
In both cases, we're using filmic rgb as the display transform module (alternatively you could use sigmoid too). You can clearly see in the module lists below how colorize comes after the display transform (and thus is operating on the distorted-to-fit-the-display data) and how color balance rgb comes before the display transform (and operates on the original, unbounded data):
| Colorize Module List | Color Balance RGB Module List |
|---|---|
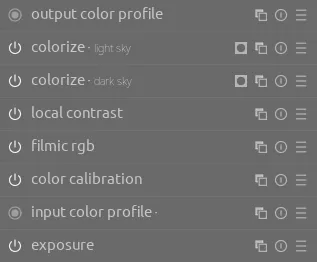 |
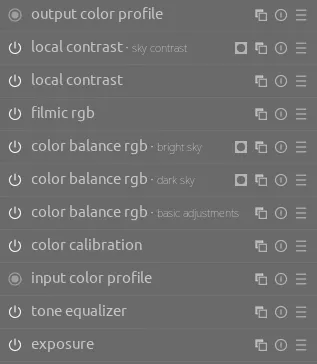 |
Conclusion
There are multiple ways to achieve a creative effect on an image. In general, it's best to prefer a scene-referred technique since it will be less likely to lead to unwanted disortions or artifacts, but in some cases a display-referred module can do a better job of creating the desired artistic effect.