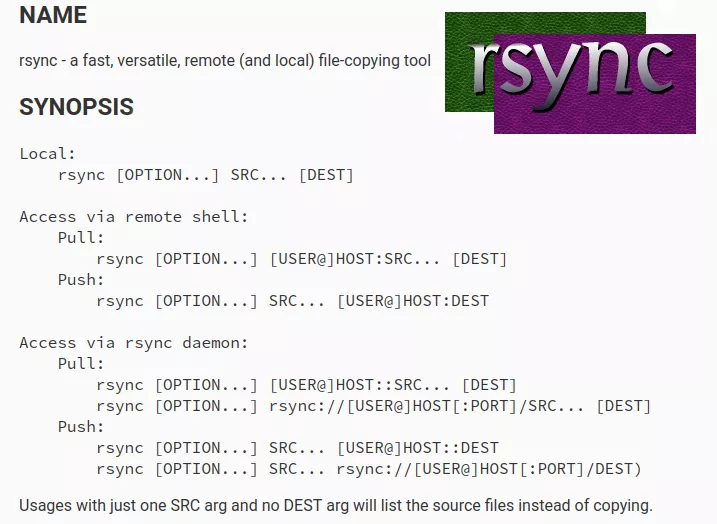
Transferring files from one disk to another or one computer to another sounds like a trivial task, but when you're dealing with a huge number of files and directories, ensuring that the data was fully copied and exactly matches the source becomes harder to do. Fortunately, the venerable file syncing utility rsync makes it easy to handle large directory trees, verify that all files were synced successfully, and update the destination later quickly with only the files that changed. Let's dive in to how to use rsync.
Verification Protocol
By default, rsync ensures that a file on the source and destination is the same by checking both the modification time as well as the size of the file; if both of these attributes match, it is very likely that the file is identical on both systems. For most cases, this default algorithm is sufficient and is a fast way to verify integrity because it does not require reading the file data, only the metadata.
However, in some cases you may want to be really sure that the data is the same on both sides, even with the performance penalty this incurs. To do this, use rsync's --checksum argument which will read the entire file in on both the source and destination, create a checksum of each, and verify that the checksums match. To customize the algorithm rsync uses, see the --checksum-choice argument.
Useful Arguments
Running rsync with -a will cover most use cases:
This is equivalent to -rlptgoD. It is a quick way of saying you want recursion and want to preserve almost everything. Be aware that it does not include preserving ACLs (-A), xattrs (-X), atimes (-U), crtimes (-N), nor the finding and preserving of hardlinks (-H).
If you need to preserve ACLs, extended attributes, or hardlinks, also include the corresponding argument as described above. If you want to exclude certain files from being synced (e.g. temporary files), use --exclude=PATTERN.
For details on how far along the transfer is, add --progress. If you'd like to simulate what rsync will do, run with the --dry-run argument to show what would happen without actually changing any files.
If a transfer gets interrupted (e.g. you lose network connectivity or your computer crashes), simply re-run the same rsync command and it will resume where it left off.
Keeping Things Clean
The aforementioned arguments will transfer files to the destination but will not clean up previously-synced files on the destination that have since been removed from the source. Therefore, running with --delete is a good idea to ensure extraneous old files do not accumulate on the destination. Once again, you can use --delete --dry-run to see what will be deleted before actually deleting anything.
Conversely, if you would like to move files from the source to the destination, --remove-source-files will remove files from the source after they have been successfully transferred to the destination.
Exit Codes
Review the list of rsync exit codes to see which values indicate a successful transfer. In most cases, this would only be 0, but if your source directory contains transient files (e.g. temp files), you might also consider exit code 24 as successful.
Bringing It All Together
To sync your home directory to a remote server over SSH but exclude the ~/.cache directory, you might use a command like this:
1$ rsync -a --progress --delete --exclude=.cache /home/$USER/ myuser@myserver:/home/$USER/
Once the above command finishes, check to make sure that it completed with exit code 0 and if so, you can feel confident that the contents of your home directory is now present on your server. Later, if you were concerned that your remote server's disk may be failing and you want to verify that the copy of your files hasn't been corrupted, re-run with --checksum to verify the contents of each file (this will take awhile):
1$ rsync -a --progress --delete --exclude=.cache --checksum /home/$USER/ myuser@myserver:/home/$USER/
Once again, if this completes with exit code 0 you can feel confident that none of your files have been corrupted on the destination server.
Advanced Usage
This article only scratches the surface of the power of rsync - you can do much more advanced operations such as
- creating multiple backup copies of a source directory to different destination directories using symlinks to deduplicate files that have not changed
- changing the ownership of files from one user/group to another as they are synced
- limiting the speed of transfer
- only syncing from one filesystem, even if another filesystem is mounted inside the source directory
- much more
